
Choosing to have your metal building professionally installed is the smartest way to guarantee it's put together correctly, safely, and without unnecessary headaches. While a DIY kit might seem tempting for a small shed, a pro installation team handles all the tricky parts—like operating heavy equipment, getting the alignment perfect, and ensuring everything is weatherproof. Ultimately, it saves you a ton of time and helps you avoid mistakes that could cost you big down the road.
The whole process really kicks off long before any steel shows up, starting with the critical groundwork that sets your project up for success.
Laying the Groundwork for Your Metal Building
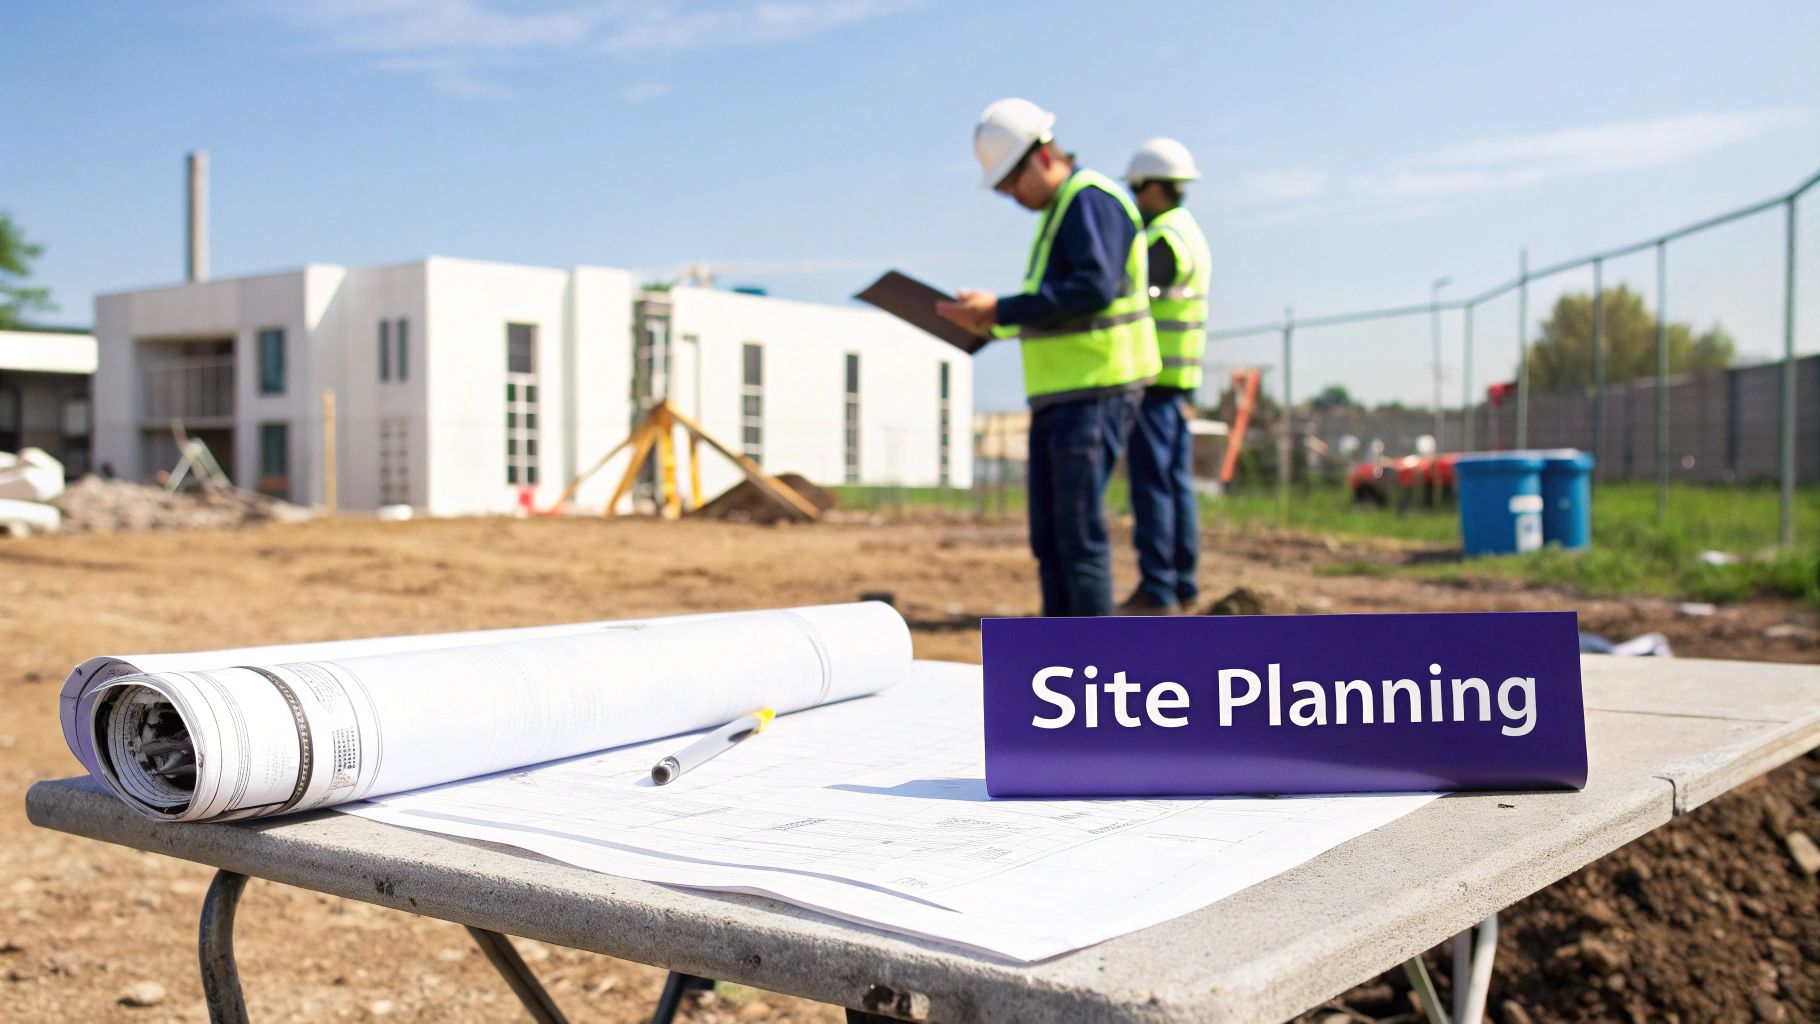
Before a single bolt is tightened, the fate of your project is already being decided. This initial phase is about more than just finding a flat piece of land; it's about creating a solid plan that ensures a smooth build from start to finish. Getting this right prevents frustrating delays, unexpected costs, and major headaches later.
With the popularity of metal buildings exploding, more people are navigating this planning stage than ever. The industry saw a huge 12.9% increase in 2021 alone, as homeowners and businesses realized they needed more versatile and durable space. This boom makes smart, upfront planning even more essential.
Choosing and Preparing the Perfect Site
Your building's location affects everything from how you use it every day to how long it will last. You need to think beyond the obvious. What about drainage? You definitely don't want water pooling around your foundation every time it rains, so look for a spot with a slight elevation.
Don't forget about access. A massive delivery truck needs a clear, solid path to your site. That narrow, muddy lane that’s fine for your pickup truck might be completely impassable for a semi loaded down with tons of steel. If your chosen spot isn't build-ready, this guide to clearing land for construction is a great resource.
Lastly, you absolutely must check local zoning rules for property line setbacks. Know exactly how far your building needs to be from your property lines, roads, and any other structures before you ever break ground.
Pro Tip: Think about how you’ll use the building when you're picking the orientation. If you’re getting large roll-up doors, make sure there’s plenty of clear space in front for trucks and equipment to maneuver. A great building in a bad spot can create a logistical nightmare.
Navigating Permits and Paperwork
Let's be honest, nobody loves paperwork. But nearly every new construction project requires a permit from your local building department. This isn't just bureaucratic red tape—it’s a process that ensures your new building is safe, structurally sound, and compliant with local codes for things like wind and snow loads.
To get your permit, you'll typically need to hand over a few key documents:
- Engineered Drawings: These are the official blueprints for your building, which the manufacturer usually provides.
- Site Plan: This is basically a map of your property showing the building's exact location, its dimensions, and how far it sits from property lines.
- Foundation Plan: A detailed drawing of the concrete foundation your building will be anchored to.
Get in touch with your local planning office as early as possible to get their full checklist. Starting this process well ahead of time means you won't have a truck full of steel sitting in your driveway while you're still waiting on the green light to build.
Selecting the Right Foundation
The foundation is, without a doubt, the most critical piece of the installation puzzle. It anchors your building to the ground and provides the stable, level base it needs to stand strong for decades. The right type of foundation depends on your building's size, what you’ll be using it for, and your local soil conditions.
Each option comes with its own set of costs and benefits. Here’s a quick rundown of the most common choices.
Foundation Options for Metal Buildings
| Foundation Type | Best For | Cost Estimate | Key Consideration |
|---|---|---|---|
| Concrete Slab | Garages, workshops, commercial buildings | Moderate to High | Provides a finished floor and maximum stability. |
| Concrete Piers | Carports, agricultural barns, smaller sheds | Low to Moderate | Cost-effective but leaves an unfinished dirt or gravel floor. |
| Perimeter Foundation | Larger structures on uneven ground | High | Creates a crawl space or basement area beneath the building. |
Choosing the right foundation isn't something you can compromise on. To get a much more detailed look at this, check out our guide on specific steel building foundation requirements. Getting this step right from the beginning ensures your investment will last a lifetime.
Managing Delivery Day and Site Staging
The day your building kit arrives is a huge moment, but if you're not prepared, that excitement can turn into a major headache real fast. The key to a smooth start for any metal building installation is to treat delivery day with the same planning you gave the foundation work. This isn't just about finding a spot for the truck to drop off a few bundles; it's about setting up your entire job site for an efficient build before a single piece is lifted.
A successful delivery starts with good communication. Get on the phone with the freight company and confirm the exact type and size of truck they’re sending. A full-length semi-truck needs a lot of room to maneuver, so make sure your access road is free of low-hanging branches, sharp turns, and any soft ground where the truck could get bogged down.
Preparing for the Unloading Process
Your most important job on delivery day is to be an active participant. You absolutely need equipment on hand to unload the components—freight drivers aren’t responsible for this part. A forklift or a tractor with forks that can lift several thousand pounds is almost always required.
It’s also a good idea to have a few helpers ready. Unloading is much faster and safer with a team. You'll want a designated spotter to guide the equipment operator and a couple of people to help direct where each bundle should be placed.
Your First Critical Task: Inventory Control
As components start coming off the truck, fight the urge to just stack them in a pile and move on. This is your one and only chance to do a thorough inventory check. Every reputable manufacturer sends a detailed packing list or bill of materials—for the next hour, that document is your bible.
Check off every bundle, box, and pallet against that list. Pay close attention to the details:
- Count Everything: Verify you have the correct number of wall panels, roof panels, primary framing beams, and the smaller purlins and girts.
- Inspect for Damage: Look for bent panels, deep scratches in the paint, or dented beams that might have happened during shipping.
- Document Issues Immediately: Note any missing pieces or damage directly on the driver's delivery receipt before you sign it. Take clear photos of any damaged items from multiple angles to back up your claim.
Taking the time to inventory every single piece might feel tedious, but discovering a missing primary rafter or a shortage of fasteners two weeks into the build can bring your entire project to a grinding halt. An hour of diligence now saves weeks of delay later.
Strategic Staging for an Efficient Build
Once everything is counted and inspected, the final step is staging the materials. Don't just pile it all together. A little bit of forethought here will dramatically speed up the assembly process. The goal is to organize all the components around your foundation in the order you'll actually need them.
Lay out your materials with a clear plan:
- Framing First: Place the heavy primary framing columns and rafters closest to where they'll be installed around the foundation's perimeter.
- Secondary Framing: Stack the smaller, lighter girts (for walls) and purlins (for roofing) in separate, clearly marked piles.
- Panels and Trim: Keep your wall and roof panels stacked flat on wooden blocks (dunnage) to keep them off the ground. This prevents moisture damage and scratches. This is also a good time to think about building a durable metal shop building near me for your future storage needs.
- Hardware Last: Keep all the boxes of fasteners, bolts, and sealants together in a dry, secure spot like a garage or shed until they're needed.
This kind of organized approach creates a natural workflow, saving you countless hours of digging for parts and moving heavy materials around more than once.
Assembling Your Metal Building Frame and Shell
This is where the rubber meets the road. All that time spent on planning and site prep is about to pay off as you watch your building come to life. With the foundation fully cured and all your components laid out, you're ready to get to work. Putting up the frame and shell is a step-by-step process, and knowing the sequence ahead of time makes having your metal buildings installed a much smoother project.
The first thing that happens on-site, even before a single bolt is turned, is a simple but critical workflow: delivery, inventory, and organization. Nailing this ensures every part is accounted for and ready when you need it.
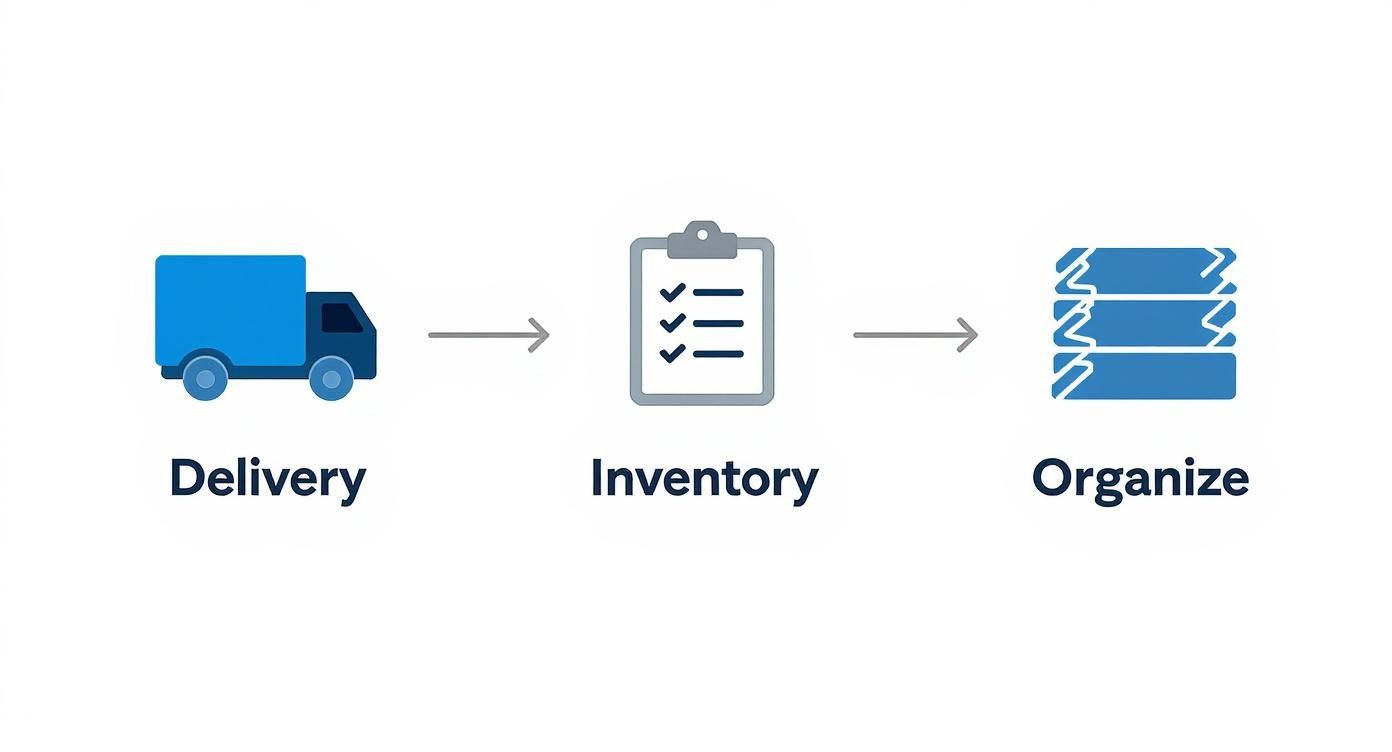
This simple trio—Delivery, Inventory, and Organization—is the secret to an efficient build. It prevents frustrating delays and keeps the worksite safe and orderly from day one.
Erecting the Primary Steel Frame
Think of the primary frame as the heavy-duty skeleton of your building. This includes the massive vertical columns and the heavy angled rafters that create the roof's peak. Let's be clear: this is not a job you can do by hand. You'll absolutely need heavy machinery like a forklift, telehandler, or even a crane to lift these pieces into place.
Safety is everything here. Typically, you'll start by bolting a rafter assembly together on the ground. Then, you'll attach the corresponding columns to the anchor bolts in your foundation, leaving them just loose enough for minor adjustments. The lifting equipment then carefully hoists the completed rafter section up to meet the columns, forming your first complete frame section, often called a "bay."
Critical Safety Note: An unsecured steel frame is a massive hazard, especially in the wind. Never, ever leave a frame section standing on its own without temporary bracing. Use heavy-duty cables, ropes, or rigid steel braces, securing them to the frame and staking them firmly into the ground. Each bay must be held steady this way until the secondary framing is installed.
Installing Secondary Framing Girts and Purlins
With that first primary frame bay securely braced, you can start adding the secondary framing. This is a grid of lighter steel components known as girts and purlins that run horizontally, connecting the main frames.
- Girts are the horizontal supports installed along the walls.
- Purlins are the horizontal supports installed across the roof.
These pieces do two very important things. First, they tie the main frames together, adding incredible stability and rigidity to the whole structure. Second, they create the mounting surface for your exterior wall and roof panels. This part of the job moves a lot faster than standing the primary frame, but you still need to be precise. Make sure every girt and purlin is seated correctly and that every bolt is tightened to spec.
To see how these parts all fit together, you can get a closer look at the components of a complete metal building frame.
Attaching the Wall and Roof Panels
Once the full skeleton is up and squared, it's time to put the skin on. This is the moment your project really starts to look like a finished building. Getting the panels installed correctly is vital for weatherproofing and the long-term health of your structure.
You'll almost always start with the wall panels. Pick a corner and work your way around the building, making absolutely sure that first panel is perfectly plumb (that is, vertically level). Each panel will overlap the one before it, and you'll use self-drilling screws to fasten them directly into the girts. Follow the screw pattern in your manual to the letter—it’s designed to create a secure, watertight seal.
Installing the roof panels is a similar process, but it demands extra attention to sealing. A pliable, gummy sealant called butyl tape is usually applied in the overlap between roof panels before they're screwed down into the purlins. This creates a waterproof barrier that is absolutely essential for preventing leaks.
Common Panel Installation Hurdles
| Hurdle | The Solution |
|---|---|
| Panel Creep | This sneaky problem happens when tiny alignment errors add up over several panels, throwing everything out of square. Stop and check for plumb with a level every 3-4 panels to catch and fix it early. |
| Screw Issues | Overtightening a screw can crush the rubber washer and break the seal. Under-tightening leaves it loose and prone to leaks. You're looking for a snug fit where the washer is just compressed flat. |
| Cutting Panels | If you need to cut panels for doors, windows, or vents, always use metal snips or a nibbler. Abrasive tools like grinders can burn off the panel's protective coating, inviting rust to form. |
Finishing with Trim and Gutters
The last step in sealing up the shell is installing the trim and gutters. Trim pieces cover the corners, the base of the walls, and the edges of the roof (known as the rake and eave), giving the building a clean, professional appearance. More importantly, trim seals the remaining gaps where panels meet, acting as the final defense against wind and rain.
Gutters and downspouts are then attached to the eaves to control rainwater and direct it away from your foundation. This is a non-negotiable step if you want to prevent soil erosion around your slab. Each piece is cut to fit and screwed into place, completing the weather-tight envelope of your new metal building.
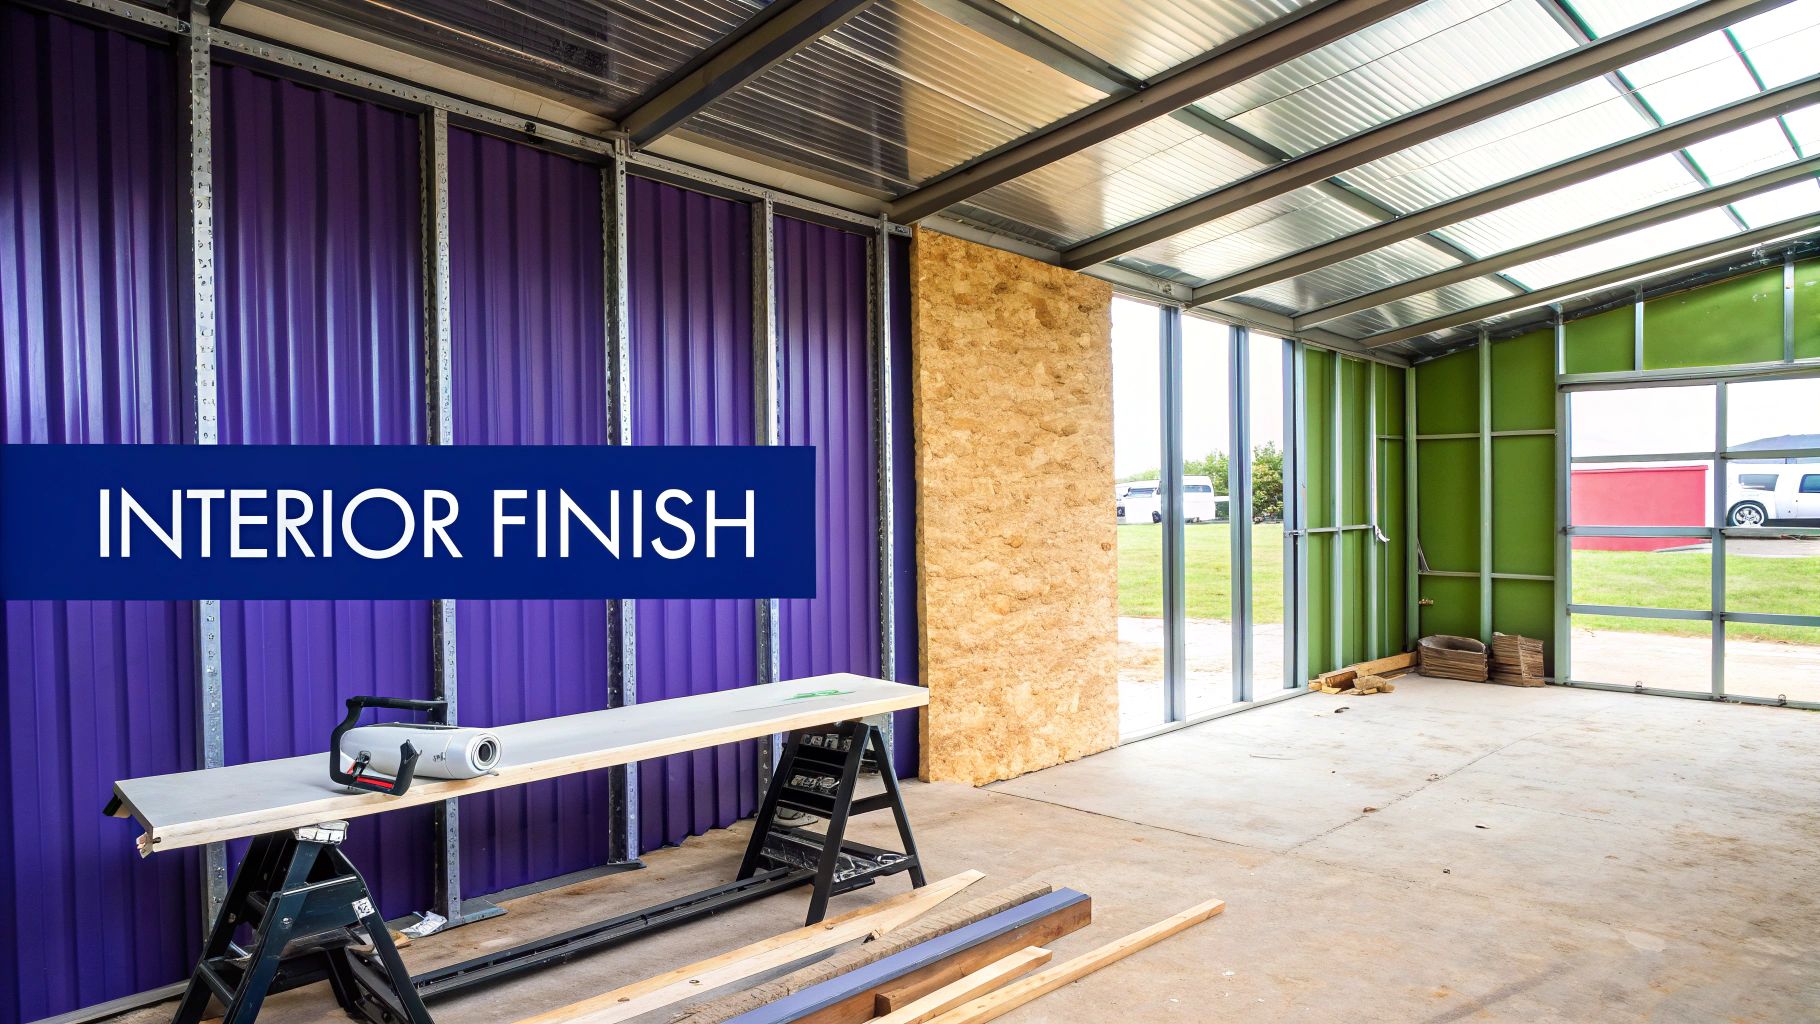
Finishing Your Metal Building Interior
Once the shell of your building is standing tall, the real transformation begins. You've moved from an exterior structure to an interior space—a blank slate ready to become a high-performance workshop, a secure, climate-controlled storage area, or even a fully finished office. The steel frame and panels are your protective shield, but what you do inside determines the building's comfort, usability, and long-term efficiency.
This is where you bring the building to life by adding the systems that make it truly functional. We're talking insulation, wiring, plumbing, and walls. Each step needs a bit of planning to work seamlessly with the unique nature of a steel structure.
Controlling Climate with the Right Insulation
Don't underestimate this step. Insulation is easily the most critical interior decision you’ll make. It’s not just about keeping the space warm in the winter and cool in the summer; it's your number one defense against condensation. When warm, humid air inside meets a cooler metal panel, moisture forms. Over time, that can lead to rust or damage your interior finishes.
You've got a few solid options, each with its own pros:
- Spray Foam: This is the premium choice for creating a superior air and moisture barrier. It expands to fill every single crack and crevice, bonding directly to the steel panels and offering the highest R-value per inch.
- Fiberglass Batts: A classic for a reason. This is a budget-friendly option where batts are fitted between the framing members. Just be sure to pair it with a vapor barrier to keep moisture in check.
- Rigid Foam Boards: These big, stiff panels are a breeze to cut and install against the girts and purlins. They provide great thermal resistance and often come with a built-in vapor barrier.
The right choice really boils down to your local climate, budget, and how you plan to use the building. To dig deeper, check out our detailed guide on steel building insulation options to find the perfect match.
Installing Electrical and Plumbing Systems
With your insulation plan ready, it’s time to run your utilities. When wiring a steel building, safety has to be the top priority. All wiring must run through a protective conduit—either metal or PVC—to stop the wire's sheathing from ever rubbing against a sharp steel edge.
Map out your layout beforehand. Seriously, think about where every outlet, light fixture, and piece of heavy machinery will go. It's so much easier to run an extra circuit now than to try and fish one through finished walls later. To ensure everything is safe and up to code, always adhere to the essential Australian electrical wiring standards or your region's local equivalent.
A Plumber’s Perspective: Remember, you only get one shot with that concrete slab. All your under-slab pipes for drains and water supply lines must be laid before the concrete is poured. For pipes running through walls, always use grommets where they pass through steel studs to prevent rattling and noise from vibrations.
Choosing Your Interior Walls
The final piece of the puzzle is putting up the walls. The material you pick should be dictated by what you're doing in the building.
For a workshop or an agricultural building where toughness is king, plywood or Oriented Strand Board (OSB) is a fantastic choice. They can take a beating and give you a sturdy surface to hang tools and shelves absolutely anywhere you want.
If you’re building out an office or a finished "barndominium" space, you'll probably lean toward traditional drywall. It gives you that smooth, paintable surface that makes any room feel conventional and complete.
No matter which you choose, the process is pretty much the same. You'll first attach wood or steel studs to the building’s girts. This new interior framing creates the cavity for your insulation and provides a solid surface to fasten your wall material to, officially completing the transformation from an empty shell into a fully realized space.
Navigating Costs, Timelines, and Common Issues
Getting your project off the ground means managing the three big variables: your budget, your schedule, and the little hiccups that can pop up along the way. When you have your metal buildings installed, you’re not just watching a structure go up; you're navigating a multi-step process. A clear understanding of the time and money involved is what separates a smooth project from a stressful one.
The prefab metal building industry is a serious powerhouse in modern construction, hitting a market value of $13.1 billion in 2024. This isn’t a niche market—it’s a massive sector supported by thousands of dedicated professionals bringing these building systems to life. You can dig deeper into industry trends over at KentleyInsights.com.
Understanding the Project Timeline
One of the biggest misconceptions we see is underestimating the full project timeline. The on-site assembly is actually one of the quicker parts. A realistic schedule helps you line up your financing, coordinate contractors, and avoid a lot of headaches.
A typical project breaks down into a few key phases, and each one takes its own chunk of time.
- Planning and Permitting (4-8 weeks): This is often the longest and most unpredictable stage. You’ll be finalizing your design, getting engineered plans, and then waiting for your local building department to give you the green light.
- Foundation Work (1-2 weeks): Once the permit is in hand, your concrete crew can get to work forming and pouring the slab. Don’t forget about the cure time—the concrete needs about a week to gain enough strength before you can start putting heavy steel on it.
- Building Erection (1-3 weeks): For a standard-sized building, the actual assembly of the frame, purlins, girts, and panels moves surprisingly fast. A professional crew can often get the main structure buttoned up in just a matter of days or weeks, depending on the building's complexity.
Uncovering the Real Cost Drivers
The price tag on your building kit is just the starting line. Your total investment will include several other major expenses, and you need to budget for them from day one. Ignoring these "soft costs" is the quickest way to blow your budget.
Don't get caught by surprise. The "soft costs" and site work often add 40-60% or more to the initial kit price. Planning for these expenses upfront is the key to keeping your project on budget.
Here’s where a good chunk of your money will go, beyond the building itself:
- Foundation: Concrete isn't cheap. The final cost will depend on slab thickness, local labor rates, and what your soil conditions look like.
- Site Preparation: This is everything from clearing trees and leveling the ground to trenching for utility lines.
- Heavy Equipment Rental: Unless your crew brings their own, you’ll need to rent a forklift or a telehandler to lift the steel components into place.
- Interior Finishing: If you're turning this into a finished space, things like insulation, electrical, plumbing, and drywall will be a huge part of your final budget.
For a more in-depth look at what goes into the final number, check out our guide on how much do steel buildings cost when you factor everything in.
Project Timeline and Cost Factors
To give you a clearer picture, here’s a sample breakdown for a standard 30×40 metal building. Timelines and costs can vary based on location, complexity, and the contractors you hire, but this gives you a solid starting point for your own planning.
| Project Phase | Estimated Time | Potential Cost Factors |
|---|---|---|
| Design & Permitting | 4-8 Weeks | Engineer fees, permit application costs, design revisions. |
| Site Prep & Foundation | 1-2 Weeks | Excavation, grading, concrete prices, rebar, labor. |
| Building Kit Delivery | 2-4 Weeks | Freight charges, offloading equipment needs. |
| Structure Erection | 1-2 Weeks | Labor rates, equipment rental (forklift/telehandler). |
| Exterior Finishing | 1 Week | Gutters, trim, doors, windows installation. |
| Interior Finishing | 2-6+ Weeks | Insulation, electrical, plumbing, HVAC, drywall. |
This table illustrates how the "quick" process of erecting the steel is just one piece of a much larger puzzle. Proper budgeting for each phase is critical for a successful build.
Troubleshooting Common Installation Hurdles
Even the best-laid plans can hit a snag. The key is knowing how to handle small issues quickly before they turn into big, expensive delays. Experienced crews run into the same few problems, and luckily, they're usually easy to solve.
| Common Hurdle | The Pro Solution |
|---|---|
| Misaligned Bolt Holes | Never try to force a bolt. The fix is usually to slightly loosen the bolts on adjacent connections, which gives the frame just enough play to line things up. In a rare case, a reamer can be used to carefully enlarge a hole. |
| Panels Won't Fit Squarely | This is a classic sign that the frame isn’t perfectly square. Grab a tape measure and check the diagonal measurements of the bay you're working on. Tweak the bracing until those two numbers are equal, then tighten everything back up. |
| Leaking Fasteners | A leak around a screw almost always means it was either over-tightened (which crushes the washer) or left too loose. You want the rubber washer to be compressed flat, but not bulging out the sides. The best fix is to back out the old screw and replace it with a new, slightly larger one. |
Your Metal Building Installation Questions Answered
When you're gearing up to install a new metal building, it's natural for questions to start piling up. Should you tackle it yourself or call in the pros? What are the biggest mistakes to sidestep? How do you take care of it once it's up? Getting these answers sorted out ahead of time is the key to a smooth project without any nasty surprises.
Let's walk through some of the most common questions we get from customers just like you.
Should I Install a Metal Building Myself or Hire a Pro Crew?
This is probably the first big decision you'll make, and it really comes down to the building's size, your own skills, and the tools you have on hand. For a smaller, straightforward garage or workshop kit, a DIY approach can be a great option for a couple of handy people with the right equipment.
But when you start getting into larger or more complex structures, bringing in a professional crew is almost always the right call. These guys show up with specialized gear like scissor lifts and cranes that most people don't have lying around. More importantly, they bring the experience to get the frame perfectly square and plumb—something that's much harder than it looks. They'll get the job done safely, efficiently, and often, their involvement is required to keep your manufacturer's warranty valid.
What Are the Most Common Mistakes to Avoid During Installation?
Knowing where things can go wrong is half the battle. Over the years, we've seen a few common trip-ups that can cause major headaches, delays, and extra costs if you aren't paying attention.
The top three issues we see are:
- An Improperly Prepared Foundation: This is the big one. If your concrete slab is out-of-level or poured to the wrong dimensions, you're in for a world of pain trying to align the frame and wall panels.
- Failing to Inventory Parts: The moment you discover a missing bracket or a shortage of screws is the moment your project grinds to a halt. Don't let a small missing part derail your entire weekend.
- Incorrect Bracing: Skipping the temporary bracing steps during erection is flat-out dangerous. An unsecured frame is incredibly vulnerable to wind and can easily collapse.
Always double-check your foundation measurements before the first piece of steel goes up. Inventory every single nut, bolt, and panel against the packing list as soon as the truck leaves. And follow the bracing instructions in your manual to the absolute letter. These steps aren't just suggestions—they're non-negotiable for a safe and successful build.
How Do I Maintain My Metal Building After It Is Installed?
Here’s the good news: one of the best things about steel buildings is how little maintenance they require. They're designed to stand up to the elements for decades with just a little bit of annual attention.
A simple walk-around once a year is pretty much all it takes. Start by inspecting your gutters and downspouts, clearing out any leaves or gunk to keep water flowing freely. Next, give the screws and fasteners a quick check to make sure they're snug; seasonal temperature swings can sometimes cause them to loosen slightly over time.
It’s also a smart move to give the walls and roof a wash with some mild detergent and water. This gets rid of any built-up dirt and prevents mildew, especially on the side of the building that doesn't get much sun. Finally, take a look at the base of your building. You want to make sure soil, mulch, or landscaping isn't piled up against the metal panels, as this can trap moisture and slowly compromise the steel's protective coating. A few simple steps are all it takes to protect your investment and keep it looking brand new.
Ready to start your project with a team that guarantees a professional, seamless installation? The experts at Icon Steel Buildings are here to help you design and erect the perfect structure for your needs. Get a free quote today