
Insulating your metal garage is one of the single best upgrades you can make. It's the difference between a space that's unusable for half the year and a comfortable, functional part of your property. By adding materials like foam board, fiberglass, or spray foam to the walls and ceiling, you can regulate temperature, slash energy costs, and protect your belongings.
Why Insulating Your Metal Garage Matters
Let's face it: an uninsulated metal garage is often the most uncomfortable space you own—an oven in the summer and an icebox in the winter. Metal is a fantastic conductor, which sounds good until you realize it's conducting outdoor temperatures directly into your space.
Without a proper thermal barrier, your garage is just a giant metal box that magnifies whatever's happening outside. But this project is a true game-changer that goes way beyond just feeling comfortable.
Benefits Beyond Temperature Control
Proper insulation delivers a surprising number of advantages that protect your investment and make the space genuinely useful. Whether you're just parking your car, running a workshop, or have specialized garages used for automotive purposes, the benefits are impossible to ignore.
- Protect Your Valuables: Wild temperature swings are brutal on your stuff. They can kill car batteries, crack wooden furniture, ruin paint, and damage sensitive tools. Insulation creates a stable environment that keeps your possessions safe.
- Stop Condensation and Rust: Ever notice "sweat" on your garage walls? That's condensation forming when warm, moist air hits the cold metal. This moisture is the number one cause of rust—not just on the building, but on your tools, equipment, and vehicles, too.
- Cut Down on Noise: One of the most underrated perks of insulation is sound dampening. It significantly reduces noise from rain, wind, and traffic, creating a much quieter and more peaceful environment to work or relax in.
This infographic breaks down just how big of a difference this project can make.
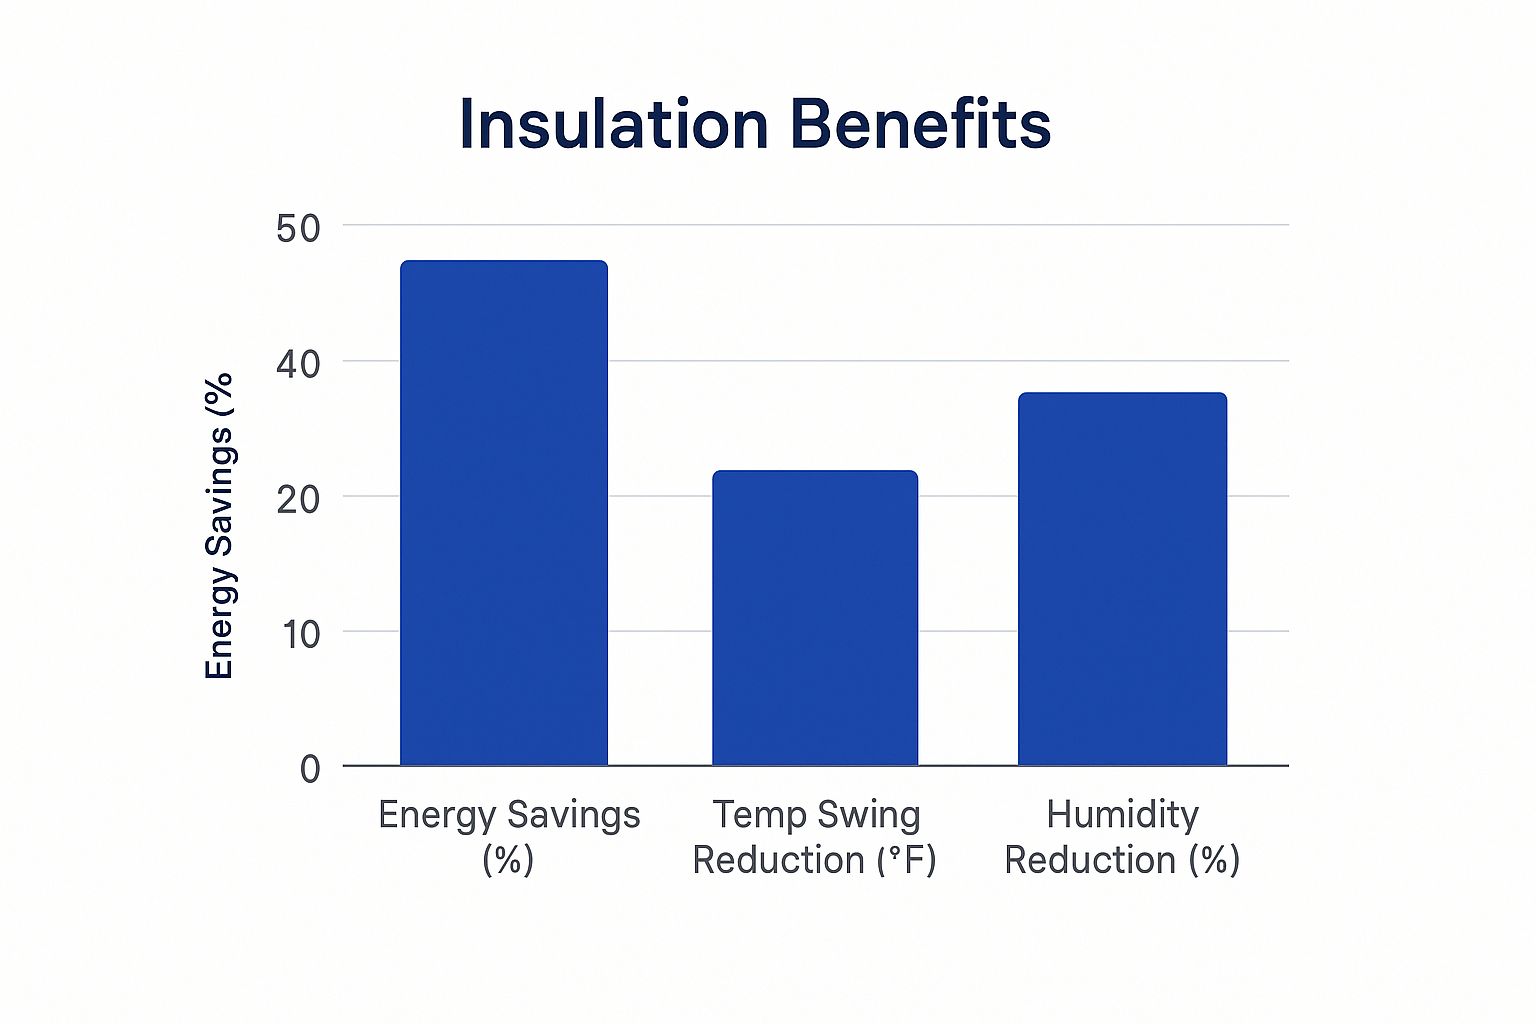
As you can see, we're not talking about small improvements. Insulation can cut energy use in half while dramatically lowering humidity and keeping temperatures stable.
A Smart Financial Decision
Turning your garage into a year-round workshop, gym, or hobby space adds real, tangible value to your property. And you wouldn't be alone in making this upgrade. The global market for metal structural insulation panels was valued at a staggering $43,666.3 million in 2021 and is only expected to climb.
This growth is being driven by homeowners who see the long-term benefits of energy efficiency. By investing in insulation, you're not just improving your garage's utility; you're also making a smart financial move. A well-insulated building can also positively impact the overall cost of a metal garage by boosting its long-term value and cutting down on running costs.
Choosing the Right Insulation for Your Garage
Not all insulation is created equal, especially when you're working with a metal building. The best choice for your garage really comes down to your climate, how you plan to use the space, and of course, your budget. It’s easy to just look at the price tag, but factors like moisture resistance and how easy it is to install are just as important for a long-lasting, effective job.
The goal isn't just to buy any insulation; it’s about finding the right insulation for what you need. Let’s walk through the most popular options for metal garages so you can feel confident in your decision.
Metal Garage Insulation Comparison
Before we get into the nitty-gritty of each type, this table gives you a quick side-by-side look at the heavy hitters. Think of it as your cheat sheet for picking the right material.
| Insulation Type | Average R-Value per Inch | Pros | Cons | Best For |
|---|---|---|---|---|
| Spray Foam | R-6 to R-7 | Unbeatable air & moisture seal; highest R-value. | Can be expensive; professional install recommended. | Year-round workshops, living spaces, and maximum energy efficiency. |
| Rigid Foam Board | R-4 to R-6 | DIY-friendly; good moisture resistance; versatile. | Seams need to be taped to create an air barrier. | General-purpose use, DIY projects, and moisture-prone areas. |
| Fiberglass Batts | R-3 to R-4 | Most budget-friendly option. | Needs interior framing; absorbs moisture easily, leading to mold. | Garages in dry climates where budget is the main concern. |
| Reflective Foil | R-1 (Varies) | Excellent at reflecting radiant heat; controls condensation. | Low thermal resistance (R-value); best paired with other insulation. | Hot, sunny climates to block solar heat gain. |
This comparison should give you a solid starting point. Now, let’s talk about how these pros and cons play out in the real world.
Your Top Insulation Options Explained
Each of the four most common choices brings something different to the table. Knowing their strengths and weaknesses is the key to a project you'll be happy with for years.
-
Rigid Foam Board: These stiff, durable panels are a favorite for do-it-yourselfers, and for good reason. They pack a solid R-value per inch, handle moisture like a champ, and can often be attached directly to the metal girts without needing to build out a whole new set of interior walls. It's a fantastic all-rounder.
-
Spray Foam: When it comes to creating a completely seamless air and moisture barrier, nothing beats spray foam. It expands to fill every tiny crack and crevice, sticking directly to the metal panels and offering the highest R-value you can get. The downside? Professional installation can get pricey, and while DIY kits exist, they require a steady hand and proper safety gear.
-
Fiberglass Batts: This is the classic, budget-friendly insulation most people recognize. While fiberglass offers decent thermal performance for the cost, it has a major weakness in a metal garage: moisture. It requires interior framing to hold it in place and acts like a sponge if it gets wet, which can lead to mold and a serious drop in effectiveness.
-
Reflective Foil (Radiant Barrier): This one works a bit differently. Instead of slowing heat transfer, it reflects radiant heat. It’s a superstar in hot climates for keeping the sun's heat out and is great for managing condensation. On its own, though, its R-value is low, so it’s often paired with another insulation type for the best results.
Making the Choice Based on Your Needs
Let's put this into practice. How you plan to use your garage will point you directly to the best insulation.
Say you’re converting your garage into a year-round workshop or home gym in a place with cold winters. Performance is everything here. Closed-cell spray foam is going to be your champion. Yes, the upfront cost is higher, but its incredible R-value and airtight seal will keep the space comfortable and your energy bills down.
Pro Tip: Whatever you do, never cram fiberglass insulation into a space that's too small for it. Compressing fiberglass crushes the air pockets that give it insulating power, which absolutely tanks its R-value and makes it far less effective.
Now, let's imagine a different scenario. Maybe you just want to keep your car from feeling like an oven during the summer in a hot, sunny climate. A combination of reflective foil and rigid foam boards is a brilliant, cost-effective approach. The foil will bounce the sun's radiant heat away, while the foam board provides a solid thermal break.
If you want to dig even deeper into materials designed specifically for metal buildings, you can explore a wide variety of steel building insulation options that go beyond these common choices. It's a great resource for seeing the full range of what's available.
Preparing Your Garage for a Flawless Installation
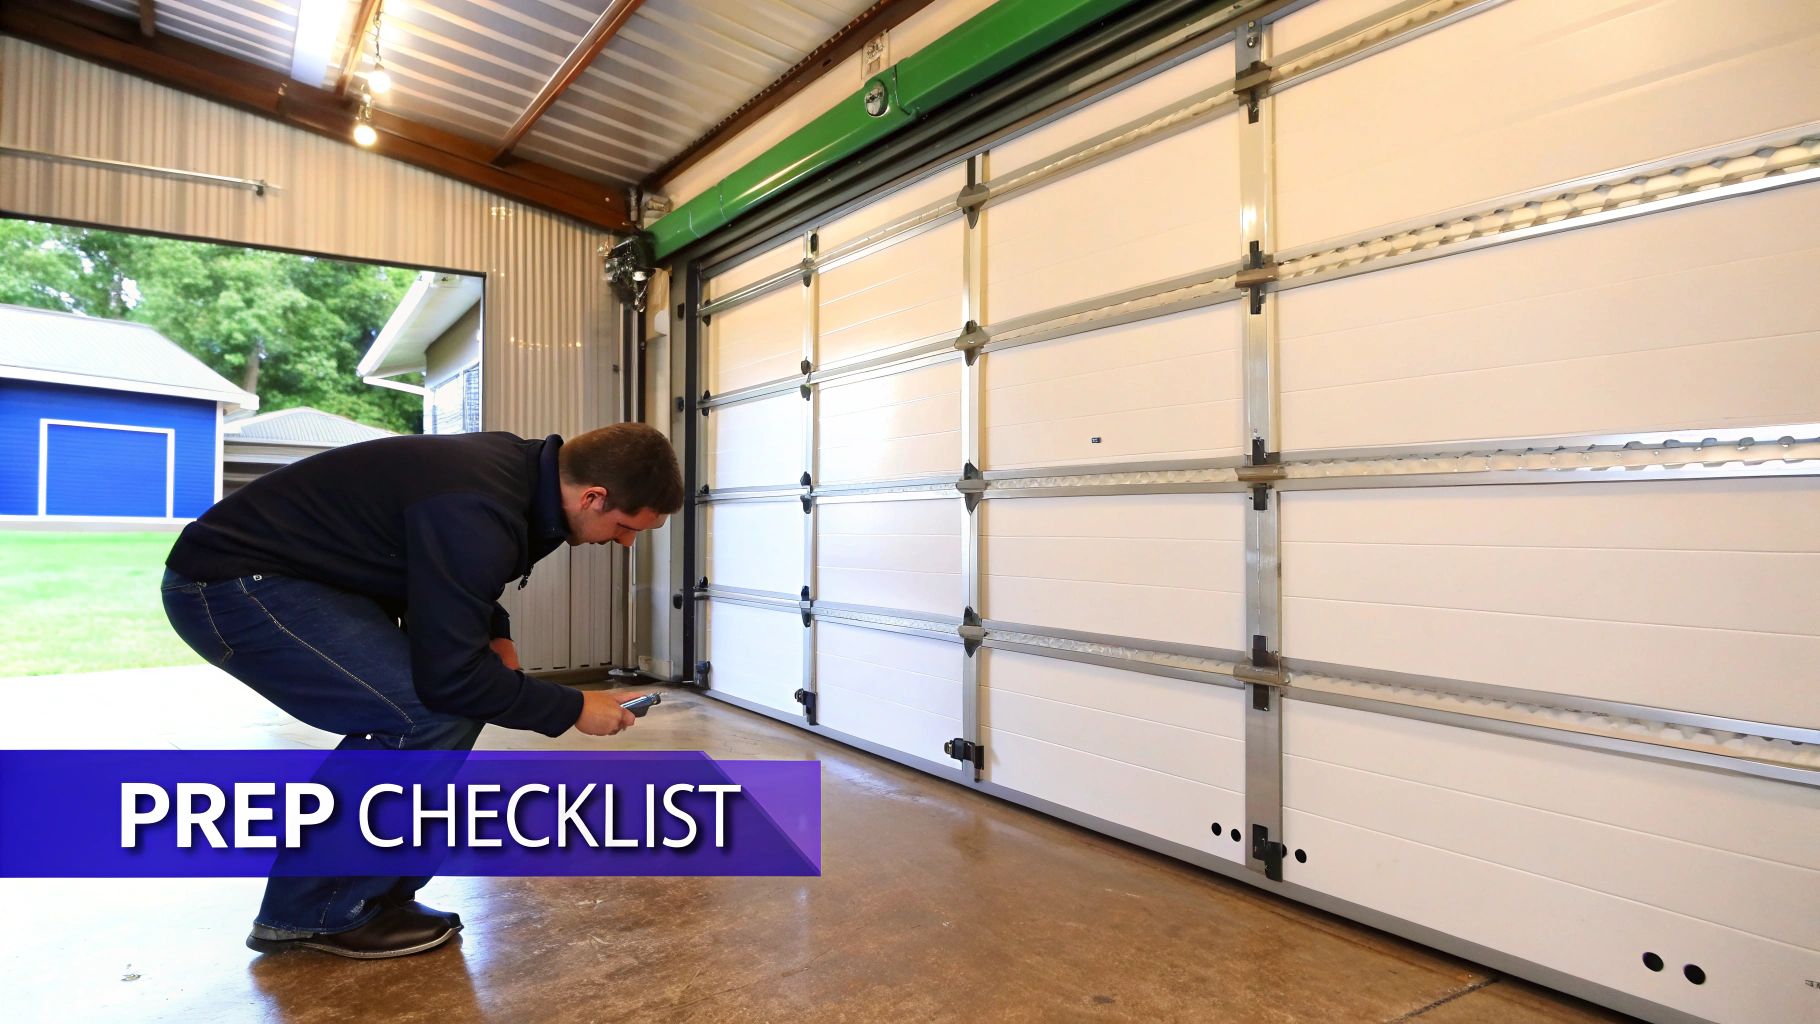
Proper preparation is easily the most important part of insulating a metal garage. It’s tempting to jump straight into cutting and placing your insulation, but I can tell you from experience that rushing this stage is a guaranteed way to trap moisture and get disappointing results. A little diligence now prevents massive headaches later on.
Think of it like painting a car—you'd never just spray a new coat over dirt and rust. Your insulation needs a clean, dry, and solid surface to do its job, especially if you're using adhesives with rigid foam or going with spray foam.
Clean and Inspect Every Surface
First things first: a thorough cleaning. The interior metal panels and girts (the horizontal framing members) have almost certainly collected dust, grime, and maybe even a bit of oil or grease over time.
- Degrease and Wash: Use a simple solution of soap and water or a mild degreaser to scrub down all interior metal surfaces. A pressure washer on a low setting can make quick work of it, but a good old-fashioned bucket and brush work just as well.
- Rinse and Dry Completely: Rinse everything thoroughly to get rid of any soap residue. The crucial part here is allowing the entire garage to dry 100% before you move on. Trapping even a tiny bit of moisture behind your insulation is a recipe for rust.
Once it's clean, grab a bright flashlight and give every inch of your garage a close inspection. You’re looking for any sign of water intrusion, like streaks or rust stains. Pay extra close attention to the areas around fasteners and seams. This is your one chance to find and fix leaks before they become a hidden, destructive problem.
Seal Every Potential Air Leak
Metal garages are full of seams, joints, and fastener holes that create small pathways for air and moisture. Sealing these gaps is a non-negotiable step for an effective thermal barrier. In fact, a well-sealed structure is a fundamental part of your steel building foundation requirements for long-term durability.
Make sure you focus your efforts on these key areas:
- Panel Seams: Apply a high-quality, metal-safe caulk or sealant along all the vertical and horizontal panel joints.
- Base Perimeter: Seal the gap where the wall panels meet the concrete foundation. This is a major source of drafts.
- Corners and Trim: Don't forget the corners and all the trim around window and door frames.
A drafty garage isn't just uncomfortable; it's incredibly inefficient. Every unsealed gap lets your conditioned air escape and allows humid, unconditioned air in. That process can lead to condensation problems that will undermine your entire insulation project.
This level of detail really pays off. It's why we're seeing such a boom in the metal structural insulation panels market, which is heavily influenced by today's energy efficiency standards. The market in China, for example, is projected to grow at a CAGR of 7.4% from 2025 to 2035, driven largely by big construction projects where thermal efficiency is paramount.
Adding Framing When Necessary
Finally, take a look at your garage’s interior structure. If you’ve decided to use traditional fiberglass batts, you’ll need to install wood or metal framing (studs) between the existing girts. This creates the cavity needed to hold the batts in place and gives you a surface to attach an interior wall finish, like drywall or plywood.
Even if you're using rigid foam, adding some simple wood furring strips can make the installation much smoother. This framing gives your insulation a solid structure to attach to, ensuring you get a professional, long-lasting, and highly effective result.
A Practical Guide to Installing Your Insulation
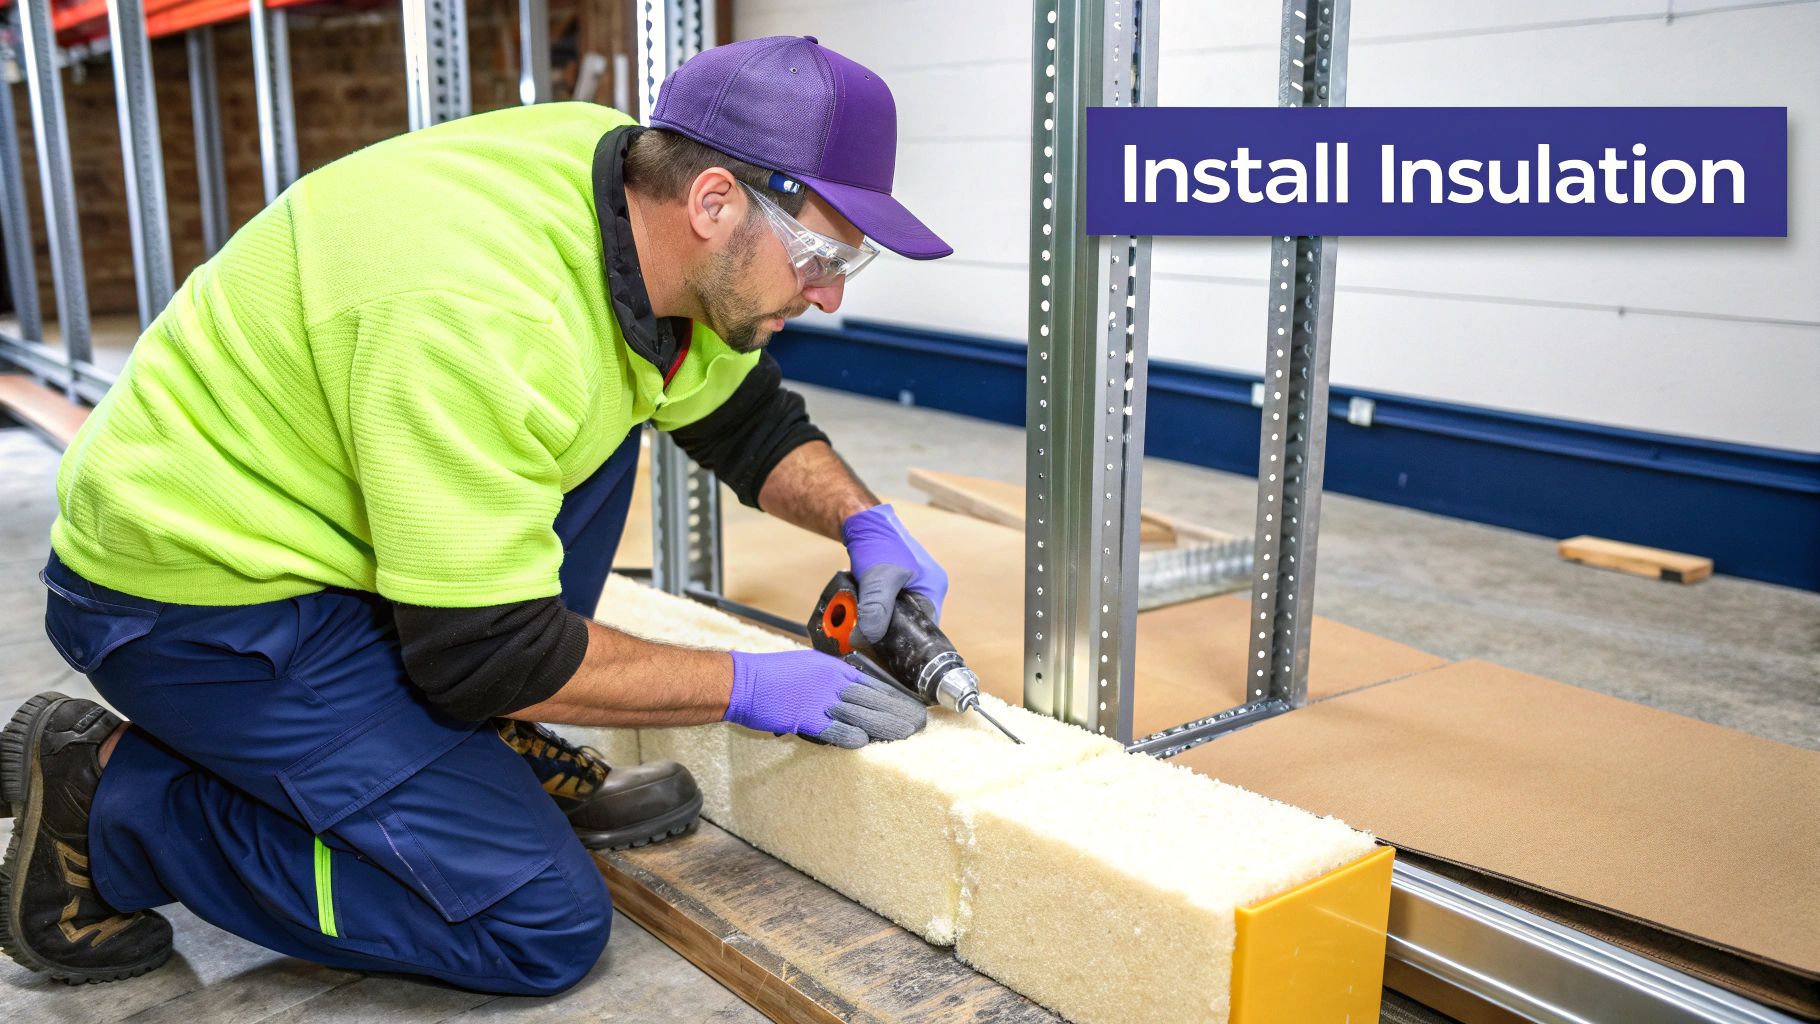
Alright, your garage is cleaned out, sealed up, and prepped for the main event. Now it's time to get hands-on and install the insulation. This is the moment where all that careful planning and prep work really starts to pay off.
We'll walk through the process for the two most popular DIY options for metal garages: rigid foam board and fiberglass batts.
Each type has its own installation quirks, but the golden rule for both is precision. The difference between a snug, effective thermal barrier and a drafty, inefficient mess comes down to taking your time to measure twice and cut once.
Installing Rigid Foam Board Insulation
Rigid foam is a fantastic choice for metal buildings, mainly because you can often install it without having to build out an entire interior frame. The process is pretty straightforward—it’s all about cutting the panels to fit perfectly between the horizontal girts of your garage walls.
Your go-to tools here will be a sharp utility knife (with plenty of extra blades), a good tape measure, and a straightedge. If you’re working with thicker foam panels, a small hand saw can make your cuts much cleaner and quicker.
- Measure Everything: Get your tape measure and check the height and width between the girts. Do this in a few different spots for each section you're about to fill. Metal framing isn’t always perfectly uniform, so don't just assume every opening is the same size.
- Cut with Care: Transfer those measurements to your foam board. Use a straightedge to guide your utility knife, scoring the board deeply on the first pass. Then, you can usually snap it cleanly along the line.
- Apply the Right Adhesive: Grab a construction adhesive that’s specifically made for foam board and metal. Apply a generous "S" pattern on the back of the panel to get solid coverage and a strong bond.
- Press and Secure: Firmly press the panel into place between the girts. It should feel snug, but you shouldn't have to force it in.
After all the panels are in, you've got one last crucial step: sealing the seams. Use a high-quality foil tape to cover every joint between the boards. This creates a continuous air and vapor barrier, which is absolutely essential for stopping condensation in its tracks.
Installing Fiberglass Batt Insulation
If you went with budget-friendly fiberglass batts, the installation looks a bit different. This method almost always requires interior framing, like 2×4 studs, to create the cavities where the insulation will live.
Here’s the single most important thing to remember with fiberglass: do not compress it. Seriously. The insulation works because of the tiny air pockets trapped in the fibers. If you squish it down to fit into a space that’s too small, you'll dramatically reduce its R-value.
- Faced vs. Unfaced Batts: If you're using kraft-faced batts, the paper backing doubles as your vapor barrier. That paper side must always face the warm side of the wall—so, toward the inside of your garage. For unfaced batts, you’ll need to install a separate vapor barrier, like polyethylene sheeting, over the insulation and studs.
- Place, Don't Shove: Gently place the batts into the stud cavities. The goal is for them to fill the space completely without being packed in tightly.
- Cut Around Obstacles: You’ll inevitably run into electrical boxes, pipes, or wiring. Use your utility knife to carefully cut the batt to fit around them. For wires, it's best to split the batt so you can tuck insulation both behind and in front of them.
Safety Is Non-Negotiable
Working with any insulation demands proper personal protective equipment (PPE). Fiberglass fibers are no joke—they can seriously irritate your skin, eyes, and lungs. Always wear long sleeves, gloves, safety glasses, and a good dust mask or respirator. While foam board is less messy, a mask is still a smart idea to keep you from breathing in dust when you're cutting it.
Properly fitting your insulation is a key step in any successful build. For anyone planning a new structure, understanding the whole process from the ground up, including professional steel building installation, can offer valuable insight into how every component works together to create a durable, efficient, and comfortable space.
Finishing Touches for a Comfortable and Durable Space
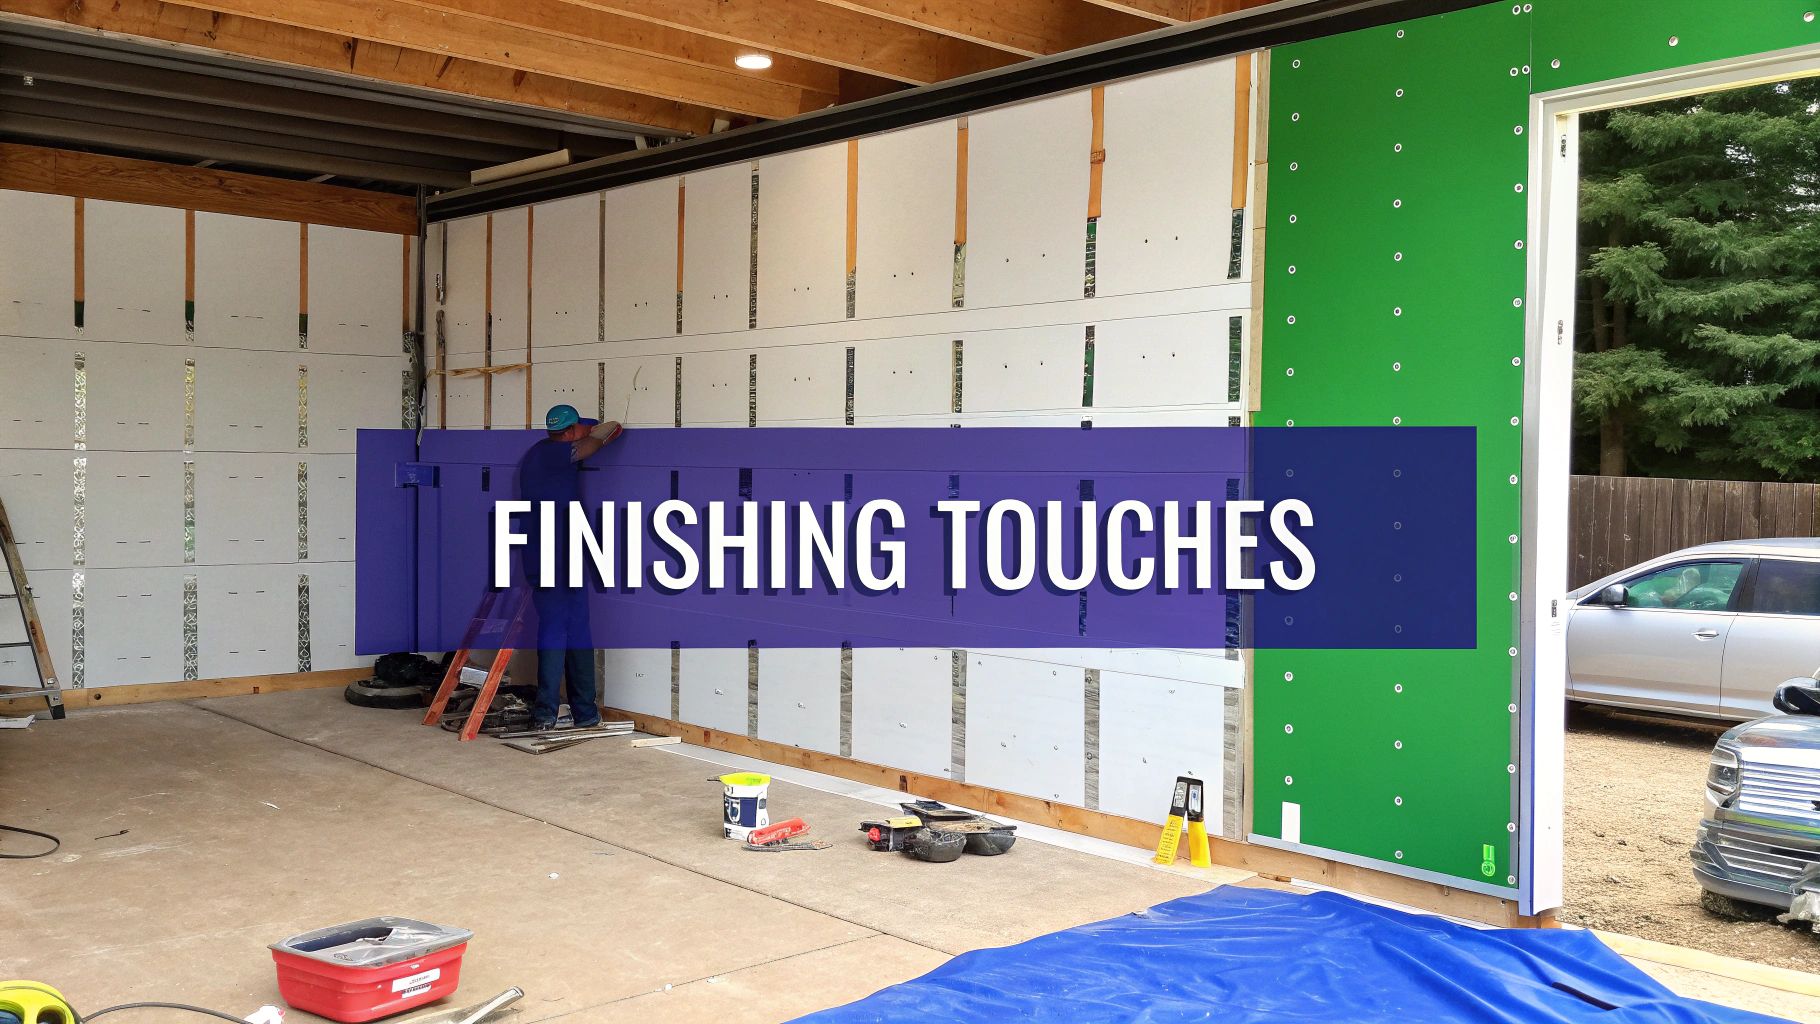
You've insulated the walls, and that's a huge win. But don't pack up your tools just yet. The finishing touches are what really seal the deal, turning a basic insulated shell into a genuinely comfortable and efficient space. Skipping these final steps can leave gaping holes in your thermal barrier, undermining all the hard work you've already put in.
Your biggest thermal enemy at this point is almost always the garage door. An uninsulated metal door acts like a massive radiator, bleeding heat out in the winter and letting it pour in during the summer. The good news? Insulating it is a pretty straightforward weekend project that delivers immediate results.
You can find lightweight garage door insulation kits at most home improvement stores. They usually come with pre-cut rigid foam or reflective foil panels that are easy for one person to handle and install.
Insulating the Garage Door and Ceiling
Getting the door insulated is quick and makes a noticeable difference right away. Here’s the game plan:
- Clean the Door: First, give the interior surface of each door panel a thorough cleaning. A clean surface ensures the adhesive or fasteners will stick properly.
- Cut to Fit: Measure each panel on your door and cut the insulation pieces to size. You're aiming for a snug fit that fills the space without bending or buckling the panel.
- Secure the Panels: Use the adhesive or fasteners that came with your kit to attach the insulation. Press firmly to ensure a solid bond.
Once the door is handled, look up. Heat rises, making an uninsulated ceiling or roof a major escape route for all that warm air you want to keep inside. The method here will vary depending on your garage's framing, but the goal is the same as the walls: create an unbroken thermal layer.
The Importance of a Vapor Barrier
If the insulation you picked doesn't already have a vapor barrier attached (like kraft paper or foil facing), adding one is non-negotiable. This is especially true in a metal garage, where condensation can quickly lead to rust, rot, and mold.
A vapor barrier does one simple but critical job: it stops warm, moist air from inside your garage from hitting the cold exterior metal sheathing and turning into water droplets. It always goes on the "warm-in-winter" side of the insulation, which means it should be the last layer you see before putting up your interior walls.
This step is absolutely crucial for the long-term health of your building and the effectiveness of your insulation. It’s part of a much larger global trend toward building more energy-efficient structures. In fact, the market for building thermal insulation is projected to hit $48.60 billion by 2032, largely driven by the need to cut down on energy consumption.
Finishing the Interior Walls
With the insulation and vapor barrier in place, you’re finally ready to cover it all up. This isn't just for looks; it protects your insulation from damage and gives the garage a clean, polished feel.
You've got two solid options here:
- Drywall: This gives you a smooth, paintable surface that can make your garage feel like a true extension of your home.
- Plywood or OSB: If you plan on hanging heavy tools, shelves, or cabinets, these materials are the way to go. They offer incredible durability and let you mount things anywhere without hunting for a stud.
After finishing the walls, a good coat of paint can completely transform the space. For some great tips on getting it done right, check out a pro DIY guide for painting interior walls for a finish that looks sharp and professional.
Common Questions About Insulating a Metal Garage
Even with the best plan laid out, it’s completely normal to have a few questions pop up before you dive into a project like this. We’ve pulled together some of the most common ones we hear from garage owners to give you clear answers, so you can get started with total confidence.
What Is the Cheapest Way to Insulate a Metal Garage?
If you're working with a tight budget, your two best bets are going to be fiberglass batts or reflective foil insulation.
Fiberglass gives you a pretty decent R-value for its low price point. The main drawback is that it absolutely needs interior framing to be installed, and it’s a magnet for moisture if you're not careful.
Reflective foil is usually even cheaper and a bit easier to handle, but its R-value is much lower. It's a solid choice for milder climates or when you pair it with another type of insulation for a hybrid approach. While spray foam is the undisputed champion of performance, the cost of professional installation puts it at the very top of the price ladder.
Do I Need a Vapor Barrier?
Yes, you definitely do. A vapor barrier is non-negotiable for a metal building. They are notorious for condensation—it happens when the warm, humid air inside your garage hits those cold exterior metal panels. That moisture is the number one cause of rust, and it's a perfect breeding ground for mold.
A properly installed vapor barrier is your best defense against condensation. It should always be placed on the "warm" side of the insulation—meaning the interior-facing side—before you finish the walls.
The good news is that many insulation products already have one built-in, like kraft-faced fiberglass or foil-faced foam boards. If the material you picked doesn't, you'll just need to add a separate layer of polyethylene sheeting before you put up your drywall.
Can I Insulate Without Adding Framing?
Absolutely. If you want to skip the time and expense of building out an interior frame, your go-to options are rigid foam boards or spray foam insulation.
Rigid foam panels are light enough that you can attach them directly to the horizontal girts already in your garage. All it takes is a strong construction adhesive designed for the job.
Spray foam, whether you hire a pro or use a DIY kit, sticks right to the cleaned metal panels. It expands to create a perfect, seamless seal that molds to every nook and cranny of your building's structure, no extra support needed. For a deeper dive into all the different parts of a metal building, you can find a ton of info in our steel building FAQs.
Ready to create a durable, energy-efficient space that lasts? Icon Steel Buildings offers high-quality, American-made metal buildings designed to meet your exact needs. Explore our customizable options today at https://iconsteelbuildings.com.