
Your RV is an investment in freedom, but leaving it exposed to the elements is a risk you just don't have to take. A pre-engineered metal building isn't just a cover; it's the ultimate defense against weather, sun damage, and security threats. Think of it as a permanent, impenetrable fortress for your home-on-wheels.
Why a Metal Building Is Your RV's Best Defense
Your recreational vehicle is so much more than a way to get from point A to point B. It's a significant financial asset that holds countless memories of your adventures. Leaving it unprotected is like leaving your home's front door wide open—you're just inviting trouble.
While tarps and fabric covers might seem like a decent solution, they offer minimal protection and can even trap moisture, creating a perfect environment for mold and mildew. And those open-air storage lots? They expose your investment to a constant barrage of threats every single day.
The Unseen Enemies of Your RV
Constant exposure to the elements quietly chips away at your RV's value and integrity. The sun's UV rays are especially brutal, causing paint to fade, decals to crack, and the rubber seals around your windows and slides to dry out and become brittle. That kind of deterioration inevitably leads to costly water leaks and repairs down the line.
Then there’s the more direct threat: severe weather. Hail can cause thousands of dollars in damage in just a few minutes, while strong winds can topple trees or send debris flying right into your RV.
A quality metal building shields your RV from direct sun, rain, and falling debris. This dramatically cuts down on maintenance chores like maintaining a clean RV awning and prevents stubborn mold or UV damage from ever taking hold. To see just how well our structures handle the worst Mother Nature can throw at them, check out our guide on the safety of steel buildings in storms.
A Smart Investment in a Growing Market
Choosing a steel structure isn’t just about protection; it’s a strategic move backed by a booming industry. The US pre-engineered metal building market, which includes structures perfect for RV storage, was valued at USD 12.98 billion in 2024. It's projected to more than double, reaching USD 27.10 billion by 2033.
This incredible growth shows just how many people are recognizing metal buildings as the superior solution for durable, reliable storage. It’s not a niche trend—it’s the new standard.
A metal RV building isn't an expense; it's an investment in preservation. It safeguards your RV's resale value, minimizes surprise repair bills, and provides invaluable peace of mind between adventures.
Choosing The Right Size Metal Building For Your RV
Picking the right size for your metal RV building is easily one of the most important decisions you'll make in this entire process. Think of it like buying a custom suit—if it’s too tight, it's useless, but if it’s too baggy, you’ve just wasted money on extra material. Getting this wrong is a costly mistake with no simple fix, so it pays to measure twice and build once.
Your goal is to strike that perfect balance: a building that comfortably fits your current RV while also leaving room for whatever the future holds. We'll go beyond just length and width to cover the three key factors in smart sizing: your RV's real measurements, essential clearance space, and future-proofing your investment.
This infographic breaks down the core decision every RV owner faces when deciding how to protect their home-on-wheels.
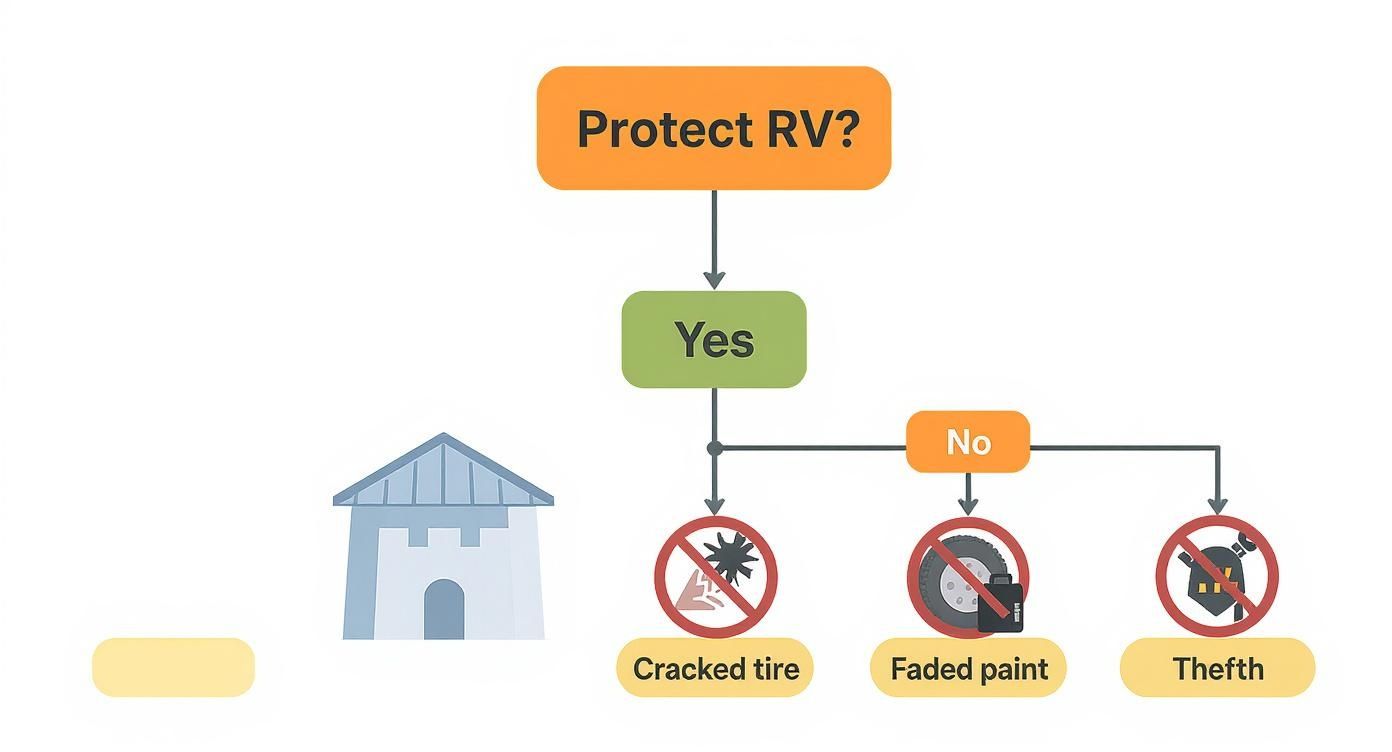
As you can see, proper protection secures your asset. Neglecting it, on the other hand, opens the door to expensive risks like UV damage, cracked tires, and even theft.
Measure Your RV’s True Dimensions
First things first: forget the manufacturer's listed specs. Those numbers rarely include the accessories and add-ons that can drastically change your RV’s actual footprint. You need to grab a tape measure and get the real numbers yourself, accounting for every single protrusion.
- Length: Measure from the absolute front—like the hitch or bumper—all the way to the absolute rear, including any ladders or spare tires.
- Width: Extend your slide-outs and awnings completely. Now, measure from the widest point on one side to the widest on the other. Don't forget to factor in the side mirrors.
- Height: Climb up on the roof and measure from the ground to the very highest point, which is usually an A/C unit, a satellite dish, or an antenna.
These "true dimensions" are your starting point. Write them down so you're working with reality, not a brochure estimate.
Plan For Essential Clearance Space
Now that you have your baseline, it's time to add some breathing room. A building that just barely squeezes your RV in is a recipe for scraped paint, broken mirrors, and a whole lot of frustration. You need ample clearance on all sides to move around, perform maintenance, and maneuver safely.
A good rule of thumb is to add at least five feet of clearance on each side of your RV (not including mirrors) and another five feet to the length. This gives you plenty of space to walk around, open storage bays, and work on your rig without feeling boxed in.
For the height, you’ll want to add a minimum of two to three feet above your RV's highest point. This extra vertical space is crucial not only for pulling in and out but also for accommodating the roll-up mechanism of your garage door, which can easily eat up a foot of headroom.
The table below gives you a quick reference for matching common RV types with the minimum recommended building dimensions, including that all-important clearance.
RV Class And Recommended Minimum Building Dimensions
| RV Class | Typical RV Dimensions (L x W x H) | Recommended Building Width | Recommended Building Length | Recommended Eave Height |
|---|---|---|---|---|
| Class A | 30-45 ft x 8.5 ft x 12-14 ft | 18-20 ft | 40-50 ft | 14-16 ft |
| Class B | 18-24 ft x 7 ft x 8-10 ft | 12 ft | 25-30 ft | 12 ft |
| Class C | 22-35 ft x 8.5 ft x 10-12 ft | 18 ft | 30-40 ft | 14 ft |
| Fifth Wheel | 25-45 ft x 8.5 ft x 12-13.5 ft | 18-20 ft | 35-50 ft | 16 ft |
| Travel Trailer | 15-35 ft x 8 ft x 10-11 ft | 14-18 ft | 25-40 ft | 12-14 ft |
For example, a typical Class A motorhome that's 40 feet long and 13 feet high really needs a building that’s at least 45 feet long with a 15- or 16-foot eave height to be comfortable. If you're looking for a multi-purpose space, exploring options like 30 x 40 metal building kits can be a great starting point for covering both your RV and a small workshop area.
Future-Proofing Your Investment
Let's be honest—your current RV might not be your forever RV. It’s common for owners to upgrade to bigger models down the road, and the last thing you want is for your custom-built garage to become obsolete. A little forethought now can save you a mountain of cash and headaches later.
Consider adding a bit of extra length or width to your initial design. That space doesn't have to sit empty. In the meantime, it can easily serve as a:
- Workshop for hobbies and repairs
- Storage spot for tools, kayaks, or a second car
- Covered patio area for messy projects
By thinking ahead, you’re not just buying a garage for your RV. You’re investing in a versatile structure that adds long-term value and utility to your property.
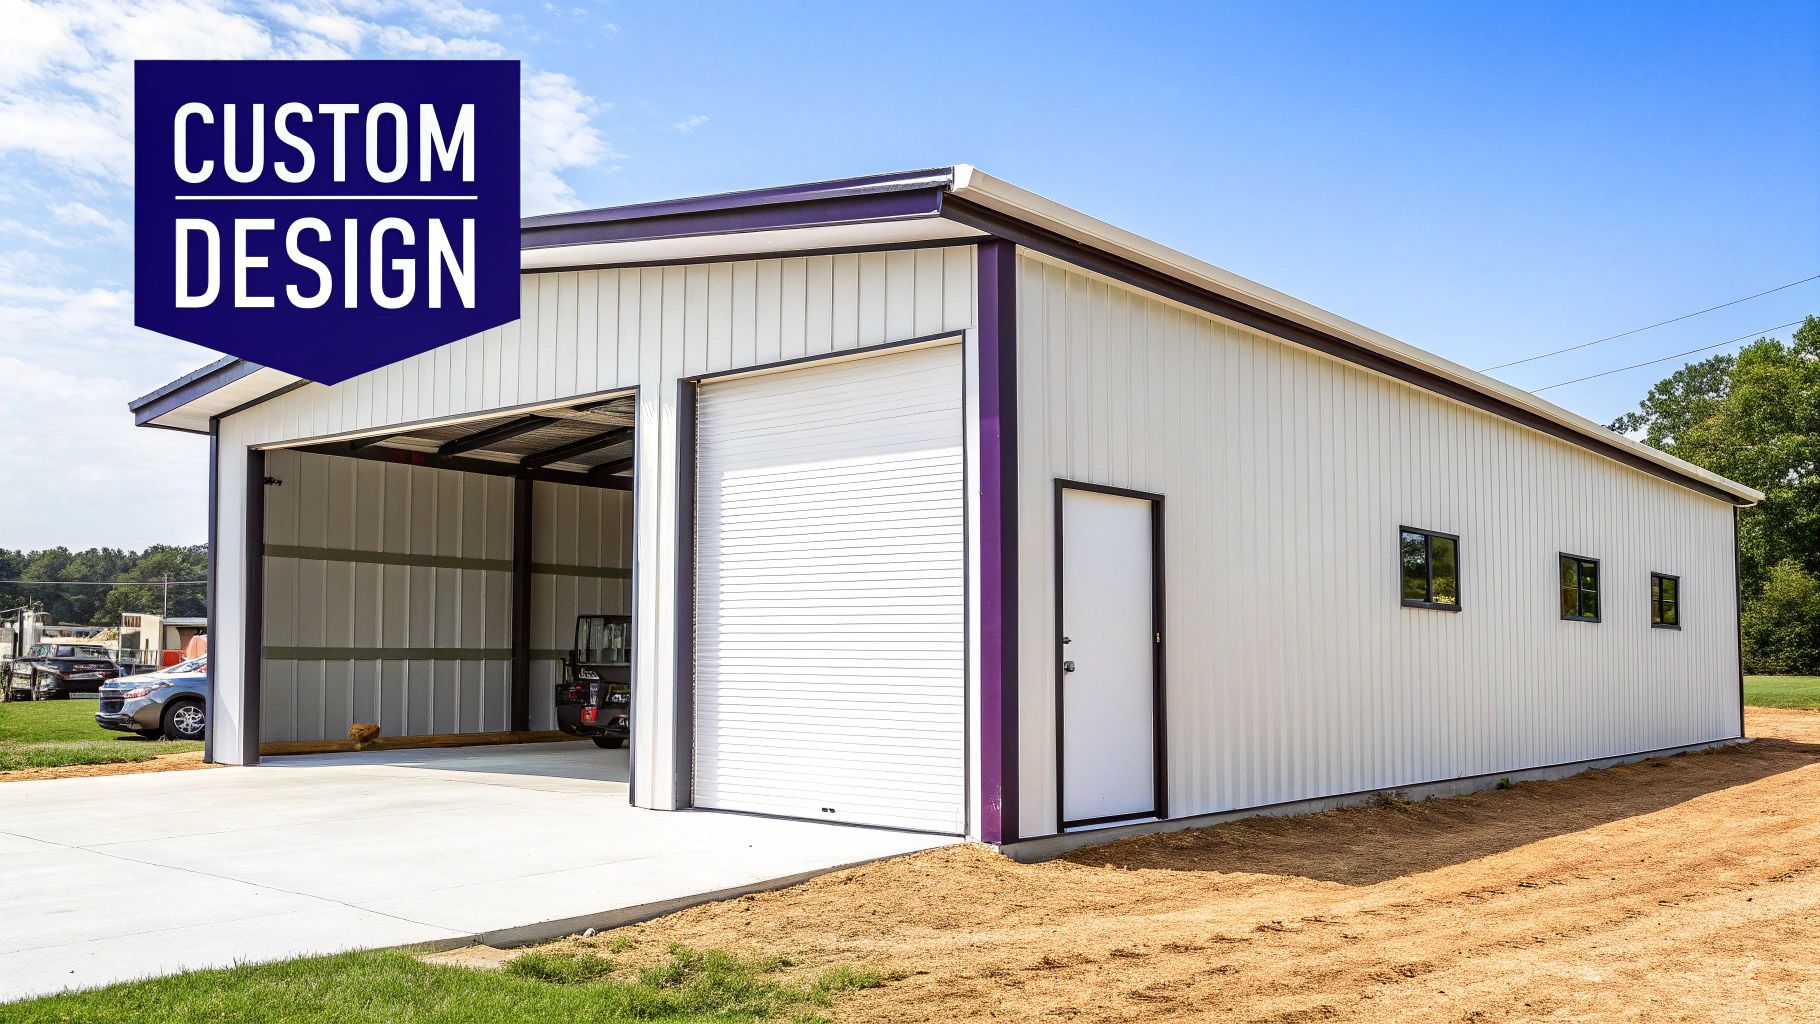
Designing Your Ideal RV Metal Building
A metal building for your RV should be way more than just a steel box—it's a functional extension of your property and a serious long-term asset. Designing the right structure isn't about just picking a size. It's about choosing features that make your life easier, protect your investment, and actually look good on your property.
The whole process kicks off with the single most critical structural decision you'll make: the roof. This one choice has a massive impact on how your building stands up to local weather, making it the true foundation of a solid design.
Choosing the Right Roof Style
Think of the roof as your building's first line of defense against whatever Mother Nature throws at it. Its shape and design determine how well it sheds rain, snow, and debris. You've got three main styles to consider, and each one has its own distinct advantages.
- Regular Roof: This is your most economical option, featuring rounded eaves and horizontal paneling. It’s a great choice for areas with mild weather, not a lot of rain, and no snow to worry about.
- A-Frame (Boxed-Eave) Roof: This style gives you a more traditional, home-like look with its sharp A-frame peak and horizontal roof panels. It’s a nice aesthetic upgrade and holds up well in moderate weather conditions.
- Vertical Roof: As the premium choice, the vertical roof is the strongest and most durable of the bunch. Its panels run straight down from the peak to the eaves, letting snow, rain, and leaves slide right off. This design is highly recommended for regions with heavy snowfall or frequent, heavy downpours.
Adding Functional Doors and Windows
Once you've got the roof sorted, the next step is making the building easy to get in and out of. The right mix of doors and windows is what turns a simple shelter into a truly functional garage or workshop.
Roll-up garage doors are the go-to for the main vehicle entrance. They come in all sorts of sizes to fit any class of RV, and you can get them with a manual chain hoist or a super-convenient electric opener. For everyday access without heaving up the main door, a walk-in door is a must-have.
Tossing in a few windows is a simple upgrade that pays off big time. They let natural light flood the inside, which makes it a much nicer place to work and cuts down on the need for flicking on the lights during the day.
Customization for Climate and Aesthetics
Beyond the basic structure, you can add features that control the climate inside and make the building look sharp. These options let you create a personalized space that really meets all your needs.
A well-designed metal RV building doesn’t just protect your vehicle; it adds value and utility to your entire property. Thoughtful customizations like insulation and color matching can turn a standard garage into a standout feature.
Here are a few popular upgrades to think about:
- Insulation: If you plan on working inside the building or you live in a place with extreme temperatures, insulation is non-negotiable. It helps keep the interior temperature stable, stops condensation from building up, and can even lower your energy bills if you decide to heat or cool the space.
- Color Selection: Match the building to your house or other outbuildings for a clean, cohesive look. Most suppliers offer a huge range of colors for the roof, walls, and trim.
- Wainscoting: This is a nice decorative touch where the lower section of the walls has a different color or material. It adds some visual pop and can break up the look of a large, plain steel structure.
- Interior Partitions: If you went with a larger building for multi-purpose use, interior walls can create separate, dedicated zones. You can easily section off a workshop, a storage room, or even a small office from the main garage area.
When planning your RV metal building, you might also want to think about adding electrical hookups to support your rig, including its existing RV electrical systems and solar power integration. By carefully picking these design elements, you can build the perfect home base for your RV adventures. For a closer look at what’s possible, check out our custom steel buildings.
How to Budget for Your Metal RV Building
Figuring out the true cost of your RV building is the secret to a smooth, surprise-free project. The price of the steel building kit is your starting point, but it's not the whole story. Budgeting for a metal RV building is a lot like planning a cross-country road trip—you know the cost of the RV, but you also have to account for gas, campgrounds, and all the little expenses along the way.
To make sure you see the complete picture from day one, it helps to break your total investment down into three main buckets.
The Three Pillars of Your Building Budget
Your final cost will always be a mix of the base building, the options you add, and the groundwork needed to put it all together. Each part is just as important as the last when it comes to the final number on your invoice.
- The Base Building Price: This is your foundation—the cost of the steel frame, roof, and wall panels for a standard structure. Every other cost builds on this number.
- Customizations and Upgrades: This is where you make the building yours. Think roll-up garage doors, a walk-in door for easy access, windows for natural light, insulation, or premium color options.
- Site Preparation and Foundation: This is the one people forget most often, but it's non-negotiable. It covers everything from clearing and leveling the land to pouring a solid concrete slab.
By thinking about these three areas separately, you can build a budget that's realistic and complete. No more getting blindsided by costs you didn't see coming.
Understanding the Numbers
So, what do these costs actually look like? Looking at recent data for 2025, the raw materials for a metal building run somewhere between $11 and $20 per square foot. But remember, that's just for the steel. You still need to add in land grading (around $1–$2 per square foot) and a concrete foundation ($4–$8 per square foot).
For a small 20×30 foot building, you're likely looking at a total installed cost between $10,600 and $19,000. If you need a larger 40×60 foot structure, that number can range from $38,400 to $115,200, depending on how complex the design is and the condition of your site.
The good news? Prices have actually dropped by about 10-20% since the supply chain chaos a few years back.
For a deeper dive into pricing for all kinds of sizes and configurations, check out our complete guide on metal building kit prices.
To put it all into perspective, here's a sample budget for a popular RV garage size.
Estimated Cost Breakdown For A Standard 24×40 RV Garage
This table gives you a ballpark idea of how the costs break down for a common 24×40 RV garage. Keep in mind that your numbers will vary based on your location, chosen features, and site conditions.
| Cost Item | Average Cost Range | Description |
|---|---|---|
| Base Building Kit | $7,000 – $9,500 | The core steel frame, roof, and wall panels. |
| Upgrades & Options | $1,500 – $4,000 | Includes a large roll-up door, walk-in door, and a few windows. |
| Foundation (Concrete) | $4,000 – $7,500 | A 4-inch monolithic concrete slab for the 960 sq. ft. footprint. |
| Site Prep | $1,000 – $2,000 | Basic clearing and leveling of the land. Can be more for sloped lots. |
| Installation Labor | $2,500 – $5,000 | Cost for a professional crew to erect the building. |
| Permits & Fees | $500 – $1,500 | Varies widely by municipality. |
| Total Estimated Cost | $16,500 – $29,500 | Your all-in cost for a fully installed, ready-to-use garage. |
As you can see, the "extra" costs can easily add up to match the price of the kit itself. That's why planning for the full scope of the project is so critical.
Factors That Influence Your Final Cost
Beyond the size and options you pick, a few other things can push your final price up or down. Staying aware of these variables helps you plan smarter and maybe even find some places to save.
A well-planned budget does more than just track expenses; it empowers you to make informed decisions about where to invest your money for the best long-term value in your metal RV building.
Keep these key influencers on your radar:
- Geographic Location: Labor rates and delivery costs change a lot from one state to the next. Putting up a building in a remote, hard-to-reach spot will naturally cost more than in a suburb near a major hub.
- Current Steel Prices: Steel is a global commodity, and its price goes up and down with supply and demand. Locking in your price with a deposit is a great way to protect yourself from a sudden market spike while you're getting your plans in order.
- Building Codes and Permits: Your local town or county has rules. They'll dictate things like wind and snow load ratings your building has to meet. Meeting these engineering requirements can add to the base cost, and the permit fees are another line item for your budget.
- Installation Crew: Some quotes you get will include installation, while others are for a DIY kit only. Always ask if you're looking at a materials-only price or a complete, turnkey project.
By breaking down your budget and understanding the forces at play, you can take on your RV building project with total financial confidence. This kind of detailed planning ensures your new structure isn't just a perfect fit for your RV, but a perfect fit for your wallet, too.
Navigating the Purchase and Installation Process
Turning that plan on paper into a physical structure that protects your RV is an exciting part of the journey. The whole process, from getting your first quote to tightening the last bolt, is actually a pretty straightforward path once you know what to expect. Think of it as a project roadmap, guiding you from one stage to the next for a smooth, predictable outcome.
Your first step is gathering quotes, but remember, not all quotes are created equal. To get a true sense of the cost, you need to give every supplier the exact same detailed specs—size, roof style, where the doors and windows go, and any other custom features. This is the only way to compare apples to apples and find the best value, not just the lowest initial price tag.
From Contract to Concrete
Once you've picked a supplier, the next piece of paper you’ll see is the purchase contract. Read it. Then read it again. It should clearly spell out the building specs, total cost, payment schedule, estimated delivery window, and all the warranty details. Pay close attention to what’s included and, just as important, what isn't. Site prep and foundation work, for instance, are almost always on you.
Before a single piece of steel shows up, your site needs to be ready to go. This prep work is the literal foundation of a successful build, and cutting corners here will only lead to major headaches down the road.
Your pre-installation checklist should cover these key items:
- Secure Permits: Get in touch with your local building department early. They’ll tell you about any required permits, setback rules, and specific foundation requirements you need to follow to stay compliant with local codes.
- Site Preparation: The ground where your building will sit must be completely clear of trees, rocks, and any other debris. It also needs to be graded perfectly level so the structure sits right.
- Foundation Work: Most metal buildings for rv need a concrete slab. This gives you a stable, anchored base and a durable floor. Make sure your concrete contractor pours the slab to the exact dimensions your building provider specified.
A perfectly level foundation isn't just a suggestion; it's a non-negotiable requirement for a structurally sound building. An uneven base can throw panels out of alignment, make doors bind up, and might even void your warranty.
The Delivery and Assembly Stage
With your site prepped and the foundation cured, it’s delivery day. Your building's components will arrive on a large truck, so it's critical that the driver has clear and safe access to your build site. Things like low-hanging branches, tight turns, or soft ground can cause serious delays.
The on-site assembly is where your vision finally comes to life. A professional installation crew can work surprisingly fast, often getting the main frame up in a single day. They’ll assemble the trusses, attach the roof and wall panels, and install your doors and windows. To get a better feel for what's involved, you can check out the details of a professional metal building installation.
One common pitfall to avoid is not leaving enough room for the installation team. The crew needs plenty of space around the building's perimeter to move materials and use their equipment safely. A good rule of thumb is to keep at least three to five feet of clear, level ground around the entire foundation. Taking this simple step helps the crew work efficiently and safely, preventing damage to your property and the building itself. If you manage these key stages with a little care and attention to detail, your project will run smoothly, leaving you with a high-quality structure ready to protect your RV for years to come.
Simple Maintenance to Maximize Your Building's Lifespan
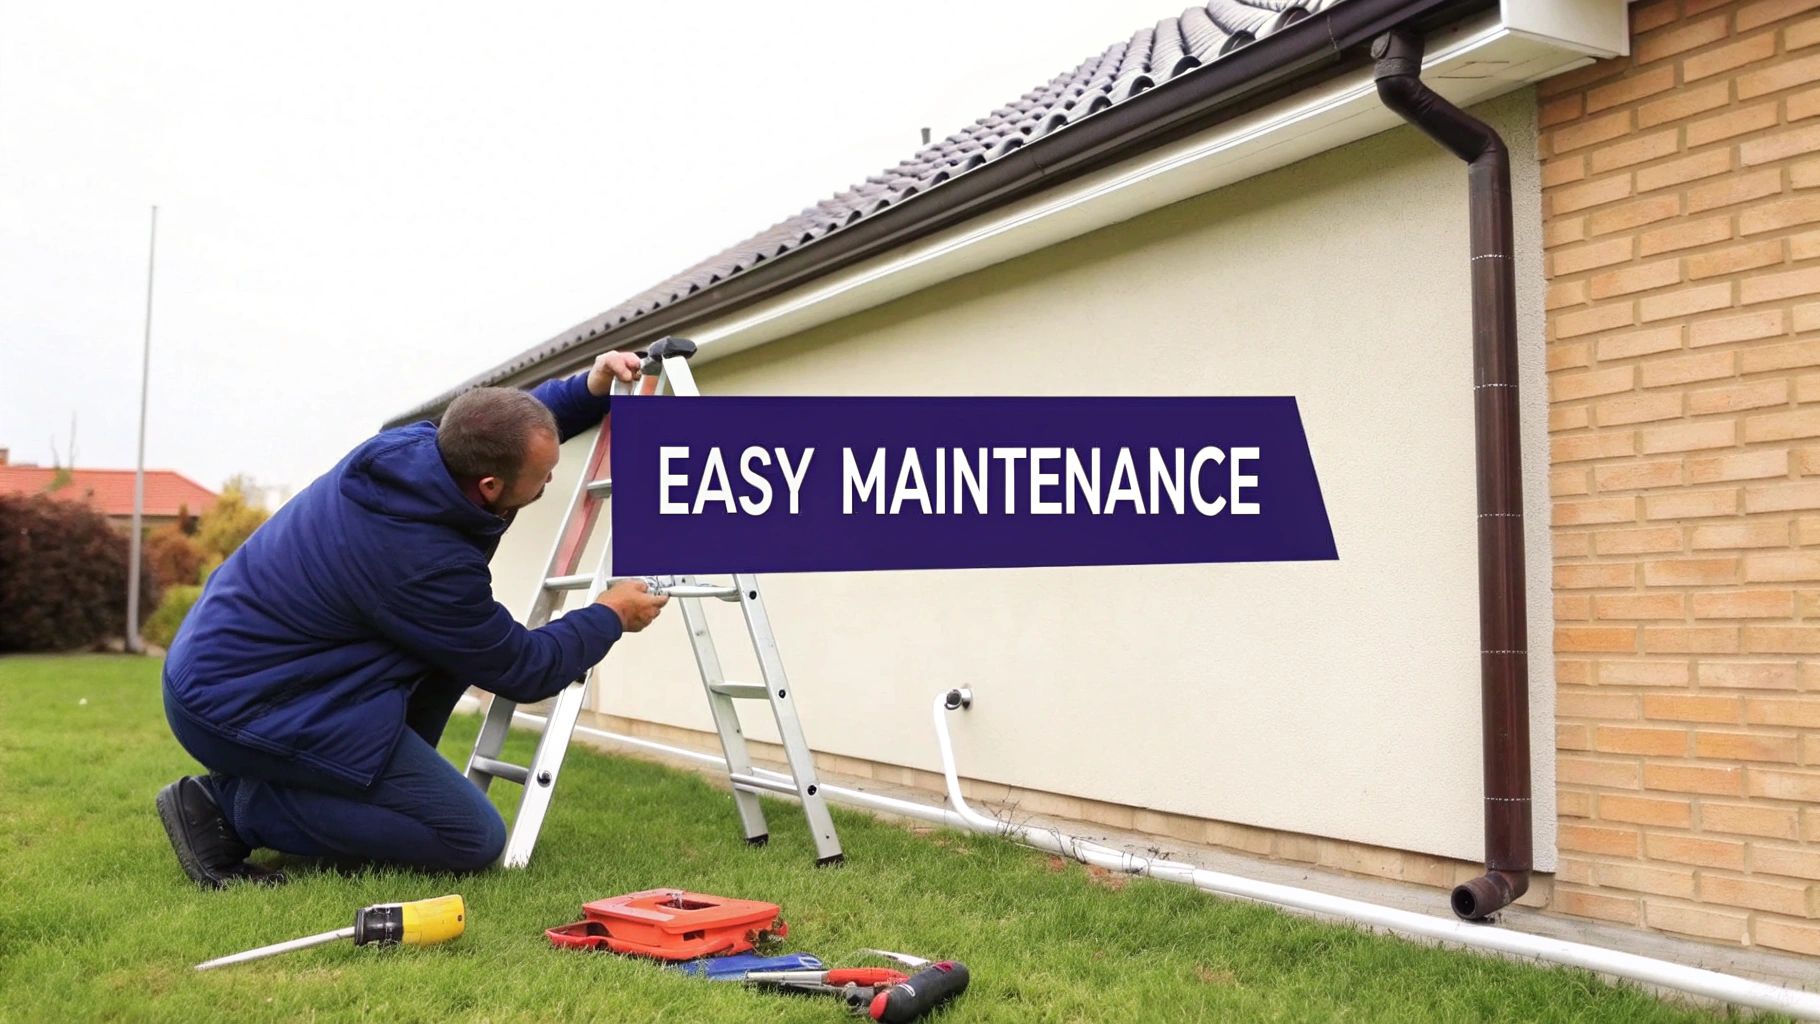
One of the best things about owning a steel structure is how incredibly low-maintenance it is. Unlike a wooden shed that seems to need constant painting and sealing, metal buildings for RV protection are built to handle the elements with very little fuss from you. Think of it like a new car—a quick wash and an occasional check-up are all it takes to keep it in prime condition.
But "low maintenance" isn't the same as "no maintenance." A few simple, seasonal checks are all you need to stop small issues from turning into big, expensive problems. A little bit of time invested now ensures your building will be standing strong for decades.
Your Seasonal Maintenance Checklist
Just setting aside an hour or two each season to walk around and inspect your building is the best way to catch anything before it gets serious. It’s a simple routine that protects both your RV and the structure itself.
Here’s a straightforward checklist to get you started:
- Inspect and Tighten Hardware: Between wind and the vibrations from opening and closing doors, screws and bolts can sometimes work themselves a little loose. Give the connections on your panels and framing a quick check, and gently tighten any that need it.
- Clear Gutters and Roof Debris: Just like on your house, gutters are a magnet for leaves and twigs. When they get clogged, water overflows, which can stain the panels and, over time, even start to erode the foundation.
- Wash the Panels: Every so often, give the building a good wash with some mild detergent and water. This gets rid of dirt, pollen, and bird droppings that, if left to sit, can slowly wear away the protective finish on the steel panels.
- Check Seals and Weather Stripping: Take a look at the seals around your walk-in doors, windows, and the bottom of the main garage door. If they get cracked or damaged, they can let in pests, drafts, and moisture.
Preventative maintenance is your most powerful tool. Spending 30 minutes cleaning your gutters is far easier and cheaper than dealing with water damage down the line.
Managing the Surrounding Environment
What’s going on just outside your building is every bit as important as the structure itself. Your immediate environment can cause real damage if you let it, but a little landscaping management goes a long, long way.
Keep a close eye on any nearby trees. Overhanging branches can scrape against the roof or walls during high winds, which can scratch the paint and create a weak spot for rust to get started. Trim them back to give your building a safe amount of clearance.
Also, be sure to manage any vegetation growing right up against the foundation. Weeds and vines are notorious for trapping moisture against the base of a building, and that moisture can accelerate corrosion over time. Keeping a clear perimeter of a few feet is a simple but incredibly effective way to ensure good airflow and drainage all around your structure.
Common Questions About Metal RV Buildings
Even after you've got a solid plan, a few questions always seem to pop up right before you're ready to pull the trigger. We get it. Let’s run through some of the most common ones we hear from RV owners to make sure you have all the answers you need.
Do I Need a Permit?
This is usually the first question on everyone's mind, and the answer is almost always yes. Most local governments see these as permanent structures. That means you'll likely need a building permit to make sure your new RV building meets all the local zoning laws and safety codes for things like wind and snow loads.
Before you even think about placing an order, your first call should be to your local building department. They'll give you the exact specs your building needs to meet.
What About Anchoring and Foundations?
Next up is the foundation. People often ask if a full concrete slab is really necessary. While some of the smaller, open-sided carports can be anchored directly to the ground with heavy-duty auger-style anchors, we highly recommend a concrete foundation for any enclosed metal RV building.
A solid slab gives you the strongest possible anchoring point, which is crucial for preventing lift in high winds. It also gives you a perfectly level and durable floor for your rig. Simply put, it's the best way to protect your investment for the long haul.
Think of your building's anchors like the roots of a tree. The deeper and more secure they are, the better the structure can withstand powerful storms. Ground anchors are fine, but a concrete foundation provides an unmatched level of stability.
Will My Metal Building "Sweat"?
"Sweating," or condensation, is another great question, especially if you live in a climate with big temperature swings. It happens when warm, moist air inside the building hits the colder surface of the metal panels, causing water droplets to form.
The best way to stop this is with good insulation. A quality vapor barrier paired with proper insulation not only eliminates condensation but also helps keep the inside temperature stable, making it a much more comfortable space year-round. This is a must-have upgrade if you plan on storing anything sensitive or using the space as a workshop.
Can I Add On to the Building Later?
Absolutely. One of the best things about pre-engineered steel buildings is their modular design. Expanding your building down the road is often as simple as ordering more frame sections and panels to add length.
Just be sure to mention this possibility to your supplier when you're first designing the building. Planning for a future expansion from the get-go can make the entire process much smoother when the time comes.
Ready to design the perfect, long-lasting home for your RV? The experts at Icon Steel Buildings are here to help you every step of the way, from initial design to final installation. Get your free, no-obligation quote today and start your project with confidence. Explore your options at https://iconsteelbuildings.com.