
Putting up a metal carport is more than just assembling a kit of parts—it's about building a durable, long-lasting structure that protects your vehicles for years to come. A solid plan is the difference between a smooth weekend project and a frustrating ordeal. This guide is your complete blueprint, filled with the kind of real-world advice you won't find in the instruction manual.
We'll walk you through everything, from preparing the ground to driving the final anchor bolt. Getting it right the first time is what it's all about.
Your Blueprint for a Successful Carport Build

A metal carport installation is a smart investment, and with the right approach, it's a perfectly manageable DIY project. We designed this guide to fill in the gaps left by standard manuals, focusing on the practical steps and common pitfalls that can make or break your build.
The popularity of these structures is easy to understand. The global metal carports market is valued at around $1.2 billion and is expected to hit $2.3 billion by 2033. That growth tells you one thing: homeowners everywhere see the value in a well-built carport.
Planning for Success
Before you even think about turning a single bolt, you need a clear plan. A critical first step is a thorough hazard identification to spot any potential risks on your property. Are there overhead power lines? Underground utilities? Knowing this stuff upfront prevents costly mistakes and keeps the project running smoothly.
A well-prepared site is the foundation of a durable carport. Taking the time to level the ground, check for permits, and organize your tools will save you hours of frustration during the actual build.
While this guide focuses on carports, it's worth remembering they are just one option. If you need more space for a workshop or larger storage, exploring something like 30 x 40 metal building kits might provide a more robust, fully enclosed solution. You can find more details at https://iconsteelbuildings.com/30-x-40-metal-building-kits/.
The Main Project Phases
To give you a bird's-eye view of the entire process, let's break down the installation into its core stages. Understanding this flow helps you manage your time and resources far more effectively.
Here's a quick look at the key phases you'll be working through.
Metal Carport Installation Project Phases
| Phase | Main Objective | Typical Time Commitment |
|---|---|---|
| Site Preparation | Clear, level, and prepare the foundation area. | 4-8 hours (plus concrete cure time) |
| Frame Assembly | Construct the main skeleton of the carport. | 3-6 hours |
| Panel & Roof Install | Attach roofing and any side panels for shelter. | 2-4 hours |
| Anchoring & Finishing | Secure the structure and add finishing trim. | 1-2 hours |
Each of these stages builds on the one before it, so tackling them in the right order is absolutely essential for a stable and secure structure that will last for years.
Preparing the Ground for a Flawless Foundation
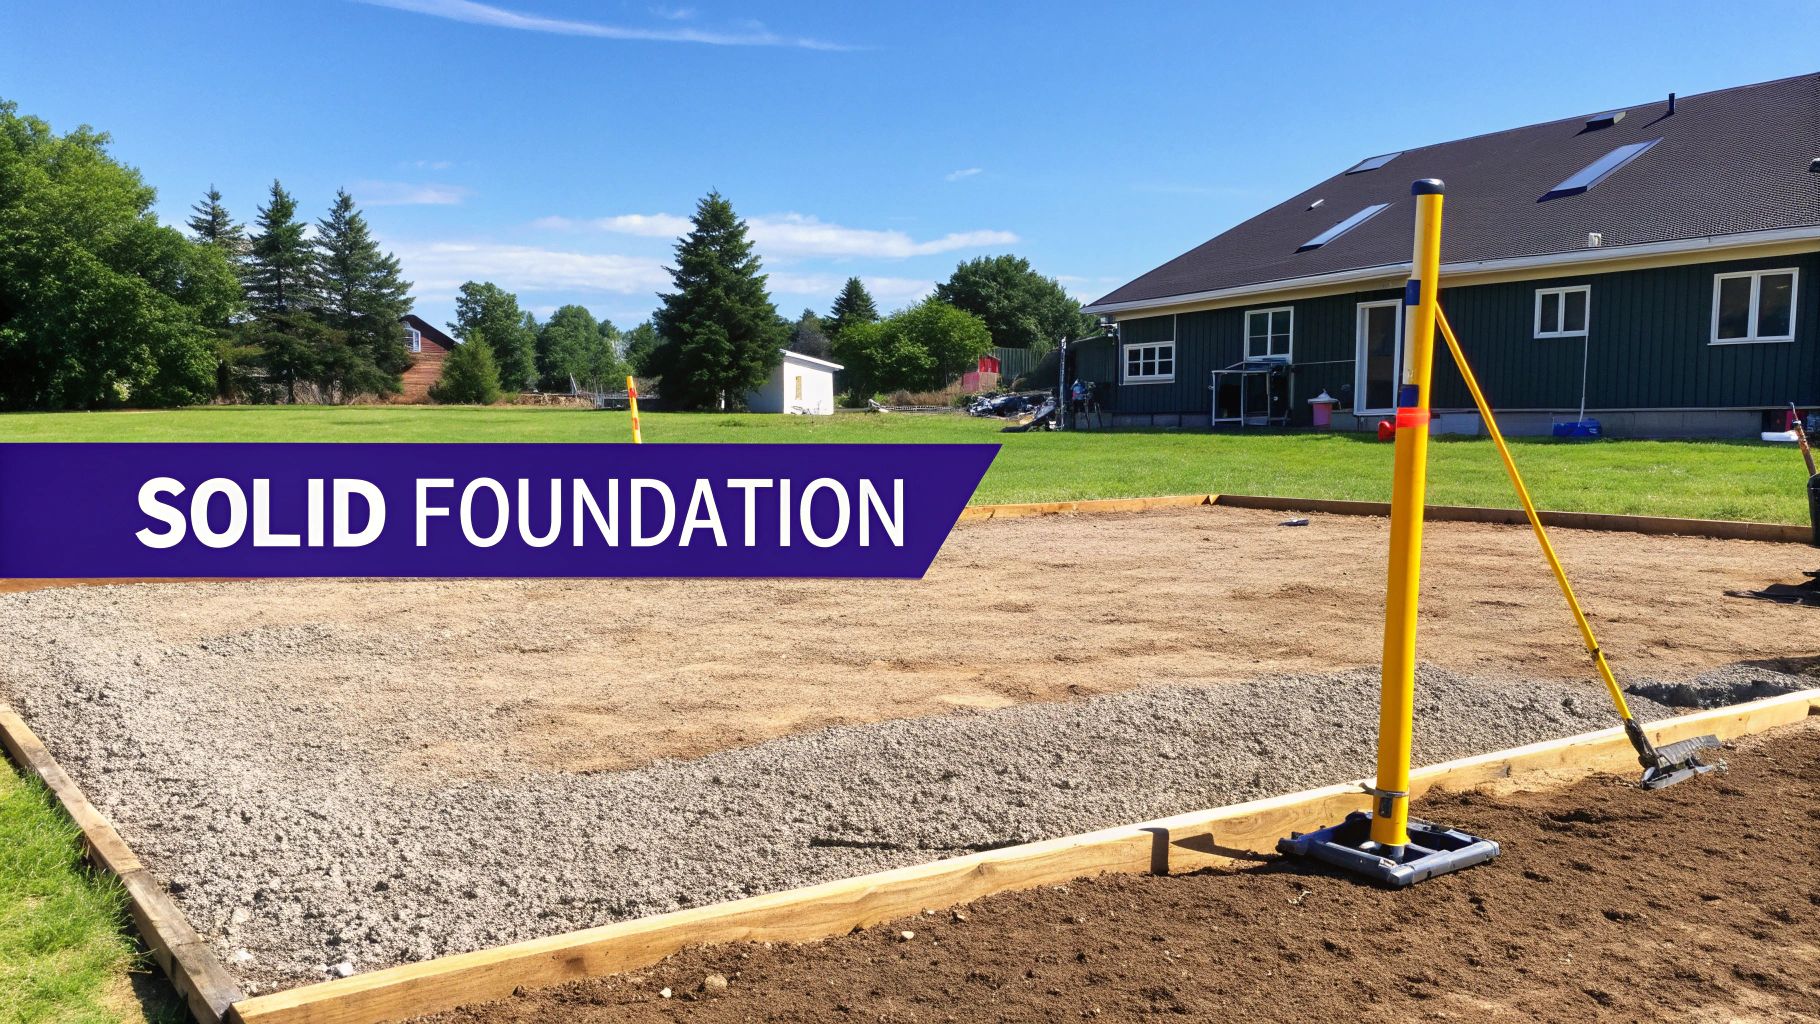
Long before you ever turn a wrench or tighten a bolt, the real success of your carport project is decided right here—in the dirt. The groundwork is hands-down the most critical factor in a solid metal carport installation, creating the stable base your structure needs to stand up to whatever nature throws at it.
This isn't just about clearing some weeds. It's about building a reliable pad that won't sink, shift, or let water pool around the frame. Skipping steps here can compromise the entire carport, leading to warped panels and a much shorter lifespan.
Choosing the Perfect Spot
Before you even think about digging, you need to pick the right location. Look beyond just finding an open space and consider the long-term practicalities. An ideal spot has a slight, natural grade that directs rainwater away from the building, keeping the base rails dry.
You also need to think about access. Is it easy to get vehicles in and out? More importantly, can the delivery truck get within 50 feet of where you plan to build? Most installers tack on extra fees if they have to haul materials any further than that. And don't forget to give your local zoning office a call to check on property line setbacks—it’s a simple step that can save you a world of legal trouble.
Clearing and Leveling Your Site
With a spot picked out, it's time to get to work. The ground has to be perfectly level for the carport frame to sit square. Even a couple of inches of slope can throw everything off, putting uneven stress on the entire structure that will cause big problems later.
Here's what you need to do:
- Scrape It Clean: Get rid of every bit of grass, weeds, and any roots in the carport's footprint. If you leave organic material underneath, it will eventually decompose and create soft spots in your foundation.
- Stake It Out: Use stakes and string to mark the exact dimensions. Pull out a tape measure and check the diagonals from corner to corner—if the two measurements match, your layout is perfectly square.
- Get It Level: For small adjustments, a shovel and a rake might be all you need to move dirt from high spots to low ones. If you're dealing with a bigger slope, you'll probably need to bring in some fill dirt or gravel.
- Pack It Down: Once it's level, compact the ground. A hand tamper works for smaller pads, but renting a plate compactor is the way to go for a truly solid, professional result. A firm base is essential to stop the ground from settling later.
An unlevel site is the number one cause of installation delays and structural problems. Your carport must be installed on a surface that is level, or at most, has a 3-inch tolerance over the length of the structure.
Selecting the Right Foundation
The foundation you go with really comes down to your budget, local weather, and what kind of soil you have. Each option provides a different level of stability. Getting familiar with the pros and cons is a huge part of the planning phase, and you can dig deeper into specific steel building foundation requirements to help you make the right call.
Here’s a quick rundown of the most popular choices:
| Foundation Type | Pros | Cons | Best For |
|---|---|---|---|
| Gravel Pad | Excellent drainage, affordable | Less stable for anchoring, can shift | Budget-conscious projects, areas with good soil |
| Asphalt | Durable, smooth surface | More expensive than gravel, can soften in heat | Driveways, moderate climates |
| Concrete Slab | Most durable, best for anchoring | Highest cost, requires curing time | High-wind areas, permanent installations |
At the end of the day, nothing beats a reinforced concrete slab. It provides the toughest, most stable base you can get for a metal carport, ensuring you get the most longevity out of your investment.
Assembling the Carport Frame and Roof
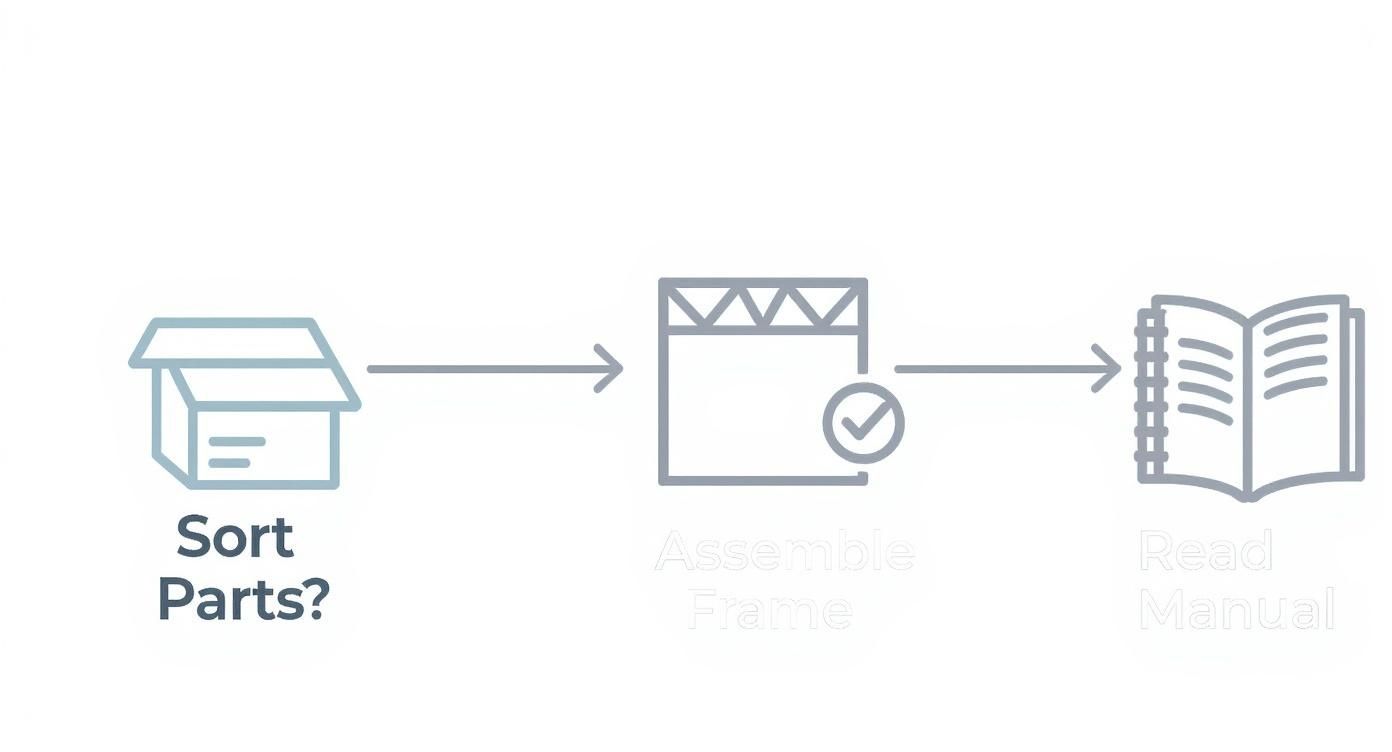
The logic behind assembling a carport is simple: get organized first, or you'll waste time backtracking later. Taking a few moments to do a full parts inventory against your manual's checklist is the best way to guarantee a smooth, efficient build.
With a solid and level foundation poured and cured, you're ready for the best part of your metal carport installation—seeing the structure finally take shape. This is where a pile of steel parts becomes a recognizable frame, but getting there requires a methodical approach.
Resist the temptation to just start bolting pieces together. A little organization now will save you hours of headaches. Lay out all your components—base rails, vertical legs, bows, trusses, and girts—and group them by type. It’s also a good idea to put your hardware (nuts, bolts, and screws) into separate, labeled containers so you can grab what you need without thinking.
Building the Skeleton
The first real step is laying out the base rails along the perimeter of your foundation. Position them to match the carport's final dimensions, and double-check that they are perfectly square. An old carpenter's trick works great here: measure the diagonals from corner to corner. If the two measurements are identical, your base is square.
Now you can start raising the vertical legs. Attach one leg to a corner of the base rail, but only tighten the bolts finger-tight. This gives you some wiggle room to make small adjustments as you connect the rest of the frame. Use a magnetic level to make sure each leg is perfectly plumb (that is, vertically straight) before you move to the next one.
One of the most common mistakes DIY installers make is fully tightening bolts too early. Keep all your connections snug but adjustable until the entire primary frame—base rails, legs, and roof trusses—is assembled. This lets you make the minor shifts necessary to get every piece perfectly aligned.
Raising the Roof Trusses
With the vertical legs in place, it’s time to install the roof trusses or bows. This is absolutely a two-person job. Lifting and positioning these large steel components requires coordination and strength, so grab a helper. Hoist the first truss up to connect two opposing corner legs.
Again, just keep the bolts finger-tight for now. Repeat this process for all the remaining trusses, working your way down the length of the carport. This methodical assembly is a core principle for any build, and you can learn more about the best practices for how to erect a metal building in our related guide. The structural integrity of the final product depends entirely on this careful, step-by-step approach.
The demand for these structures is growing fast. The global steel carports market alone was valued at around $500.8 million and is expected to continue its steady growth, driven by the strength and longevity of steel.
Squaring Up and Final Tightening
Once all the trusses are connected, the frame will be standing on its own but will likely have some sway. Now is the time to dial in the final alignment.
- Check for Plumb: Go back to each vertical leg with your level and confirm it is straight up and down.
- Check for Square: Re-measure the diagonals of both the base frame and the top of the structure.
- Adjust as Needed: Gently push or pull the frame to make tiny adjustments until everything is perfectly plumb and square.
When you’re confident that the alignment is perfect, it's time to systematically tighten every single nut and bolt. Using a wrench or an impact driver, secure all the connections, starting from the base and working your way up. This final step locks the frame into its strong, rigid form, making it ready for the panels.
Installing Panels and Anchoring for Weather Resistance
With the frame standing square and rigid, you’re ready to transform that steel skeleton into a weatherproof shelter. This part of your metal carport installation is all about two things: creating a watertight roof and locking the structure to the ground so it can handle anything from a summer thunderstorm to serious high winds.
First up is attaching the roof and any optional side panels. This step is all about precision, because even tiny gaps can turn into persistent leaks down the road. It’s not just about slapping panels on; you're creating an overlapping system that forces water to shed away from the structure.
Mastering Panel Installation
You'll want to start installing the roof panels at one end of the carport—I usually recommend the end that’s least exposed to the prevailing winds in your area. Lay that first panel down so it’s perfectly square with the frame, and make sure to leave a slight overhang at the eave.
Secure it with the self-tapping, washer-head screws provided with your kit. These go through the panel and bite directly into the roof trusses below.
The secret to a leak-proof roof is in the overlap. Each new panel you add should overlap the previous one along one of the main ribs; they're designed specifically for this. As you add the next panel, make sure it sits snugly against the one before it and fasten it down in the same sequence.
To give it that clean, professional look, you'll install trim along the eaves and gable ends. This isn't just for aesthetics—it also adds another layer of defense against wind-driven rain. Understanding how all these pieces fit together is crucial. You can get a detailed breakdown of the various metal carport components and what they do in our related article.
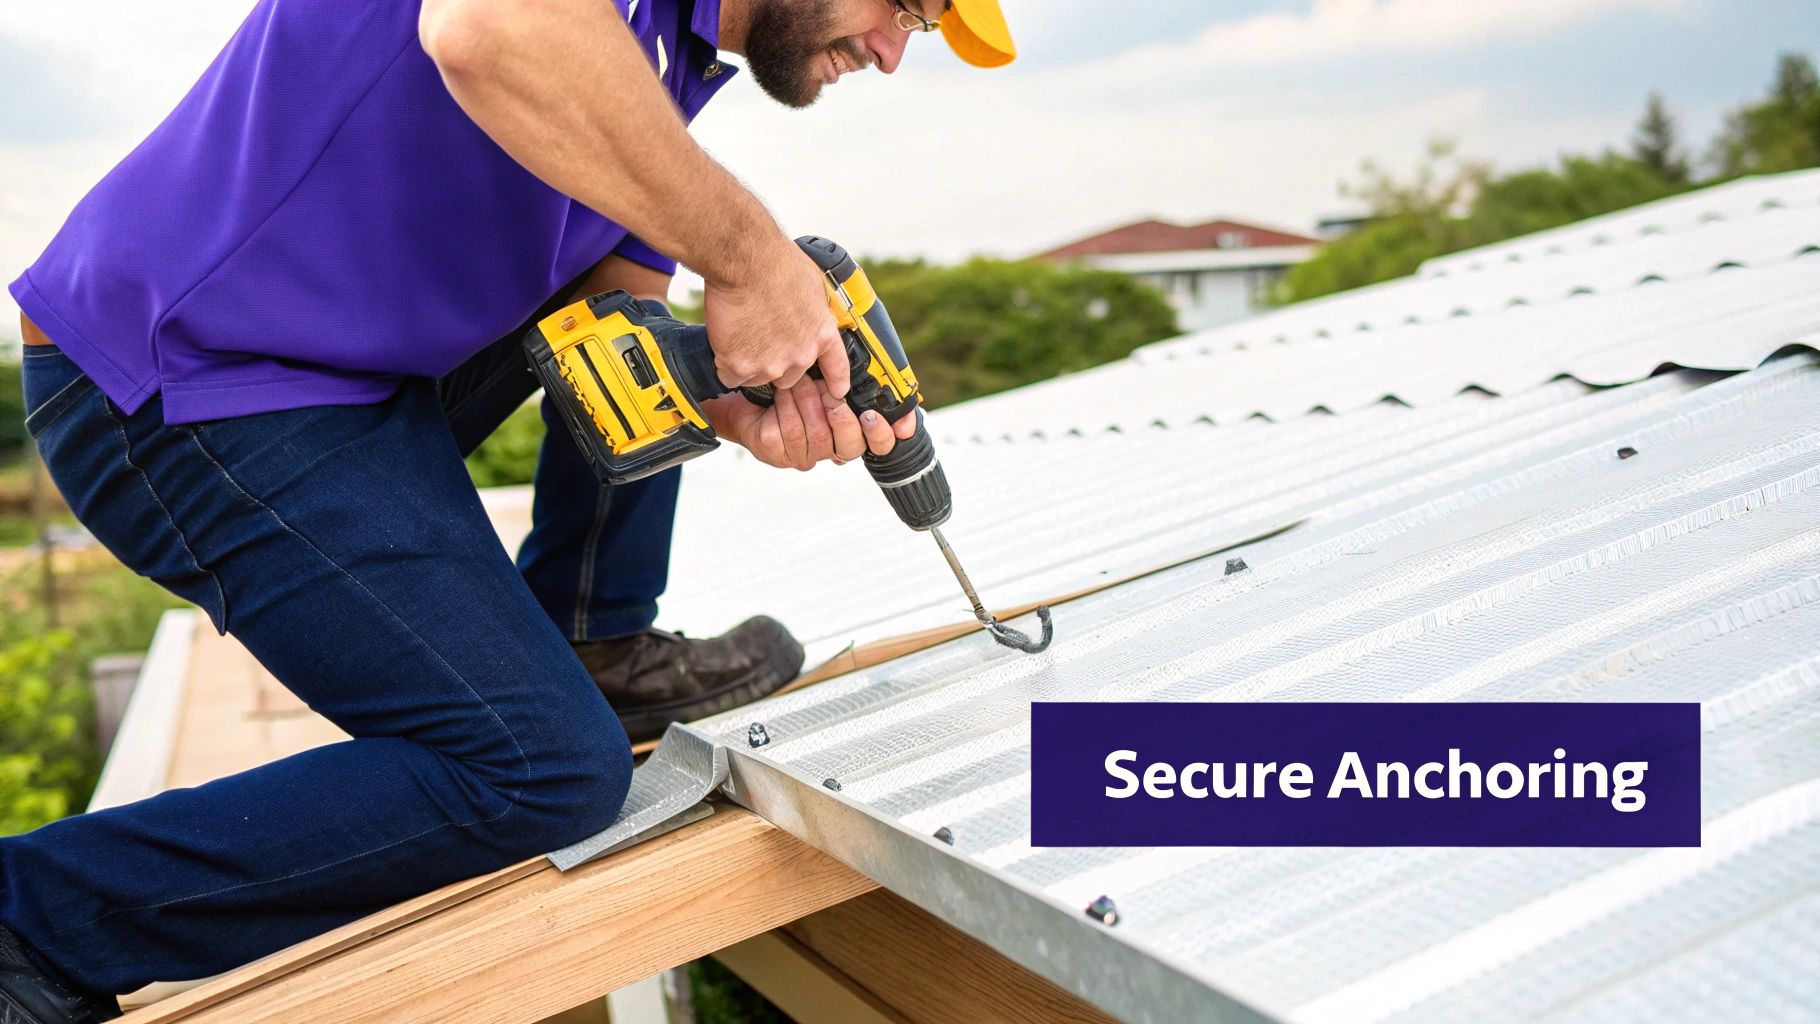
The Critical Role of Proper Anchoring
Now for what I consider the single most important step for your carport's long-term survival: anchoring. Think about it—a carport is basically a big sail. Without being locked down properly, even a moderate storm can lift it, twist it, or worse. The type of anchor you need depends entirely on the foundation you built.
-
For Concrete Slabs: You’ll use expansion anchors, sometimes called wedge anchors. You drill a hole into the cured concrete, drop the anchor in, and as you tighten the nut, it expands to create an incredibly strong mechanical grip.
-
For Asphalt: Rebar anchors are the go-to here. These are long steel rods driven through pre-drilled holes in the base rail, going deep into the asphalt and the ground beneath it.
-
For Soil or Gravel: This is where you need heavy-duty auger anchors (also known as mobile home anchors). You literally twist these deep into the ground, and they provide the best possible resistance against uplift in softer foundations.
Never, ever compromise on anchoring. A poorly anchored carport isn't just a risk to your property; it's a major safety hazard. Always use the right anchors for your foundation type and local wind load requirements. Your investment's ability to survive its first big storm depends entirely on how well you do this step.
This focus on weather resistance is a huge deal. The North American market, valued at over $37 billion, is projected to nearly double by 2031. A big reason for that growth is the increasing frequency of severe weather, which demands stronger, well-anchored structures. You can dig into the numbers in the full market analysis on GiiResearch.com. Your attention to this final detail ensures your carport is ready for whatever comes its way.
Applying Finishing Touches and Performing Maintenance
Your carport is up, anchored, and paneled. The heavy lifting is officially behind you, but the details you add now are what truly complete the project. These finishing touches don't just make your carport look professionally installed; they're essential for protecting your investment for the long haul.
First on the list is installing the trim. This includes corner pieces, gable ends, and any J-channels needed around walk-in doors or windows. This isn't just for looks—trim covers sharp metal edges and, more importantly, creates a barrier against wind-driven rain. It's your first line of defense to keep moisture from sneaking behind the panels and reaching the frame.
When you're fastening the trim, stick with the color-matched, self-tapping screws from your kit. This ensures a seamless, clean look. A sharp, finished edge is the mark of a job well done.
Setting Up a Simple Maintenance Routine
Your metal carport is designed to be incredibly low-maintenance, but "low" doesn't mean "no." A little proactive care goes a long way in preventing small issues from becoming big, expensive problems. All it takes is a quick inspection twice a year—I recommend once in the spring and again in the fall.
Here’s what to look for on your walkthrough:
- Loose Fasteners: Give the frame bolts and panel screws a quick check. Drastic temperature swings can sometimes cause them to loosen slightly over time.
- Surface Scratches: Hunt down any deep scratches that might have broken through the galvanized coating. Catching these early stops rust before it can even start.
- Roof Debris: Clear off any piled-up leaves, pine needles, or branches. Wet, decaying debris traps moisture against the metal, which can slowly wear down the protective finish.
Proactive maintenance is your best defense against the elements. A 15-minute inspection twice a year can add decades to your carport's lifespan by catching minor issues like a loose screw or a small rust spot before they compromise the structure.
Going beyond the initial build with these final touches and regular upkeep is crucial. For a more complete care plan, these essential maintenance tips for outdoor structures are a fantastic resource.
Long-Term Care and Cleaning
If you do spot a scratch that’s gone down to the bare metal, don't worry. The fix is simple. Just clean the area well, give it a light sanding to scuff up any surface rust, then apply a good rust-inhibiting metal primer and a coat of matching paint.
For general cleaning to get rid of dirt and grime, all you need is a mild soap-and-water solution and a soft-bristle brush. Stay away from harsh chemicals or high-pressure washers, as they can strip the protective coating right off the panels.
Finally, give the anchors a quick visual inspection every so often to make sure they're still tight and secure in the foundation. This guarantees your carport isn't going anywhere.
Common Metal Carport Installation Questions
Even the most detailed plan is going to leave you with questions. It's just part of the process when you're taking on a metal carport installation. Getting ahead of these common concerns can save you from costly mistakes down the road and give you the confidence to see the project through.
We've pulled together the most frequent questions we hear from DIY installers. Trust me, getting these answers sorted out before you start swinging a hammer is one of the smartest things you can do for a smooth build.
Do I Need a Building Permit for a Metal Carport?
This is always the first question, and the answer is almost always: it depends on your local municipality. If you're out in a rural county, a small, standard carport might fly under the radar. But for the vast majority of suburban and urban areas, you will absolutely need a permit.
What usually triggers the need for a permit? A few key things:
- Structure Size: Many local governments have a square footage limit, and anything over 120 square feet is a common threshold that requires a permit.
- Foundation Type: If you're pouring a permanent concrete slab, that almost always requires a permit, no questions asked.
- Proximity to Property Lines: Zoning laws are strict about setbacks—how far your structure has to be from your neighbor's property.
My best advice? Always call your local building or zoning department before you even order the carport. They’ll tell you exactly what the rules are for your property. It's a five-minute phone call that can prevent a five-thousand-dollar mistake, or worse, an order to tear the whole thing down.
What Is the Best Foundation for a Carport?
You have a few options here, but a reinforced concrete slab is the undisputed champion for carport foundations. It gives you the most stable, durable, and clean base possible, offering unmatched strength for anchoring against high winds.
Asphalt is a respectable runner-up. It gives you a solid surface and is usually a bit more affordable than concrete. A well-compacted gravel pad is the most budget-friendly option and offers great drainage, but it’s the least stable when it comes to anchoring.
Whatever you do, don't install directly on soil or grass. I can't stress this enough. The base rails will be exposed to constant moisture, which leads to premature rust, and the ground will inevitably shift and settle, compromising the entire structure.
How Long Does It Take to Assemble a Carport?
The assembly time really varies depending on the carport's size, your experience, and whether you've got a buddy helping out. For a standard two-car carport (18'x21'), two people with some decent DIY skills can usually knock it out in a single day, assuming the site is already prepped.
If you’re working alone or are new to this kind of project, it's smart to set aside a full weekend. Larger or more complex carports, especially those with fully enclosed sides, can easily stretch into two days or more. And remember, that timeline doesn't include site prep. A new concrete slab, for instance, needs at least 72 hours to cure before you can even think about drilling into it.
The overall cost of your project will also scale with its size and complexity. To get a better idea of what to budget, you can learn more about how much metal buildings cost in our detailed guide.
Ready to build a durable, high-quality carport that will protect your vehicles for years to come? The experts at Icon Steel Buildings are here to help you design the perfect structure for your needs. Explore our customizable metal building options today!