
Of course. Do it yourself steel buildings are absolutely a practical option. They give you the ability to put up a seriously durable workshop, garage, or storage building without having to hire a general contractor. These kits show up at your site with everything pre-cut and pre-drilled, which makes the whole assembly process surprisingly straightforward, even for someone with just basic construction skills.
Why Build Your Own Steel Building
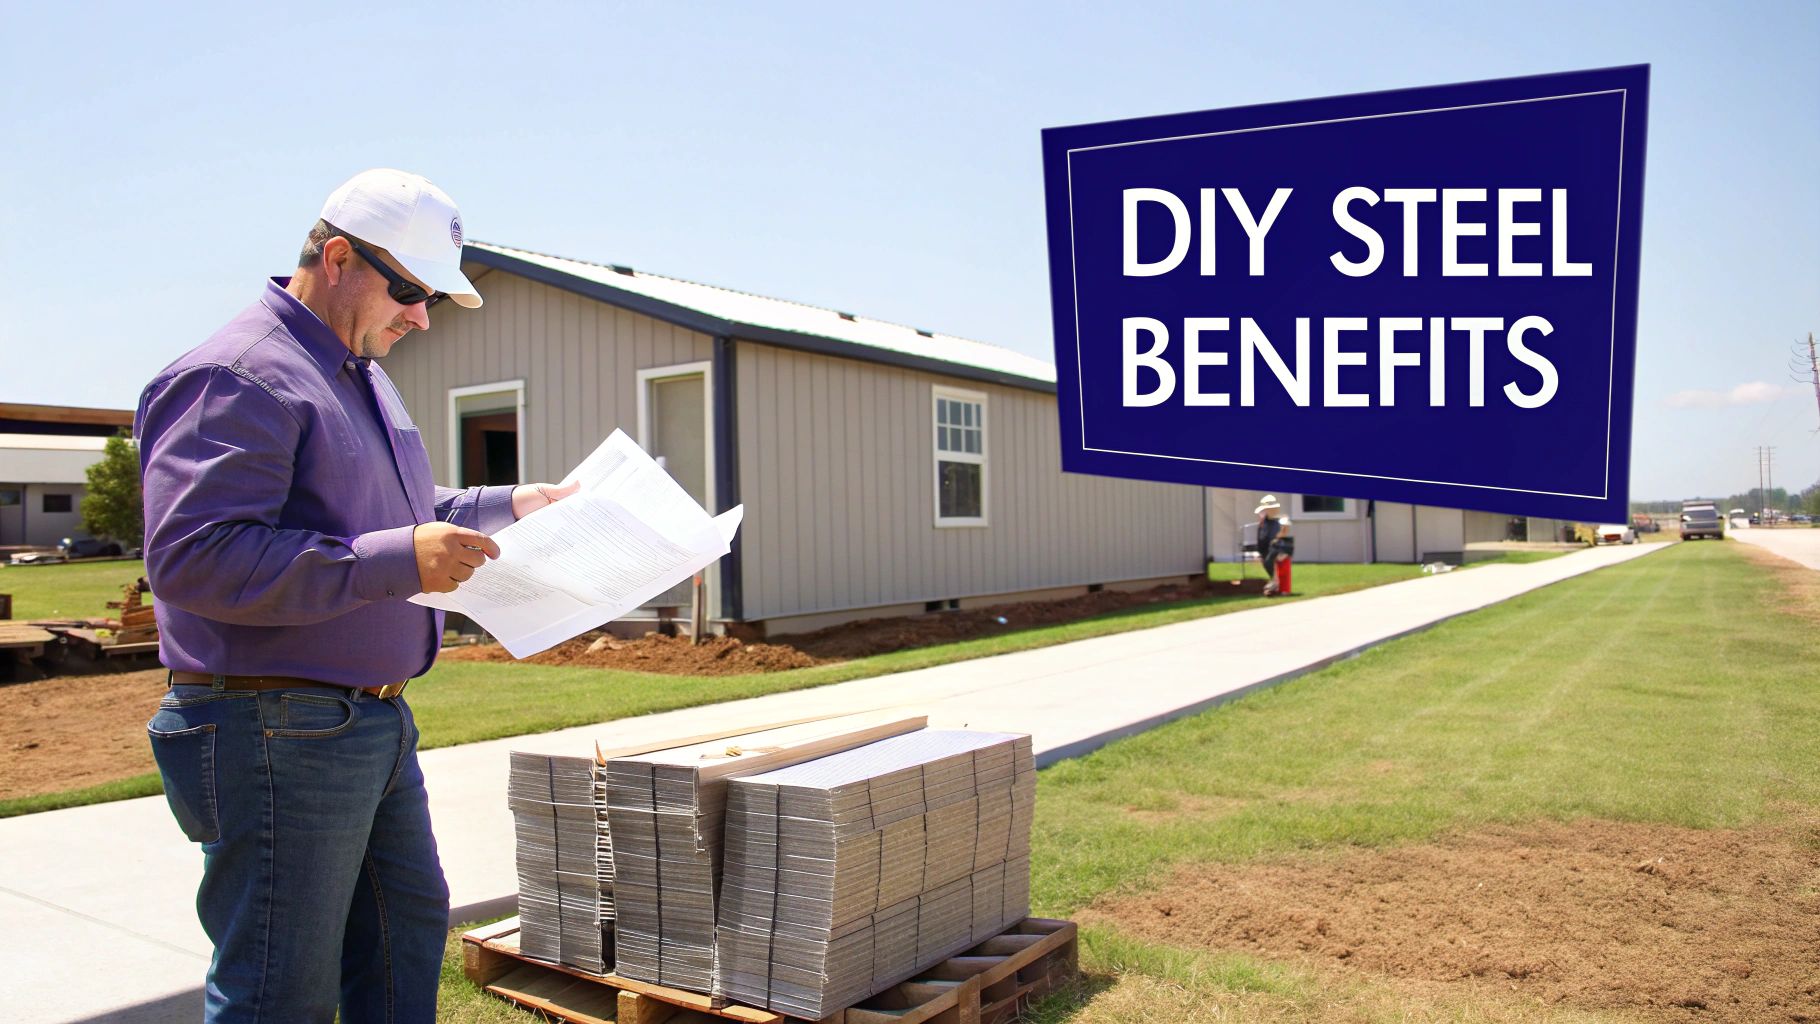
Choosing to build your own steel building isn't just about saving a few bucks—it’s about taking complete control over your project from start to finish. Think about the car enthusiast who can finally build that dream workshop on their own schedule, or the small business owner who needs to add more storage over a single weekend.
This hands-on approach cuts out the delays and coordination headaches that come with managing contractors. The pre-engineered design of these kits transforms what looks like a massive construction project into a series of manageable, satisfying steps.
The Power of Control and Speed
When you're the one in charge, you set the pace. There's no more waiting around for a construction crew to have an opening in their schedule. Want to work late into the evening or dedicate a whole weekend to the build? You can. This is a huge advantage for a farmer who needs a new barn up before the season turns or a homeowner trying to get their classic car under cover before the next big storm.
The biggest benefit here is empowerment. You’re not just buying a structure; you're taking direct ownership of the solution to your space problem, from pouring the foundation to tightening the final bolt.
Unmatched Durability and Low Maintenance
Let's be honest, steel is just tougher than traditional building materials. It's built to stand up to harsh weather, it's fire-resistant, and you'll never have to worry about pests like termites. For a detailed breakdown of how steel and wood really compare, check out our guide on the benefits of a steel building vs. a wood building. This natural resilience means you'll spend far less time and money on upkeep down the road.
A Growing Trend in Construction
The demand for prefabricated structures is exploding. The global market for prefabricated buildings and structural steel hit USD 248.0 billion in 2024 and is on track to reach an incredible USD 396.6 billion by 2033. This surge is all about the need for faster, more sustainable construction that puts power back into the hands of DIY builders. You can dig into more of the data driving this trend in this comprehensive market analysis.
This trend points to a clear shift in what people want: building solutions that are efficient, reliable, and accessible. A DIY steel building kit checks every one of those boxes, delivering a potent mix of affordability, strength, and the personal satisfaction of a job well done.
Your Project Blueprint: Planning and Design
A successful do it yourself steel building project is won or lost long before the first piece of steel ever shows up at your property. The real work—the most critical work—happens right now, in the planning stage. This is where you lay the foundation that prevents expensive mistakes, makes sure your building does exactly what you need it to, and keeps the whole project from going off the rails.
Think of it like this: skipping the planning phase is like trying to build a house without looking at the blueprints. You're just asking for trouble down the line. A little extra time spent here will save you a world of headaches later.
First Things First: Define Your Building's Purpose
Before you start measuring anything, ask yourself a simple question: What is this building actually for? Your answer will drive every single decision you make from here on out. A simple shed for your lawnmower has completely different needs than a full-blown workshop or a commercial-grade garage.
Are you building a safe space to keep your classic car out of the rain? A standard one or two-car garage kit could be a perfect fit. But if you plan on actually working on that car, you'll want a higher ceiling to accommodate a vehicle lift, more floor space for tool chests, and maybe some insulation for those cold winter mornings.
Let's break it down with a few real-world examples:
- The Hobbyist's Workshop: This isn't just about space. It’s about having room for workbenches, putting power outlets exactly where your machinery will go, and getting great lighting. The placement of your windows suddenly becomes a major factor.
- The Agricultural Barn: Here, you need massive roll-up doors to get tractors and other equipment inside. The floor has to be tough enough to handle that heavy machinery, and you'll need the right kind of ventilation to manage moisture, especially if you have animals.
- RV or Boat Storage: The number one thing to worry about here is the door size. It has to be tall enough and wide enough for your biggest toy, with some extra room to maneuver.
Nailing down these functional needs from the start helps you avoid the classic DIY mistake: ending up with a building that's just a couple of feet too small or missing a feature you can't live without.
Don't Skip This Step: Navigating Building Codes and Permits
This is the part of the process that trips up so many people. It’s boring, and it’s tempting to just ignore it, but that’s a huge mistake. Skipping the permit process can lead to hefty fines or, in the worst-case scenario, being forced to tear your new building down. Local building codes are not optional.
Your first move should be to contact your local municipal planning or building department. You don’t have to be an expert. Just tell them you’re planning a do it yourself steel building on your property and ask what you need to know.
Have your property address or parcel number handy when you call. They'll likely ask about zoning rules, required setbacks (how far the building needs to be from your property lines), and the engineering specs required for your area.
For instance, a building on the coast will face strict wind load requirements, while a building up north needs to handle a certain snow load. Your building supplier will give you engineered drawings, but you need to know what codes those drawings have to meet before you place your order. A few questions upfront will ensure your building is both safe and legal.
Time for the Fun Part: Choosing Your Design and Features
Okay, with the purpose clear and the local rules understood, you can finally get to the exciting part—designing your building. This is where you balance what you need, what you want, and what you can afford. The good news is, you have more options than ever. The demand for prefabricated steel buildings is booming because people trust these versatile structures. In fact, the market in the Americas is projected to grow at a rate of 4.9% annually through 2025, fueled by homeowners and businesses looking for flexible and affordable building solutions. You can see the full breakdown by exploring the market analysis on Statista.com.
This growth means you can choose from a wide range of standard kits or work with a provider to design something totally unique. If you're looking for ideas or want to see what's possible, checking out different custom steel buildings is a great way to get inspired.
Here are a few key design elements to think about:
- Doors: Do you need one huge roll-up door? Several smaller garage doors? Or just a simple walk-in door for easy access?
- Windows and Skylights: How much natural light do you want? Think about where to place windows for the best light and cross-ventilation.
- Insulation: If you plan on working in the building or want to control the climate, an insulation package is a must.
- Aesthetics: Little touches can make a big difference. Wainscoting, which is a different colored panel on the bottom three or four feet of the wall, can really elevate the look of your building.
To keep everything straight during this crucial phase, a good checklist is your best friend.
DIY Steel Building Planning Checklist
This simple checklist will help you cover all your bases and make sure nothing gets missed as you map out your project.
| Planning Step | Key Action | Pro Tip |
|---|---|---|
| Define Purpose | List every single thing you plan to do in the building. | Don't be vague. "Workshop" is good, but "Woodworking shop with a separate finishing room" is much better. |
| Check Local Codes | Call your municipal building department and ask for their requirements. | Ask if they have a checklist for accessory buildings. This can save you a ton of back-and-forth calls. |
| Finalize Dimensions | Get out a tape measure and size up any vehicles or equipment that will go inside. | Always add a buffer. My rule of thumb is to add at least 5 feet to the length and width you think you need. |
| Select Features | Decide on door types, window placements, insulation, and other options. | Get quotes for different feature packages. Sometimes a small upgrade offers a ton of value for the money. |
| Review Blueprints | Carefully look over the engineered drawings from your supplier before you sign off. | Double-check that the door and window placements match your plan. Once it's approved, it's hard to change. |
Taking the time to walk through this detailed planning phase is your roadmap to a successful build. When you know exactly what you need and have done your homework on the local rules, you’re setting yourself up for a project that’s smooth, efficient, and incredibly rewarding.
Building a Rock-Solid Foundation
The entire success of your do it yourself steel buildings project rests, quite literally, on the quality of its foundation. A well-planned and properly poured foundation is what ensures your building will stand strong for decades, shrugging off shifting soil and harsh weather. It might feel like a huge undertaking, but when you break it down into logical steps, it's a completely manageable part of the process for any determined DIYer.
This phase actually begins long before you ever see a concrete truck. It all starts with methodical site preparation—getting the ground perfectly cleared, graded, and compacted. Trust me, skipping corners here is one of the most common and expensive mistakes you can make. A poorly prepped site will almost guarantee an unstable and uneven foundation down the road.
Site Preparation: The Groundwork for Success
Before you even think about grabbing a hammer and lumber for the formwork, the land itself needs to be ready. This isn't just about clearing some grass and weeds; it's about creating a stable, level pad that will support your building uniformly across its entire footprint.
First things first, clear out all vegetation, topsoil, and any large rocks from the build area. A good rule of thumb is to extend this cleared zone at least three to five feet beyond the planned foundation perimeter. This gives you plenty of room to work without tripping over debris. Once the area is clear, your focus shifts to leveling and grading.
Proper grading is absolutely non-negotiable. The goal here is to create a gentle slope—usually around 2% to 5%—that directs water away from the building on all sides. This simple step ensures that rain and snowmelt don’t pool around your foundation, which can lead to serious problems like erosion and frost heave over time.
Choosing the Right Foundation Type
Not all foundations are built the same, and the best choice for your project comes down to your building's size, local climate, and the type of soil you're working with. For the vast majority of do it yourself steel buildings, you'll be choosing from one of three main types. Knowing the difference is key to getting it right.
-
Slab Foundation: This is the go-to for most garages, workshops, and storage buildings. A monolithic slab is a single, continuous pour of concrete that acts as both the foundation and the floor. It's cost-effective and one of the more straightforward options to install.
-
Pier Foundation: If you're building on uneven terrain or dealing with unstable soil, a pier foundation is a great solution. It uses a series of deep-set concrete columns (piers) to support the building's frame. While this method uses less concrete, you'll have to build a separate floor system on top of it.
-
Perimeter Wall Foundation: Sometimes called a frost wall, this type involves a continuous concrete wall around the building's perimeter that extends below the local frost line. You can then backfill the interior and pour a slab or use it to create a crawl space. It's often required in colder climates to prevent foundation damage from frost heave.
For most DIY projects, the monolithic slab foundation hits the sweet spot between strength, simplicity, and cost. It gives you a solid, durable surface that’s ready for use as soon as it's cured.
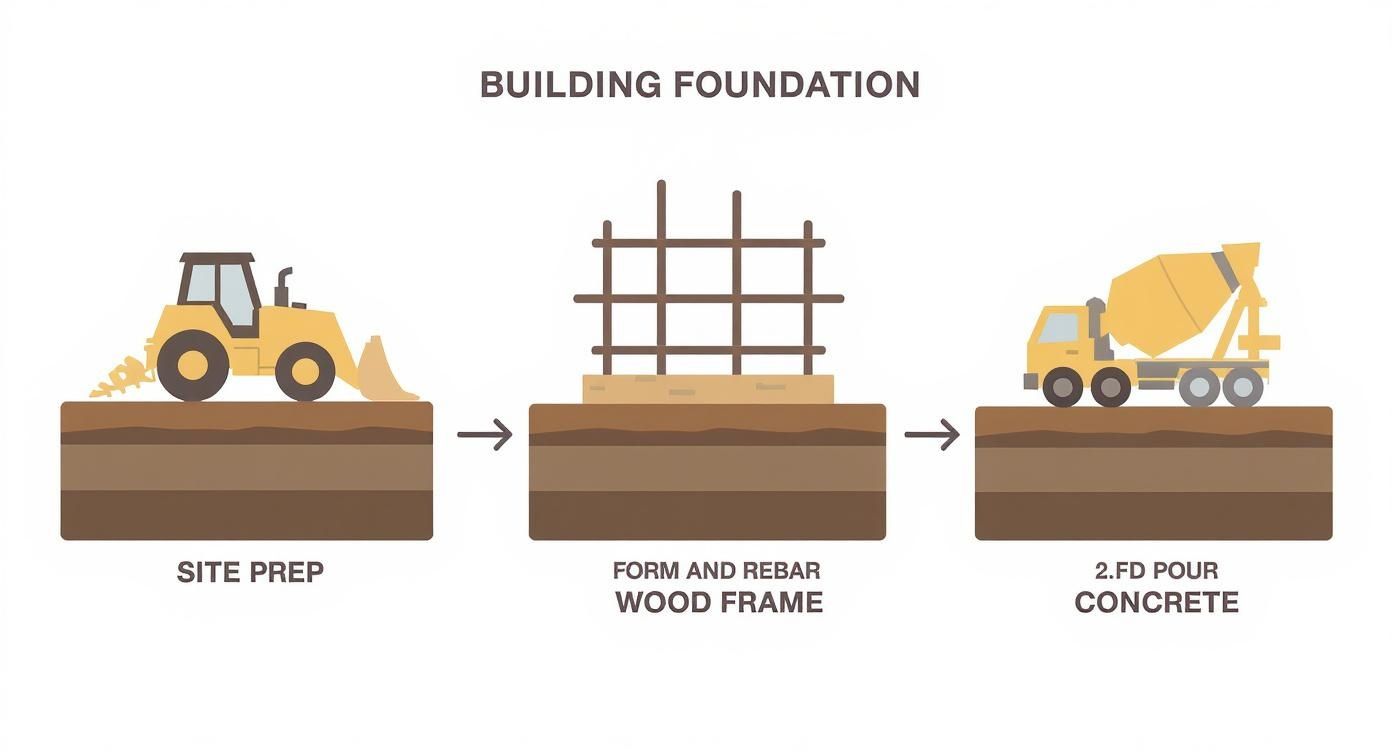
Framing, Reinforcement, and the Pour
With your site graded and your foundation type selected, it’s time to build the formwork. This wooden frame is essentially a mold that will contain the wet concrete and define the slab's exact dimensions. Use sturdy lumber (2x6s or 2x8s are common) and stake it securely to the ground. You don't want it bowing out under the immense pressure of the concrete.
Next, you'll lay down a grid of steel reinforcement bars—rebar—inside the form. This steel mesh is what gives concrete its tensile strength, helping to prevent cracks from forming under load or due to temperature swings. The rebar needs to be lifted off the ground on small supports called "chairs" so it sits right in the middle of the slab's thickness. For a deeper dive, check out these detailed steel building foundation requirements to better understand what local codes might expect.
Managing the concrete pour itself is all about planning. Unless you’re pouring a tiny shed pad, mixing concrete by hand is out of the question. You'll need to order ready-mix concrete from a local supplier. Coordinate the delivery time carefully and have a team of helpers ready with shovels, rakes, and a screed board to spread and level the concrete as it comes down the truck's chute. Having the right essential masonry tools on hand is critical to getting a professional result.
Once poured and leveled, the finishing process begins. This involves smoothing the surface with floats and trowels to create a dense, hard-wearing finish. Finally, the concrete needs to cure—a chemical hardening process that can take up to 28 days to reach full strength. Proper curing, which often means keeping the surface damp, is vital for maximum durability. Rushing this final step can compromise the integrity of the single most important part of your building.
Bringing Your Steel Building to Life
This is it—the moment where all that planning and groundwork really pays off. Your concrete slab is cured, the kit has arrived, and you're ready to see your do it yourself steel buildings project rise from the ground. It’s a challenging process, no doubt, but watching your vision transform from a stack of steel into a real, three-dimensional structure is an incredibly rewarding experience.
Before you get caught up in the excitement, the very first thing you need to do is a thorough inventory. I know, it's tempting to just start building, but trust me on this one. Lay out every single component and check it off against the manufacturer's packing list. Catching a missing I-beam or a shortage of bolts now will save you from a massive headache and a multi-day work stoppage later.
Erecting the Primary Framework
With every piece accounted for, you can finally get your hands dirty. The build always starts with the primary framing—those heavy-duty I-beams that create the building's skeleton. These are the structural workhorses that will carry the entire load of the walls and roof, so getting this part right is non-negotiable.
Let's be clear: these components are heavy. This isn't a one-person job. You'll need a few helpers and some sort of lifting equipment, like a telehandler or a tractor with a front-end loader, especially for a garage or workshop-sized building. Trying to manhandle these frames into place is not just a bad idea; it's downright dangerous.
The common-sense approach is to assemble each rigid frame flat on the ground first. This involves bolting the vertical columns to the horizontal rafter beams to create a single, solid arch. Once a frame is fully assembled, you’ll carefully lift it upright and secure it to the anchor bolts you set in the foundation. You'll repeat this for every main frame, slowly building out the foundational skeleton of your structure.
Installing Secondary Supports
Once your main frames are up and temporarily braced for stability, it’s time to connect everything with the secondary framing. We’re talking about the girts and purlins. Think of them as the connective tissue holding the skeleton together, giving the entire structure incredible strength and rigidity.
- Girts are the horizontal supports that run along the walls, connecting one column to the next. They're what you'll eventually attach your wall panels to.
- Purlins do the exact same job, but for the roof. They span between the rafter beams and provide the mounting surface for your roof sheeting.
Pay close attention to spacing and alignment here. Your manual will have a detailed diagram showing precisely where every girt and purlin goes. It’s a bit repetitive, but this step is absolutely critical for making sure your building is square and sound.
A pro tip I've picked up over the years: Stretch string lines between the first and last frames to act as a guide. This simple trick ensures all your girts and purlins are installed in a perfectly straight line, which makes attaching the panels a thousand times easier.
Sheeting the Walls and Roof
With the complete steel skeleton standing tall and squared up, you can finally start enclosing it with wall and roof panels. This is the part where it really starts to feel like a building. My advice is to begin with the wall panels, starting at a back corner and working your way around. This lets you get your technique down on a less visible wall before you tackle the front.
Each panel overlaps the one before it, and you'll fasten them directly to the girts using self-drilling screws. These screws usually have a small neoprene washer to create a watertight seal. Follow the screw pattern in your instructions to the letter—using the right number and placement is essential for meeting the wind and snow load ratings for your area. For a closer look at this stage, a detailed guide on how to erect a metal building can offer some great visuals and techniques.
Sheeting the roof follows the same principle, but safety becomes the absolute top priority when you're working at height. Always use proper fall protection, including harnesses. Roof panels are installed from the eaves up toward the peak, allowing each row to overlap the one below it so water sheds properly.
Finishing Touches and Utility Connections
Once your building is fully enclosed, you're on the home stretch. The final construction steps include installing the trim, framing out any openings for doors and windows, and adding accessories like gutters and downspouts. Trim pieces are crucial for covering corners, edges, and seams—they give the building a clean, professional look and add another layer of weatherproofing.
As you can see from the process above, the actual assembly is just one piece of the puzzle that starts with a solid foundation.
Now you can start thinking about the guts of the building—the systems that make it truly functional. Getting reliable power is often a top priority. For instance, looking into the steps for whole house generator installation can be a smart move to ensure your new space is fully operational, no matter what. This final phase is what turns your durable steel shell into a genuinely useful workshop, garage, or storage space.
Adding the Finishing Touches
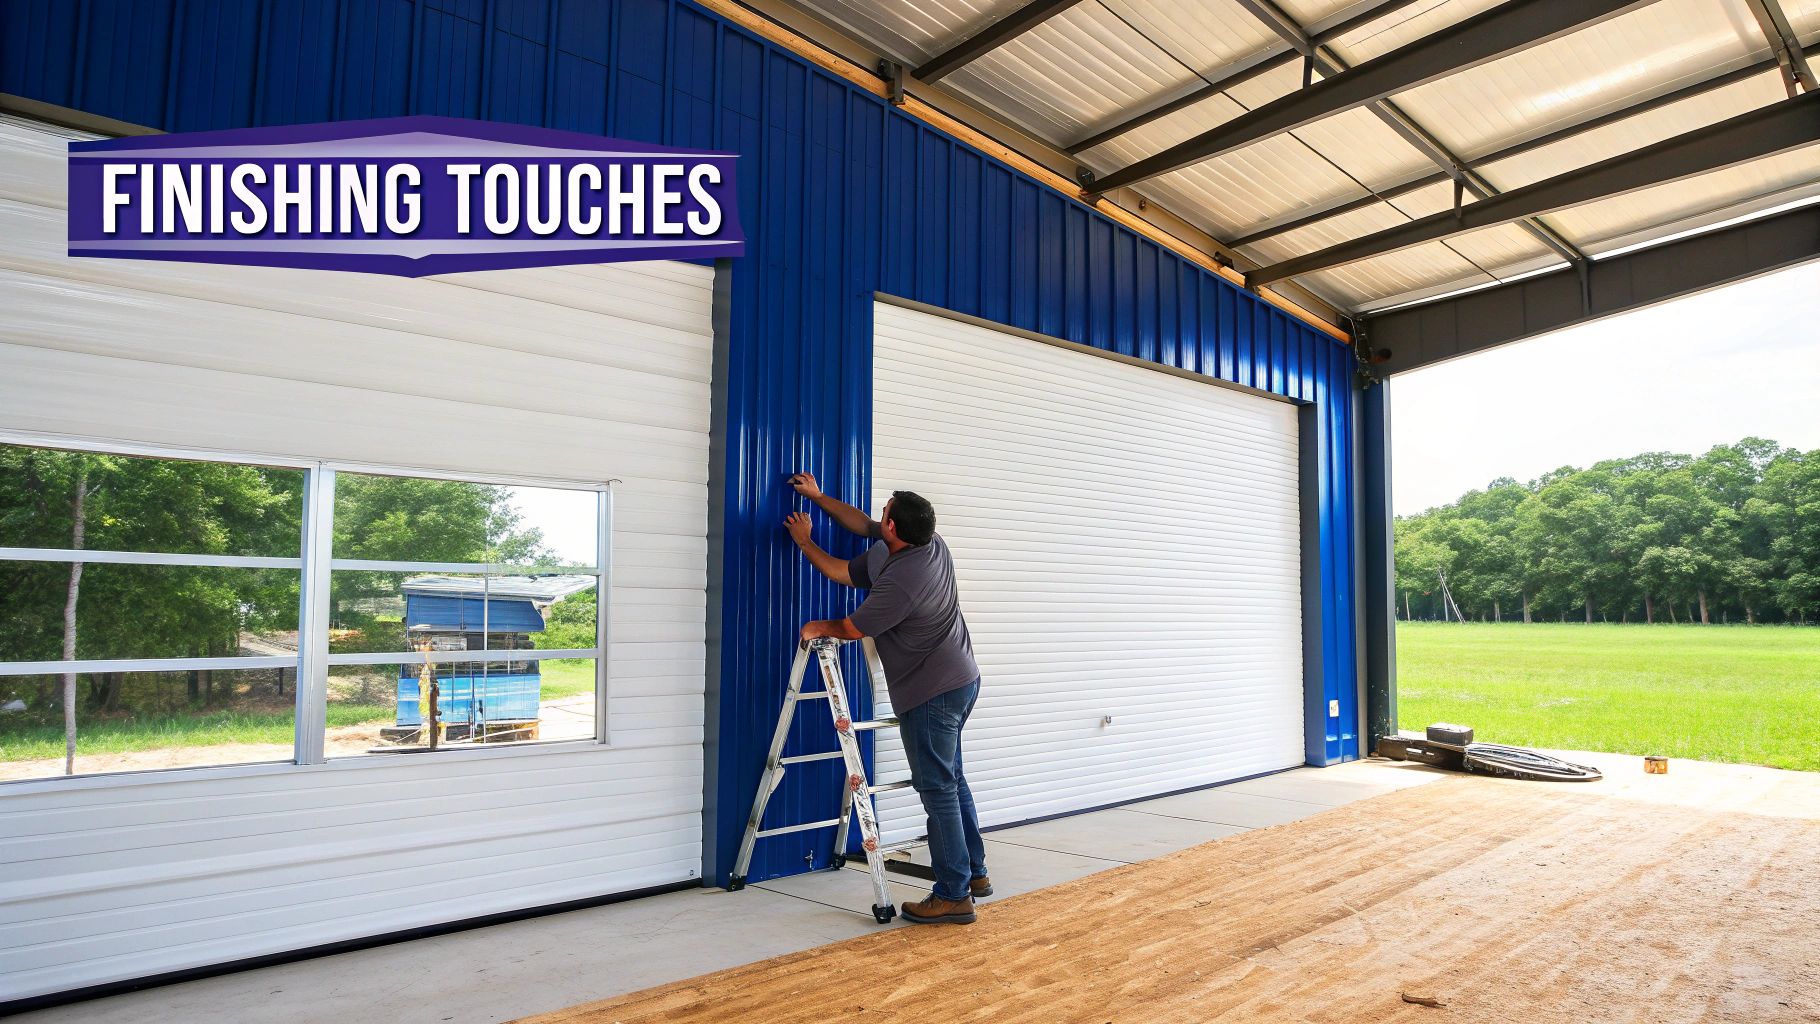
With the main structure up, you've officially got a weatherproof building. That's a huge milestone. But right now, it's just a shell. This next phase is where you transform that steel box into your dream workshop, garage, or barn—the part where it really comes to life.
First things first, let's get those access points sorted. Installing roll-up garage doors, walk-in doors, and windows isn't just about filling holes in the wall; it’s about defining how you'll use the space every single day. While each component will have its own manual, the universal rule is to make sure every opening is perfectly framed, sealed, and flashed. Don't cut corners here, or you'll be dealing with leaks down the road.
Creating a Comfortable Interior
Once the building is sealed from the elements, it's time to turn your attention inside. The single most important decision you'll make for turning your building into a year-round space is insulation. It’s non-negotiable. Without it, your building will feel like an oven in July and an icebox in January, and you'll fight a constant battle with condensation that can ruin tools and equipment.
You've got a few solid options for insulating your do it yourself steel buildings project, each with its own pros and cons:
- Spray Foam Insulation: This is the top-tier choice for creating a seamless air and moisture barrier. It expands to fill every gap, but it’s usually a job for the pros.
- Fiberglass Batts: A classic, budget-friendly option. Fitting fiberglass batts between the steel girts and purlins is a straightforward DIY job.
- Rigid Foam Boards: These offer great thermal resistance and are easy to cut and fit tightly against the steel framing.
Good insulation does more than just control the temperature. It also does a fantastic job of dampening outside noise, which makes for a much more peaceful and productive environment inside. If you want to dig deeper, you can learn more about steel building insulation options to find what works best for your climate and budget.
Utilities and Interior Structures
After the insulation is in, you can start running electrical wiring and plumbing. It's a lot like wiring a wood-framed building, but you'll be using metal-specific clamps and conduits to secure everything to the steel girts. It's always a smart move to bring in a licensed electrician or plumber at this stage to ensure your work is safe and up to code.
This is also the point where you get to customize your layout. You can frame out interior partition walls using either light-gauge steel studs or traditional wood to create separate spaces—maybe an office, a clean room for painting, or just dedicated storage areas.
A fantastic way to maximize your vertical space is by building a loft. A simple loft can nearly double your storage capacity for lighter items, keeping your main floor clear and organized.
Polishing the Look
Finally, you can add the aesthetic touches that take your project from a functional metal box to a truly polished structure. One of the most common and effective upgrades is wainscoting. This just means using a different color or texture of paneling for the bottom three or four feet of the exterior walls. It breaks up the building's profile and adds a ton of visual interest.
The proof is in the numbers—the U.S. pre-engineered building market was valued at USD 12.98 billion in 2024 and is expected to hit USD 27.10 billion by 2033. This boom is fueled by builders just like you who see the value in these efficient, durable structures. The finishing touches are what make your building stand out.
Got Questions About Your DIY Steel Building?
Even with the best blueprints in hand, it’s natural to have a few questions pop up when you’re planning your do it yourself steel buildings project. We get it. This section cuts straight to the chase, answering the common questions we hear from builders just like you.
Putting it all together is where the real work begins, and it often raises practical questions about what you really need on-site. Many first-timers worry they'll need a whole contractor's setup. The good news is you don't, but a few key pieces of equipment are non-negotiable for getting the job done right—and safely.
Must-Have Tools and Equipment
Forget a truckload of professional gear. Your success boils down to having the right tools for the job. Beyond your trusty socket set, wrenches, and drills, there are a few heavy hitters you’ll want to line up.
- Lifting Equipment: For anything bigger than a backyard shed, you absolutely need a mechanical lift. A telehandler or a tractor with a front-end loader is perfect for hoisting those heavy primary frames into place without risking injury.
- Scaffolding or Lifts: An A-frame ladder is fine for some things, but when you're up high installing roof panels or wall girts, you need a stable platform. A scissor lift or proper scaffolding is much safer and more efficient.
- Impact Wrench: Trust me on this one. You're going to be tightening hundreds, if not thousands, of bolts. A good electric or battery-powered impact wrench will be your best friend, saving you hours of work and a ton of elbow grease.
My advice? Have these items rented and sitting on your site before your kit arrives. There’s nothing worse than having your crew ready to go, only to be stopped dead in your tracks waiting for equipment.
Handling Mistakes and Long-Term Care
So, what happens if you mess up? First off, don’t sweat it. Most mistakes—like a misaligned panel or a girt in the wrong spot—are completely fixable. Because these kits are pre-engineered, the parts are standardized. This makes it pretty simple to take a section apart and correct the problem without affecting the building’s integrity.
The trick is to stop and fix mistakes the moment you spot them. Don't try to force a part that isn't fitting or ignore a gap that shouldn't be there. Pull out your manual, and if you're still stuck, call your supplier. They've seen it all before and can walk you through it.
Once your building is up, you’ll love how little maintenance is required. That's one of the biggest perks of steel. Just plan on doing a quick walk-around once a year. Check for any loose fasteners and tighten them up. Make sure your gutters and roofline are clear of leaves and debris to keep water draining properly. A simple wash-down with mild detergent will keep the panels looking brand new. That’s it. A little annual care is all it takes to protect your investment for decades.
Ready to map out your own project and turn that vision into a reality? The team at Icon Steel Buildings is here to help you design the perfect, high-quality structure for your needs. Get a free quote and explore your options today at https://iconsteelbuildings.com.