
Before you even think about ordering materials or picking up a hammer, a solid plan is the single most important part of any carport project. Getting the groundwork right from the start—covering everything from local laws to the right measurements—is what separates a smooth build from a project that ends in headaches and unexpected bills.
Laying the Groundwork for Your Carport Project
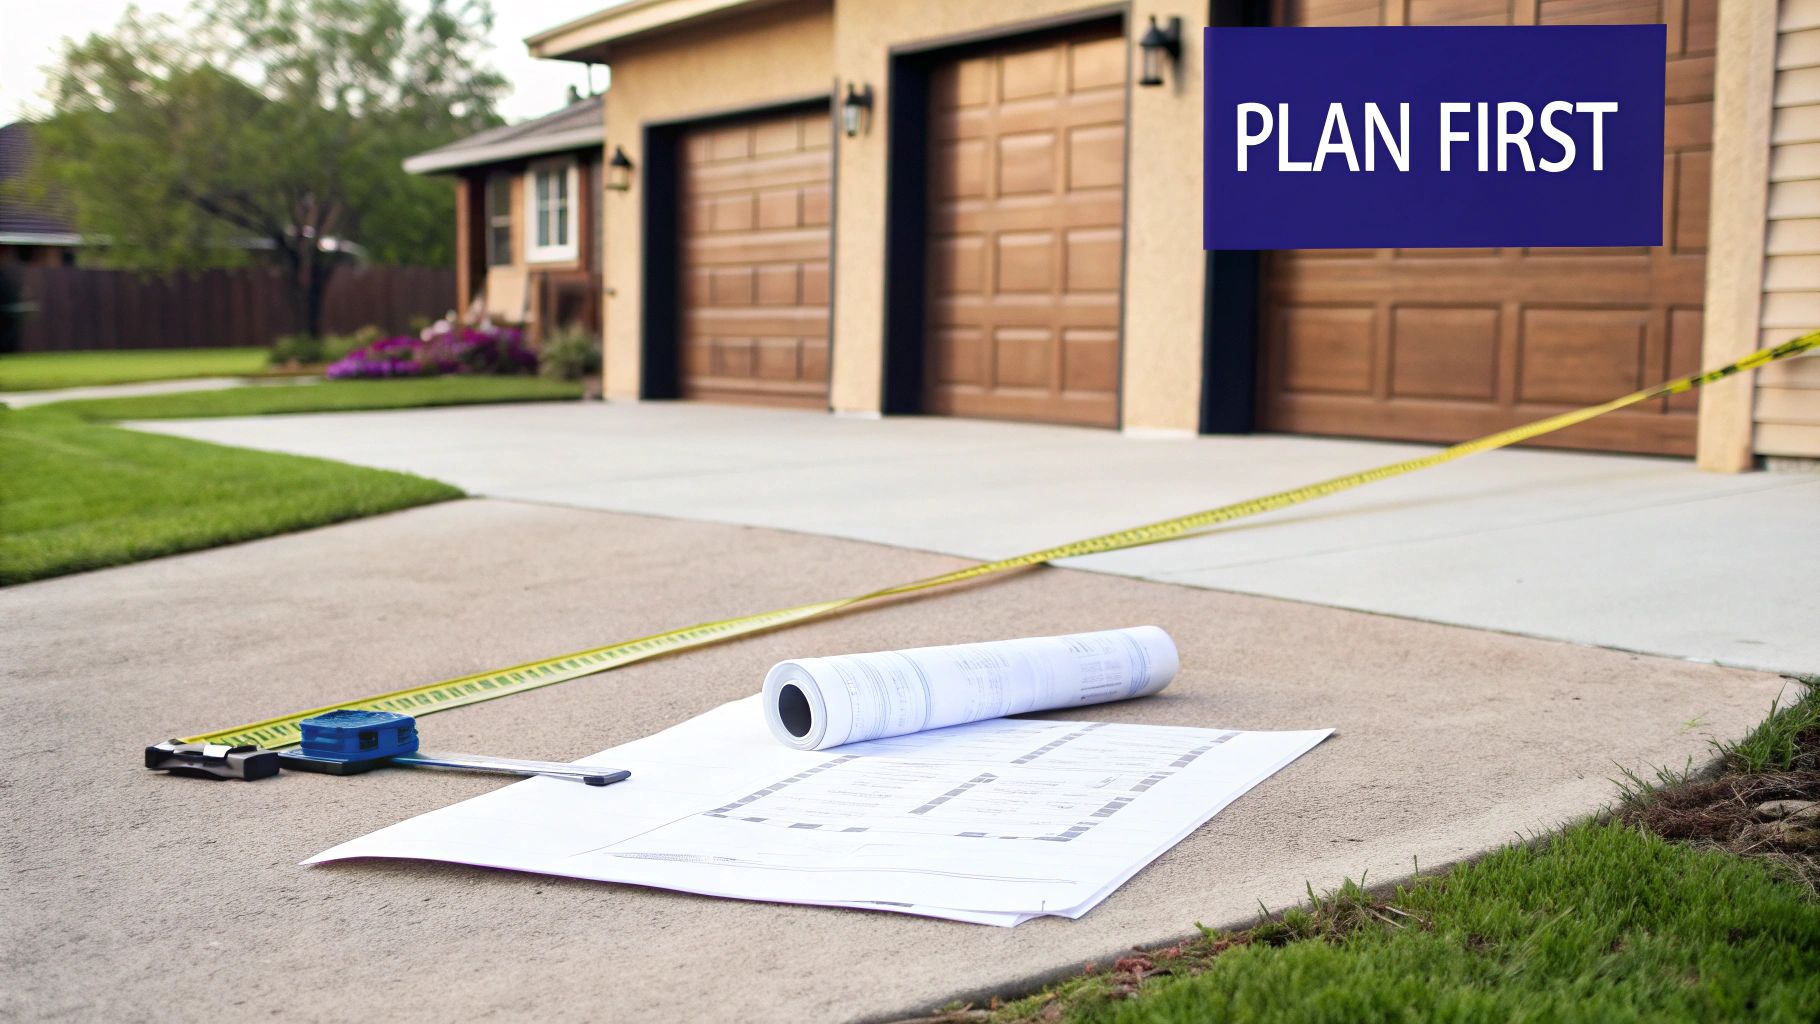
It’s easy to get excited and jump straight to picking out designs, but trust me, the most crucial work happens long before you break ground. A little bit of planning is the difference between a successful project and one that’s bogged down by legal trouble, budget overruns, and a structure that doesn’t even fit your needs. Think of this stage as your blueprint for success.
This isn’t just about dodging problems; it’s about making a smart investment. The global carport market hit USD 7.2 billion in 2023 and is only climbing, which tells you people are serious about protecting their vehicles. Nailing the planning phase ensures your new carport adds real value to your property.
To help you stay on track, we’ve put together a simple checklist. This will walk you through the essential steps of planning and permitting to ensure you’ve covered all your bases before construction begins.
Carport Planning and Permitting Checklist
| Checklist Item | Key Considerations | Status |
|---|---|---|
| Contact Local Building Dept. | Inquire about permit requirements, building codes (wind/snow load), and inspection schedules. | ☐ In Progress / ☐ Complete |
| Review Zoning Ordinances | Confirm setback requirements from property lines, main structures, and roads. | ☐ In Progress / ☐ Complete |
| Check HOA Guidelines | Get written approval. Verify rules on materials, colors, size, and style. | ☐ In Progress / ☐ Complete |
| Measure Site & Vehicles | Measure your largest vehicle (including roof racks) and the installation area. Check for overhead lines. | ☐ In Progress / ☐ Complete |
| Finalize Carport Dimensions | Add at least 3 feet of clearance on the sides and plan for future, larger vehicles. | ☐ In Progress / ☐ Complete |
| Determine Foundation Type | Decide between a concrete slab, footers, or gravel pad based on ground conditions and carport size. | ☐ In Progress / ☐ Complete |
| Create a Detailed Budget | Account for the kit, foundation, permits, labor, and a 10-15% contingency fund. | ☐ In Progress / ☐ Complete |
Using this checklist ensures that no critical detail is overlooked, setting your project up for a smooth and successful build.
Decoding Local Laws and Regulations
Before you do anything else, your very first call should be to your local building or zoning department. Every town has its own rulebook, and assuming you’re good to go is a recipe for disaster. I’ve seen homeowners forced to tear down brand-new structures because they skipped this step.
- Building Permits: Most places consider a carport a permanent or semi-permanent structure, which almost always means you need a permit. This isn’t just red tape; it’s a process to verify your plans are safe and meet local codes for things like wind and snow loads.
- Zoning Ordinances: These rules tell you where on your property you can build. Pay close attention to setback requirements—the minimum distance your carport has to be from property lines, your house, and other buildings.
- HOA Guidelines: If you live in a neighborhood with a Homeowners Association (HOA), you’ve got another layer of approval to get through. HOAs often have very specific rules about carport size, style, materials, and even color to keep the neighborhood looking uniform.
Pro Tip: Don’t just ask, “Do I need a permit?” Instead, ask, “What are all the requirements and restrictions for building a carport on my property?” This simple change in wording can save you from making multiple frustrating calls or trips.
Measuring for Current and Future Needs
Getting your measurements right is absolutely fundamental. The most common mistake I see is people measuring only for their current car, leaving zero wiggle room for a future truck or SUV.
Grab a tape measure and think beyond today.
- Vehicle Size: Measure the length, width, and height of your biggest vehicle right now.
- Clearance: Add at least three feet of width and length. This is crucial for being able to open your doors without dinging them and to walk around comfortably.
- Height: Don’t just measure the roof of your car. Factor in roof racks, cargo boxes, or antennas. A standard carport is usually 7-8 feet tall, but an RV carport might need 12-14 feet of clearance.
- Future-Proofing: Planning to buy a bigger truck or an RV in a few years? Build for the vehicle you might own, not just the one you have. It’s much cheaper to plan for it now.
While you’re out there, look up. Check for any overhead obstacles like low-hanging tree branches or utility lines. The spot you choose also affects your foundation; a sloped driveway has different needs than a flat, level area. If you want to get into the weeds on this, you can learn more about steel building foundation requirements and how it all connects.
Creating a Realistic Project Budget
A real budget is more than just the sticker price of a carport kit. A smart budget accounts for every possible expense, so you don’t get hit with surprises that could shut your project down.
Break your budget down into these key line items:
- Materials: This is the cost of the carport kit itself or the raw materials if you’re building from scratch.
- Foundation: Factor in the cost of concrete, gravel, rebar, and any professional grading or excavation services you might need.
- Permit Fees: These can run you anywhere from $50 to over $500, depending on where you live.
- Labor: Even if you’re a seasoned DIYer, you might need to rent equipment like a power auger or a concrete mixer. If you’re hiring a pro, be sure to get at least three quotes.
- Contingency Fund: This is non-negotiable. Always, always set aside an extra 10-15% of your total estimated cost. This is your safety net for the unexpected, like hitting a massive rock while digging footers or needing extra materials.
Selecting the Right Foundation and Materials
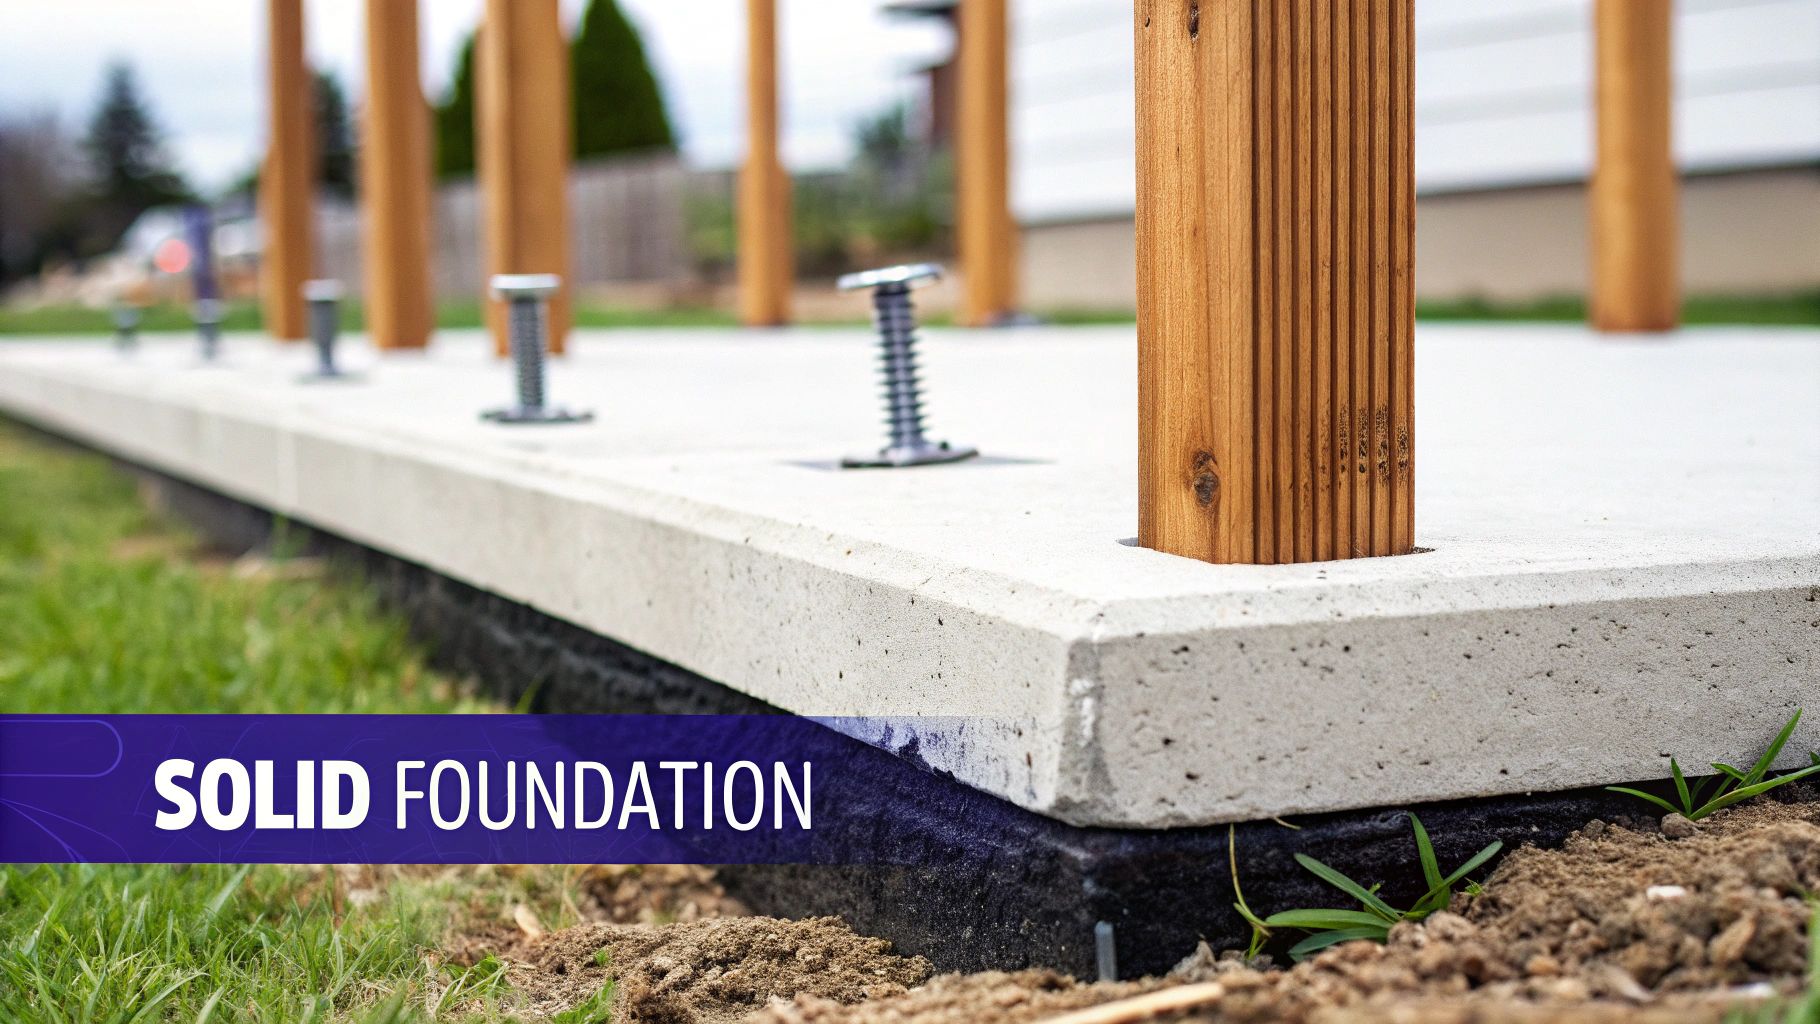
Here’s a hard truth: the long-term resilience of your carport isn’t about the roof or the walls. It’s about what’s holding it up from below and what the frame is made of.
Choosing the right foundation and materials is easily the most critical decision you’ll make. Get it right, and your carport will shrug off storms and stand strong for decades. Get it wrong, and you’ll be fixing problems from day one.
This is about more than just picking concrete or steel. It’s about matching the components to your property—your climate, your soil type, and especially your local building codes. Let’s walk through the real-world options so you can build something that lasts.
Choosing Your Carport Foundation
Think of your carport’s foundation as its anchor to the earth. It’s the only thing that resists wind uplift and keeps the structure from shifting. The right choice comes down to your ground conditions and the sheer size of the carport.
- Gravel Pad with Ground Anchors: This is your most basic option. It’s really only suitable for smaller, lightweight carports on perfectly level ground with fantastic drainage. It’s affordable, but it offers the least stability and often won’t pass inspection in areas with high winds or a deep frost line.
- Concrete Piers or Footers: Now we’re talking real stability. This involves digging holes below the frost line for each post and pouring concrete footers. It’s a far more robust solution that firmly anchors the carport to stable ground, giving you excellent resistance to wind and uplift. For most projects, this is the perfect middle ground between cost and strength.
- Full Concrete Slab: This is the gold standard for any permanent structure, hands down. A monolithic or floating concrete slab creates a solid, perfectly level surface for your vehicles while providing maximum stability for the frame. It’s the most expensive and labor-intensive route, but it’s often required for larger carports or in areas with strict building codes.
A poorly chosen foundation is the #1 reason carports fail prematurely. Before you dig a single hole, check your local building codes for frost depth requirements and footing specifications.
The Great Materials Debate: Steel vs. Aluminum vs. Wood
With your foundation planned, it’s time to decide what the carport itself will be made of. Each material offers a different mix of strength, cost, and maintenance headaches. Your choice here defines not just the look of your carport, but how much time and money you’ll sink into it over the years.
A quality frame is the skeleton of the entire structure, dictating its strength and lifespan. You can learn more about how the components work together by exploring the specifics of a high-quality metal building frame.
Comparing Your Options
Let’s put the three main contenders side-by-side to see how they stack up.
| Material | Durability & Strength | Maintenance Needs | Cost Comparison |
|---|---|---|---|
| Galvanized Steel | Highest. The best strength-to-weight ratio. It’s highly resistant to fire, pests, and rot and handles heavy snow and wind with ease. | Lowest. Just needs occasional cleaning and maybe a touch-up if the galvanized coating gets a deep scratch. | Moderate. Often the most cost-effective option when you factor in its strength and longevity. |
| Aluminum | Good. Naturally rust-proof and very light, making it a great choice for salty coastal air. Not quite as strong as steel. | Low. Needs cleaning to keep it looking good. No rust risk, but it can be dented more easily than steel. | Moderate to High. Usually more expensive than steel for a carport of the same size and strength. |
| Wood | Variable. Looks great but is vulnerable to rot, insects, and fire. Absolutely requires pressure-treated lumber. | Highest. Plan on sealing, staining, or painting it every 2-3 years to fend off weather damage. | Variable. Raw materials might be cheaper upfront, but the long-term maintenance costs add up quickly. |
For most people building a carport today, steel offers an unbeatable mix of durability and low maintenance, making it the most popular choice for modern kits. Aluminum is a fantastic, lightweight alternative if you live in a humid, coastal climate.
Wood provides that classic, traditional aesthetic, but it comes with a serious commitment to upkeep. If you do go with wood, make sure you know what you’re buying. It’s worth your time to get familiar with understanding pressure-treated lumber, as it’s specifically treated to resist the rot and insects that will try to destroy an outdoor structure.
DIY Build or Hiring a Pro: What’s the Right Call?
Once your plans are solid and you have a handle on the materials you’ll need, you hit the project’s biggest fork in the road. Do you roll up your sleeves and build the carport yourself, or do you hand the keys over to an experienced crew? This decision is a big one, and it’ll shape your budget, timeline, and overall stress level.
There’s no single right answer here. The best choice comes from an honest look at your skills, how much time you really have, and the specific carport you’re planning to build. Let’s walk through both paths so you can figure out which one makes sense for you.
The Appeal of the DIY Approach
For the hands-on homeowner, going the DIY route can be incredibly rewarding. The most obvious perk? Serious cost savings. Labor can be a huge chunk of the total project price, and by taking that on yourself, you can either pocket the savings or reinvest it into higher-quality materials.
Modern carport kits, especially the ones from reputable suppliers like Icon Steel, are built with the capable DIYer in mind. They show up with pre-cut, pre-drilled components and clear instructions. This takes a lot of the guesswork and heavy fabrication out of the equation, making the project far less daunting than it used to be.
But a successful DIY build takes more than just enthusiasm. You’ll need a decent set of tools, a good grasp of basic construction principles, and—this is the big one—a realistic amount of free time. This isn’t a single-weekend job. It demands careful, patient work to make sure the final structure is safe, square, and built to last.
When to Call in the Professionals
Hiring a professional installation crew gives you one thing above all else: peace of mind. These teams build carports day in and day out. They’ve got the specialized equipment, the experience to handle unexpected problems on the fly, and the kind of efficiency that only comes from doing the same thing over and over.
A project that might chew up several of your weekends could be done and dusted by a professional team in a day or two. That speed is a massive advantage if you need to get your vehicle under cover quickly or just can’t stand the thought of your yard being a construction zone for weeks on end.
A professional installation isn’t just a service; it’s an insurance policy. Most reputable installers provide a warranty on their workmanship, guaranteeing that your carport is built to last and protecting you from costly errors.
Plus, a pro crew is almost essential when you’re dealing with a tricky site. If your property is sloped, has difficult soil conditions, or needs a large, complex foundation, their expertise is non-negotiable. It’s always smart to explore your options and find qualified steel building installers who can give you a proper quote and assess your site’s unique challenges.
Making a Smart Decision
To make the right call, you need to weigh the factors honestly. While a simple residential carport is a common project, don’t underestimate the complexity these structures can have. The commercial carport market, for instance, has seen explosive growth and was valued at USD 951.2 million in 2024. That figure reflects the serious engineering that goes into larger installations, many of which now integrate features like solar panels.
Here’s a quick gut-check to help you decide.
- Your Skill Level: Have you tackled other big construction projects before? Are you comfortable with power tools, making sure everything is level and square, and maybe even mixing some concrete?
- Your Time Commitment: Be real with your calendar. Do you have multiple weekends you can dedicate solely to this project without interruptions?
- Project Complexity: A simple, single-car steel kit on a flat gravel pad is a fantastic candidate for DIY. A large, multi-vehicle carport on a sloped yard that needs a poured concrete slab? That’s a job best left for the pros.
- The Value of Your Time: Finally, think about what your time is worth. The money you save on labor might not feel like a win if it means sacrificing all your free time and dealing with a mountain of stress.
To help you visualize the trade-offs, here’s a side-by-side look at what each path entails.
DIY Carport Build vs Professional Installation Comparison
| Factor | DIY Installation | Professional Installation |
|---|---|---|
| Cost | Lower upfront cost. You only pay for materials and permits. | Higher upfront cost. You’re paying for labor, expertise, and equipment. |
| Timeline | Much longer. Depends entirely on your free time and pace (weeks to months). | Very fast. Often completed in just 1-3 days. |
| Skill Required | High. Requires construction knowledge, tool proficiency, and problem-solving skills. | None. The crew handles everything from start to finish. |
| Tools & Equipment | You must own or rent all necessary tools (ladders, drills, levels, etc.). | The installation team brings all specialized tools and equipment. |
| Stress & Hassle | High potential for stress. You’re responsible for all mistakes and setbacks. | Minimal stress. The pros handle troubleshooting and guarantee the work. |
| Warranty | None on labor. You only have the manufacturer’s warranty on materials. | Workmanship warranty included. Protects you against installation errors. |
| Best For… | Experienced DIYers with ample time and a straightforward project site. | Homeowners who value speed, convenience, and a professional guarantee. |
Ultimately, choosing between DIY and professional installation comes down to a trade-off between your money and your time. By carefully considering these points, you can make a confident decision that aligns with your budget, schedule, and peace of mind.
Assembling Your Carport: A Practical Walkthrough
Alright, the planning is done, your materials are on site, and now it’s time for the rewarding part: the build. This is where your vision finally starts to take shape. Let’s walk through the standard assembly process for a modern carport kit, focusing on the practical insights you’ll need to get it done right.
The first, and frankly most critical, part of the job is getting the frame up. This isn’t just about bolting pieces together; it’s about creating a perfectly square and level skeleton for the entire structure. Even a small error here can snowball into big problems later, like roof panels that won’t align or a carport that has a noticeable lean.
To get started, set your main support posts into their concrete footers or onto the anchor bolts in your slab. A key tip here: don’t fully tighten the bolts just yet. Leaving them a little loose gives you the wiggle room you need for adjustments as you connect the roof trusses and support beams.
Achieving a Square and Level Frame
A classic rookie mistake is rushing to tighten everything down way too early. Before you give any bolt that final turn, you have to be absolutely certain the frame is perfectly square. The easiest way I’ve found to do this is with the “3-4-5” method—a simple trick that uses high school geometry to your advantage.
Here’s how it works:
- Measure 3 feet down one post and make a mark.
- Measure 4 feet across the connecting beam and make another mark.
- The diagonal distance between those two marks should be exactly 5 feet.
If it’s off, just gently nudge the frame until it lines up. Check every corner this way. It’s a simple step that guarantees your structure is square and ready to support the roof evenly.
Once you’re positive everything is square and plumb (meaning perfectly vertical), you can go back and tighten all the bolts to the manufacturer’s recommended torque. This methodical approach stops the frame from warping and ensures every other piece fits exactly as it should.
This flowchart gives you a great visual of the key phases, comparing the DIY route to a professional installation.
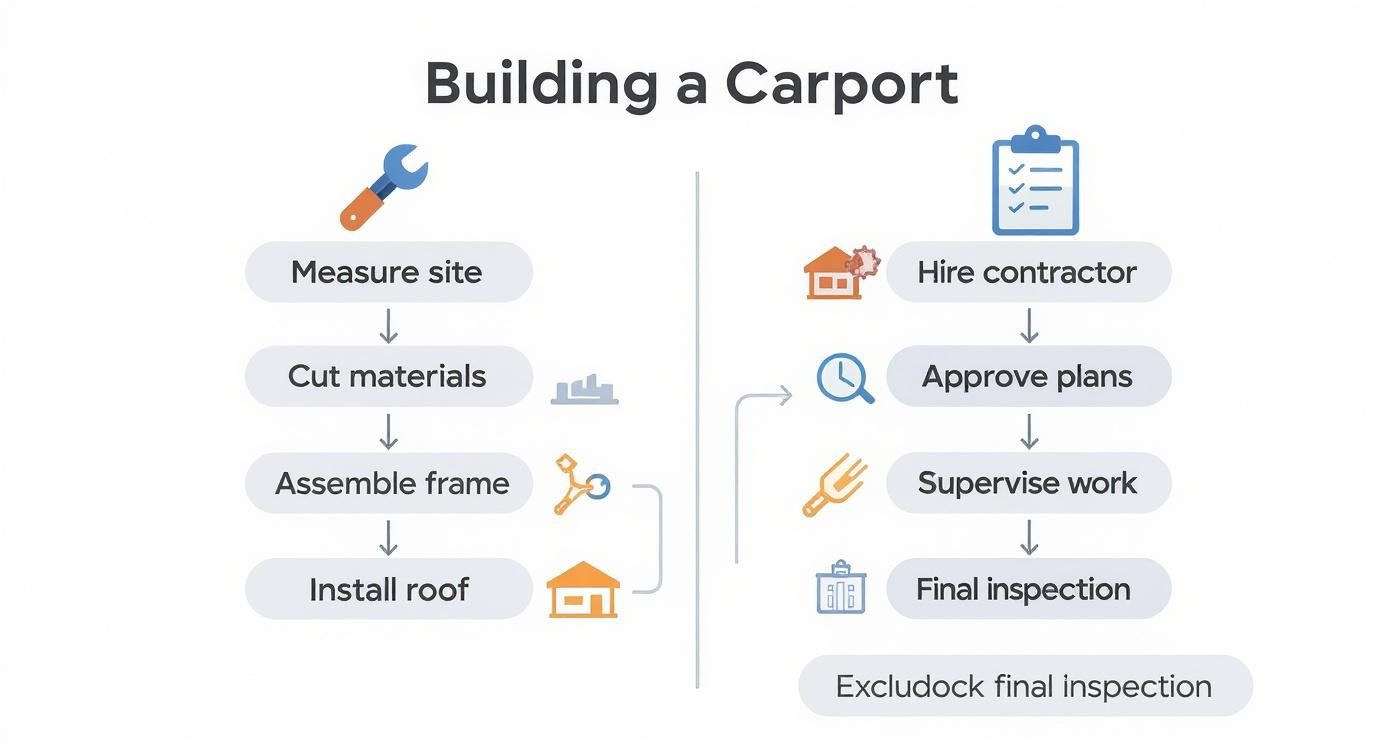
As you can see, the core steps like planning and foundation work are the same, but the paths diverge when it comes to the actual labor, tools, and time involved.
Installing Roof and Wall Panels Correctly
With a solid, square frame in place, putting on the roof panels becomes a much simpler task. This stage is all about precision and weatherproofing. Remember, a single misplaced screw can create a tiny entry point for water, which can compromise the whole structure over time.
Start by laying your first panel at a corner, making sure it’s perfectly aligned with the frame’s edge. The manufacturer will specify how much the panels need to overlap—usually a few inches—to create a watertight seal. Whatever you do, don’t skimp on this overlap.
Builder’s Insight: Always, and I mean always, use the self-tapping screws with neoprene washers that come with the kit. Those little washers are designed to compress and create a tight seal, stopping water from ever getting through the screw holes. And be careful not to over-tighten them; you can damage the washer and ruin its sealing ability.
Work your way methodically across the roof, checking your alignment as you add each panel. The process is pretty much the same for wall panels if your carport has them. This is where attention to detail pays off, turning your carport from just a shelter into a truly durable, weather-resistant structure. If you’re thinking about getting a pro to handle this critical stage, our guide on metal carport installation breaks down what to expect from an expert crew.
The last step is attaching the trim and flashing. These pieces cover up the seams and edges, giving the carport a clean, finished look while adding one more layer of defense against wind and rain. Pay extra attention to the corner trims and ridge caps—these are common spots for leaks if not installed correctly. A carport built with this level of care will give you reliable protection for years to come.
Upgrading Your Carport with Smart Features
Once your carport is up, its job doesn’t have to end with just protecting your car from the elements. A modern carport can be a highly functional, smart extension of your home—generating power, boosting security, and adding a whole new level of convenience. Thinking beyond basic shelter is how you unlock the real value of your investment.
The biggest and most impactful upgrade? Turning your carport into a personal power station with solar panels. This isn’t just about going green; it’s a savvy financial move that can seriously slash your electricity bills or even power your electric vehicle for free.
Solar carports are a major leap forward, merging renewable energy production with everyday vehicle protection. This trend is exploding in popularity; the global solar carport market was valued at USD 538.5 million in 2024 and is on track to more than double by 2033. Right now, the commercial sector is leading the way, making up about 76% of all installations, which really proves how viable the concept is.
Integrating Solar Power Generation
Adding solar panels isn’t an afterthought—it requires planning from the get-go. Your carport’s frame has to be strong enough to handle the extra weight of the panels, which is a critical detail to sort out during the initial design phase. A steel-framed structure is often the perfect choice here, thanks to its exceptional strength-to-weight ratio.
You’ll absolutely need a professional to assess the roof’s load-bearing capacity and manage all the electrical work. That includes connecting the system to your home’s grid or a battery storage unit. Done right, your carport’s roof transforms from a passive shield into an active asset that generates clean energy day in and day out.
Imagine your carport not only shielding your car from the sun but also harnessing that very same sunlight to charge it. That synergy is the real beauty of a solar-enabled structure, creating a self-sufficient ecosystem right in your driveway.
Beyond solar, there are plenty of other smart features that can take your carport’s utility to the next level. These additions are all about improving security, organization, and getting ready for the future of transportation.
Smart Lighting and Charging Solutions
Integrated LED lighting is a simple upgrade that makes a huge difference. Motion-activated lights are fantastic for security, lighting up the area when you pull in late at night or if there’s any unexpected movement. You can even hook them into your smart home system to control them remotely or set automated schedules.
And if you’re looking to future-proof your property, installing electric vehicle charging stations is a must. Having a dedicated, high-speed charger at home is a game-changer for any EV owner, making public charging stations a thing of the past. Planning for the wiring during the initial construction is far cheaper and easier than trying to retrofit it later on.
Here are a few other high-value additions to consider:
- Custom Storage Units: Why not incorporate some lockable steel cabinets or even a small enclosed section? It’s the perfect spot to securely store tools, lawn equipment, or seasonal gear, freeing up precious space in your garage.
- Automated Security Cameras: Smart cameras can send alerts straight to your phone when they detect motion, giving you peace of mind whether you’re relaxing on the couch or on vacation.
- Weather Sensors: For a truly advanced setup, you can install sensors that automatically deploy side screens or shades in response to high winds or intense sun, giving your vehicles dynamic protection.
By thoughtfully weaving in these features, you can build a carport that does so much more than just cover your car. It becomes an intelligent, multipurpose structure that genuinely enhances your property’s value and your daily life.
Keep Your Carport Standing Strong: Long-Term Maintenance and Care
Once your new carport is up, the real work begins—making sure it lasts. Don’t worry, it’s not as daunting as it sounds. A little bit of proactive upkeep is all it takes to protect your investment and keep it looking sharp for decades to come.
Think of it like a quick health checkup for your structure every season. Spending just an hour or two every few months can stop tiny issues from snowballing into expensive headaches. This isn’t about back-breaking labor; it’s about smart, preventative care that pays off big time.
Your Seasonal Maintenance Checklist
Your first line of defense is a simple walk-around inspection. As the seasons change, grab a coffee and take a critical look at your carport from top to bottom. You’re looking for anything that seems off.
- Check the Fasteners: Get hands-on and check that all bolts, nuts, and screws are tight. Wind and daily vibrations can work them loose over time.
- Hunt for Surface Damage: Scan the frame and roof panels for scratches, dings, or peeling paint. These little blemishes are invitations for rust to move in.
- Inspect the Foundation: Make sure the ground around each post is solid. You don’t want to see cracks in the concrete or signs of water pooling and eroding the soil around the footings.
Catching a loose bolt or a small paint chip is a five-minute fix. Ignoring it? That can lead to serious structural stress or widespread rust that demands a whole weekend and a lot more money to repair.
Proactive maintenance is always cheaper than reactive repairs. Spending a few minutes on a seasonal checkup can save you hundreds, if not thousands, of dollars in the long run by preventing water damage, rust, and structural failure.
Smart Care for Different Materials
Not all carports are created equal, and your maintenance plan should reflect that. What works for steel won’t be the best approach for wood.
For a steel carport, your number one enemy is rust. If you spot a scratch that’s gone through the protective coating, act fast. Clean the spot, give it a light sanding, then hit it with a rust-inhibiting metal primer and a matching touch-up paint. That simple step completely seals the steel from moisture and stops corrosion before it can get a foothold.
With a wood carport, you’re fighting off rot and insects. The plan here is to clean the whole structure every two or three years and apply a fresh coat of high-quality sealant, stain, or paint. This barrier is your best defense against water damage and the sun’s harsh UV rays.
And for any carport—steel, wood, or aluminum—keeping the roof and gutters clear is non-negotiable. Get up there at least twice a year and clear out all the leaves, twigs, and gunk. If you don’t, water will dam up, causing leaks and putting a massive amount of unnecessary weight on the frame. A clean carport doesn’t just look better; it performs better.
Common Questions We Hear About Building a Carport
When you’re thinking about adding a carport, a lot of questions come up. After helping countless homeowners through this process, we’ve found that a few key questions pop up time and time again. Let’s get you some straight answers.
How Much Does a Carport Really Cost?
This is the big one, and the honest answer is: it varies. A simple DIY steel kit from a big box store might only set you back around $1,500. On the other hand, if you’re picturing a large, professionally installed carport with a full concrete slab foundation, you could easily be looking at a project costing $10,000 or more.
The final price tag really comes down to a few key factors: the size you need, the type of foundation you pour, local labor rates, and the materials you choose.
Do I Actually Need a Permit for a Carport?
In almost every case, yes. Most local governments see carports as permanent structures, which means they fall under building code regulations. You’ll likely need a building permit to make sure your plans are up to snuff with local safety codes, especially for things like wind and snow loads.
Don’t even think about buying materials until you’ve had a conversation with your local building department. It’s a critical first step.
Key Takeaway: Trying to skip the permit process is a huge gamble that can backfire badly. You could face fines or even be ordered to tear the whole thing down. Always make that call to your local authorities before you do anything else.
What Is the Best Material for a Carport?
Your best choice really depends on your climate, how much you want to spend, and the look you’re going for.
Galvanized steel is a top contender for good reason—it offers incredible strength and requires almost zero maintenance. If you’re near the coast, aluminum is a fantastic choice because it’s lightweight and won’t rust. Of course, wood gives you that classic, traditional look, but be prepared for regular upkeep to protect it from weather, rot, and pests.
Getting familiar with the different metal carport components can really open your eyes to why steel is so often the most durable and reliable option out there.